
这篇教程是向大家介绍3D MAX Reflective Shaders英文教程,教程很不错,全是英文,推荐到脚本之家,大家一起来学习吧!
请别在问我有没有中文版的教程,也别再问我能不能帮你们翻译,如果你还在用中文版软件来弄影视动画,而且不打算学习英文的话,请你及时放弃吧,别浪费时间了,Making Convincing Reflective Shaders in 3DS Max 7.5 and up using the Mental Ray Render
Hey guys, my name is Erik Mjelde and I'm going to show you step by step how to make a convincing reflective shader using max 7.5 and up. The reason you need 7.5 and up is because we are using mental ray's "max bounce" option that is only available in 7.5 and higher versions. This tutorial should be easy to follow even if you are a noob, so lets get started.
-Open a clean slate of max.
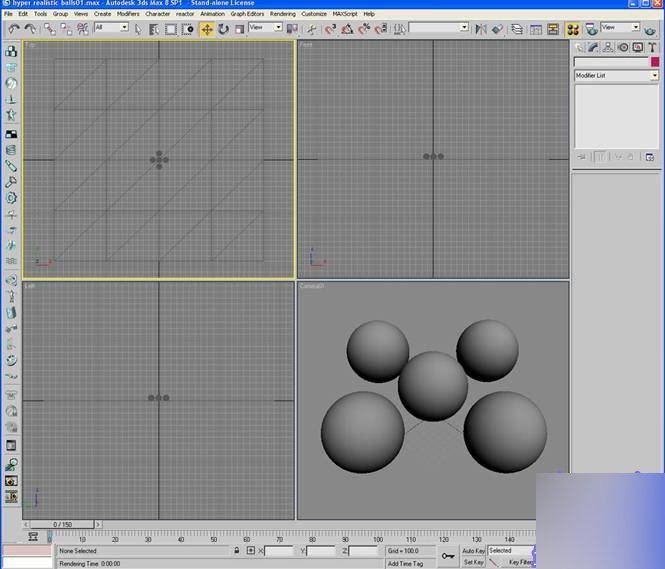
-Create a plane 5000x5000 and center it.
-Create five spheres with a radius of 50 units and 64 segment. Place them in the center of the plain with any configuration that you want (in my demonstration I make a four point star with a center ball).
-In the perspective viewport adjust the viewport angle so that it is set up like the picture below and press ctrl-C to make a camera.
We are now done with the modeling portion of this tutorial. Easy right.
Next we are going to set up the shaders so that they look convincing when we render them out.
-Press "m" on your keyboard to bring up the materials manager.
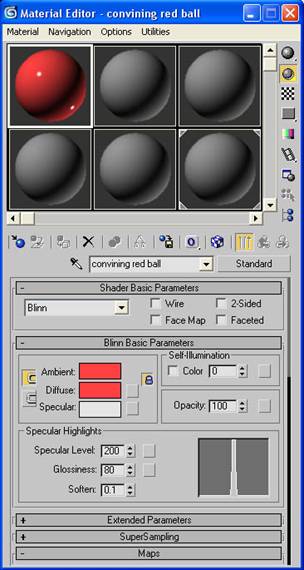
-Click on the first material and name it "convincing red ball".
-Change the defuse to a red color (don't worry about this color too much as it is only a reference color for us).
-In the specular highlights section change the specular level to 200 and the glossiness to 80.
ADVERTISE
-Go down to the maps rollout and click on the none label for the bump map and choose a dent map. Label this "big dent".
-Change the size to 777, the strength to 20 and iterations to 2.

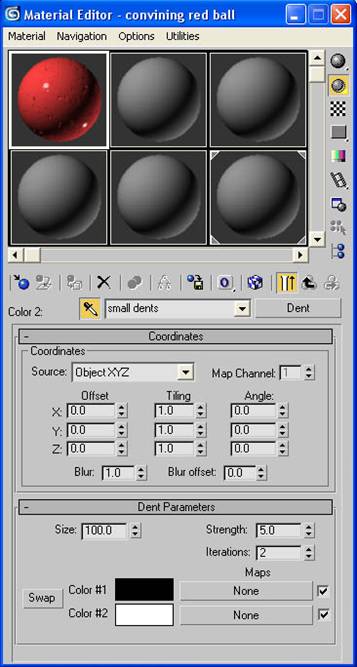
-Click "None" by the white color swatch and choose a dent map. Label this "small dents".
-Change the size to 100, the strength to 5 and the iterations to 2.
NOTE: Putting a dent map inside of a dent map will break our shader up so that it looks more convincing.
-Click the "go to parent" button a few times to get back to the main material screen.
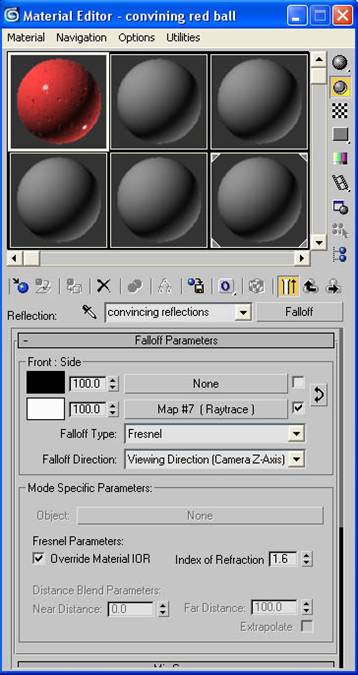
-Go down to the maps rollout and click "None" button next to reflections. Choose a falloff map. Label this "convincing reflections"
-Change the falloff type to Fresnel.
-Click the "None" button for the white color and give it a "Raytrace"
-Click the "go to parent" button to get back to the main screen.
-Press F10 to open the render scene dialog box. Go to assign render rollout and choose mental ray renderer.
Note: I skip to turning on the mental ray render about now because we need it to get access to the ambient/reflective occlusion (base) shader.
-Go back to the material editor and in the maps rollout click the "None" next to diffuse. Assign it an ambient/reflective occlusion (base) shader.
-Change the samples to 32, the bright to a red color (not overly saturated), spread to .9 , max distance to 90, and check the reflective tab.
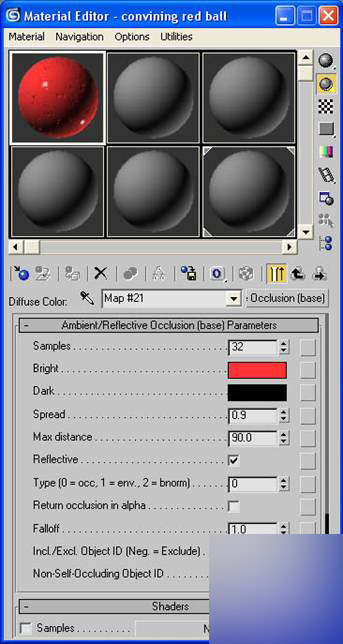
-Click the "go to parent" button to get back to the main screen.
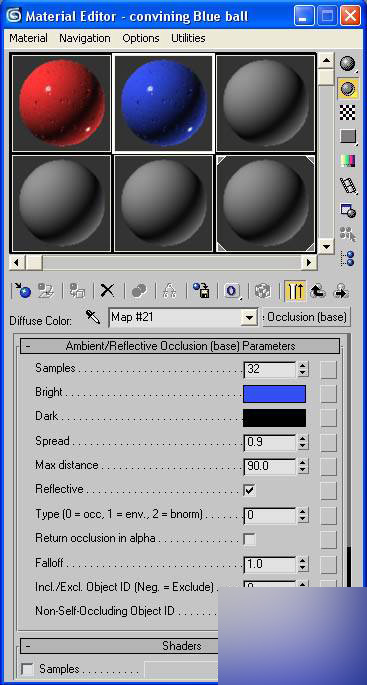
-Go to the top of the material editor and drag a copy of that red shader to the next material swatch. Label this one "convincing blue ball".
-Change the diffuse color to blue.
-Click the "M" next to the diffuse slot to get to the ambient/reflective occlusion (base) shader.
-Change the red color to a blue color (again not too saturated).
ADVERTISE
-Do this same process again to make a black ball.
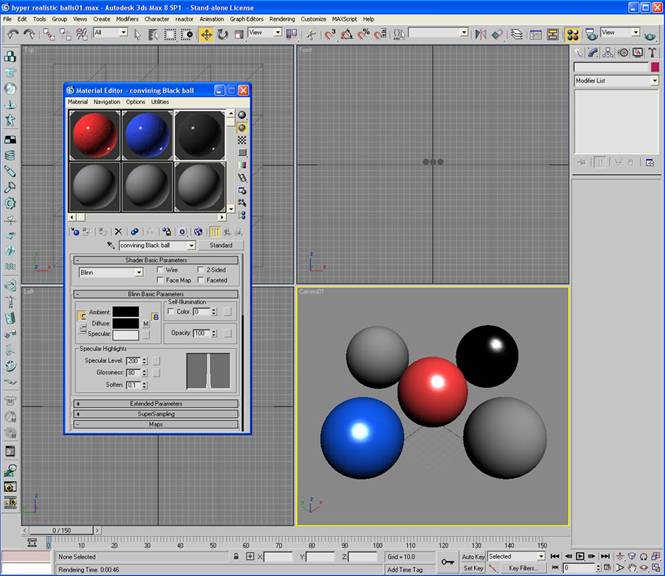
-Now that we have 3 colored balls lets apply them to the scene. You can do this by dragging the shader to the appropriate geometry or you can click the geometry and click the "assign material to selection" button.
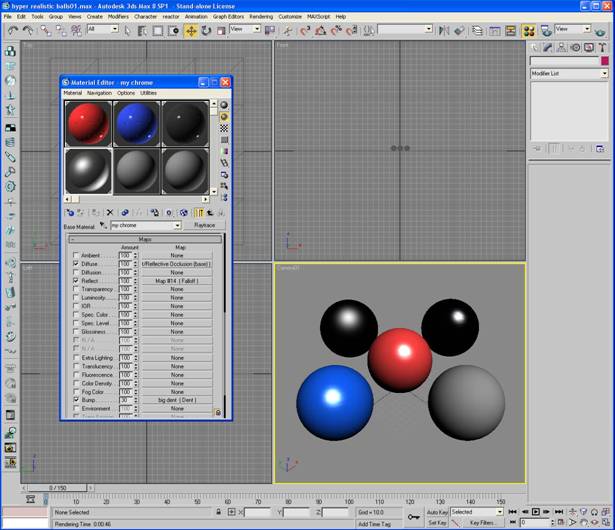
Now lets make the chrome ball.
-Choose a new material in the material editor and name it "chrome".
-Next to the name click the standard swatch and choose shellac.
-Click "None" next to base material and choose Raytrace.
-For the diffuse use an ambient/reflective occlusion (base) shader with samples at 32, spread .9, max distance 90 and reflective checked. For the bright click the swatch at the far right and use a falloff map. Change the map to Fresnel and change the black to RGB 107, 107, 107.
-Click go to parent a few times to get back to Raytrace
-Go to maps and click the "None" next to reflect and use a falloff map. Change the black color to RGB 107, 107, 107 and use a Fresnel falloff type.
-Click go to parent once and then click the "None" next to the Bump in the maps rollout. Choose a dent map and label it "big dents". Change the size to 777, strength to 5 and iterations to 2.
-Click "None" next to the white color and choose a dent map. Label it "small dents" and change the size to 100, strength to 3 and iterations to 1.
- Assign the material to a ball.
Finally, lets make the glass. Actually mental ray already has a good glass shader that we will use.
-Choose a new shader and label it "glass".
-Next to the name click standard and change this to Glass (Physics_Phen).
-Change the phong coefficient to 62.
-Assign this shader to the last ball.
Note: To see something behind the glass push the checkerboard button on the upper right labeled background.

ADVERTISE
s
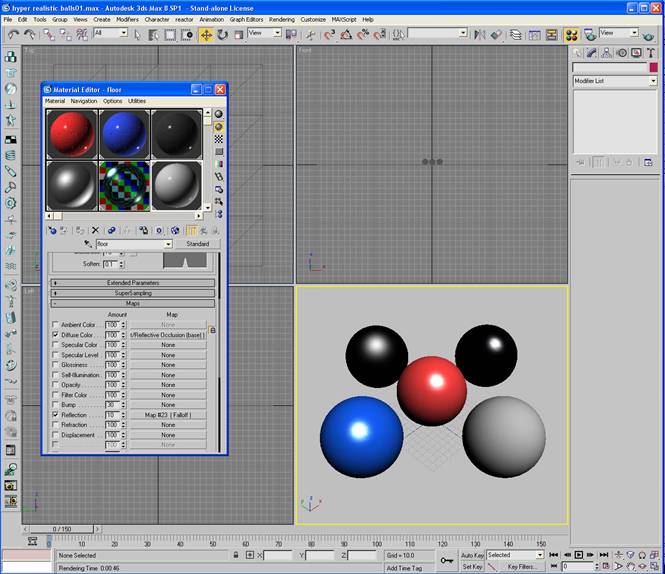
Lastly, lets set up the floor shader.
-Choose a clean shader and label it "floor".
-Change the diffuse color to off-white.
-Click the swatch next to diffuse and choose an ambient/reflective occlusion (base) shader. Change samples to 32, bright to an off-white, spread .9, max distance 90 and check reflective.
-Click go back to parent and go down to reflection in the maps rollout. Change the amount to 10. Click "None" and choose falloff. Change the falloff type Fresnel
-Assign the material to the floor plain.
We are now done making all the shaders. Phew. :)
Lets set the render up to do a test render.
-Press F10 to open the render dialog box.
-Change the output size to 320x240.
-Go to the renderer tab and change the minimum samples per pixel to ? and the maximum to 4.
-Change the filter to lanczos.
-Go to indirect illumination tab. Open the final gather rollout and enable final gather. Change the samples to 50 and check preview (No Precalculations).
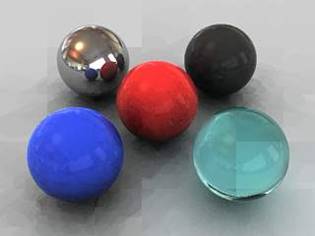
-Press render.
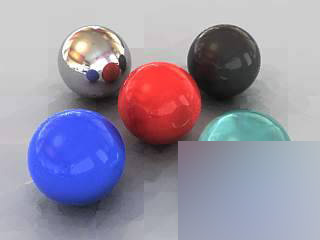
This is what you should get.

Lets set up an HDRI so that the balls have something to reflect.
-Press 8 to bring up the environment panel
-Click "None" and choose bitmap. Find the kitchen.hdr.
-Change the white point to .7 and press OK.
-Drag this map into a blank material as an instance and name it HDRI map.
-Change the mapping to spherical environment.
-Go down to the output rollout and change the output amount to 2.
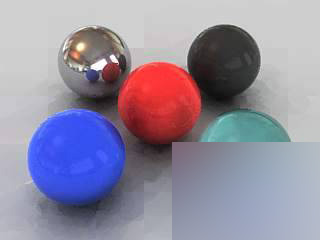
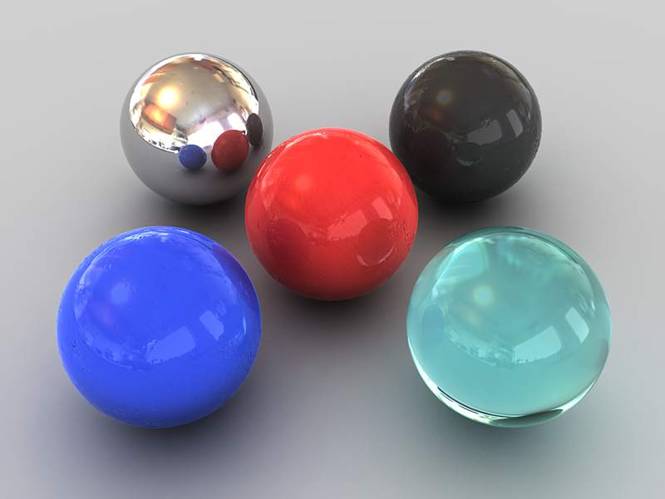
-Give this a test render.
Lets get some color bouncing around.
-Press F10 to open the render dialog box and go to indirect illumination.
-Go down to the final gather rollout and to the trace depth section. Set the max bounces to 3.
give this a test render.
Lets brighten those reflection a bit more.
-Go back to the Output rollout of the HDRI map in the material editor and change the RGB level to 2.
Lets get a better render
-Press F10 and set the output size to 800x600
-Go to the renderer tab and change the minimum samples to 4 and the the maximum to 16.
-Go to indirect illumination to the final gather rollout and change the samples to 200. Uncheck preview (No Precalculations).
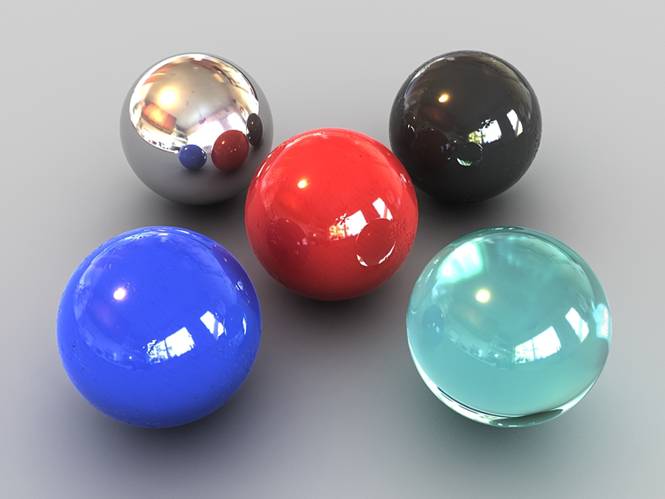
Give this a render.
ADVERTISE
Ok so I'm still not happy with the final render. I want the bright reflections to be more apparent. Lets change the way the HDRI works to get what we are looking for.
-Press 8 to open the environment dialog box. Click the kitchen.hdr and choose bitmap. Find the kitchen.hdr.
-In the internal storage area choose the "Real Pixels (32 bpp)" option and check Def. Exposure. Hit OK.
-Drag that map to the HDRI map material we made in the materials editor and make it an instance. (we are just going to overwrite the old one because we don't need it anymore)
-In the coordinates rollout change the mapping to spherical environment.
-Go down to the output rollout and change the RGB level to 2.75
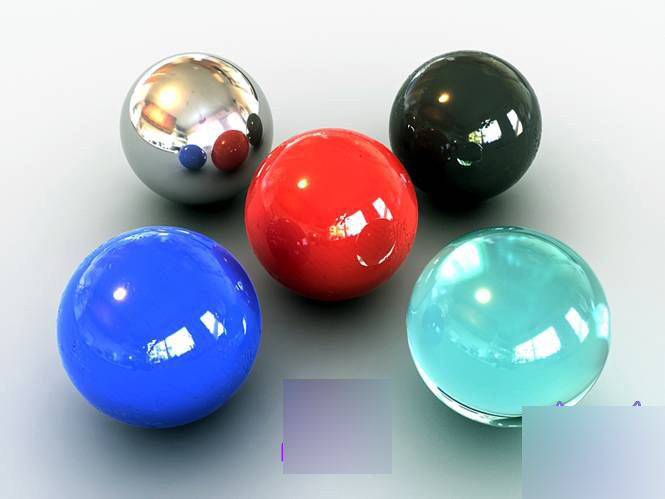
-Give this a render.
Now it looks much better. For my final render I used a skylight set to 1.2 for a little more brightness and corrected the contrast and colors with photoshop.
Note: If you want to use a skylight for your final render it doesn't need to be placed anywhere special because of the way this light works.
Thanks for Reading my tutorial and I hope you enjoyed it.
以上就是3D MAX Reflective Shaders英文教程,希望能对大家有所帮助!


