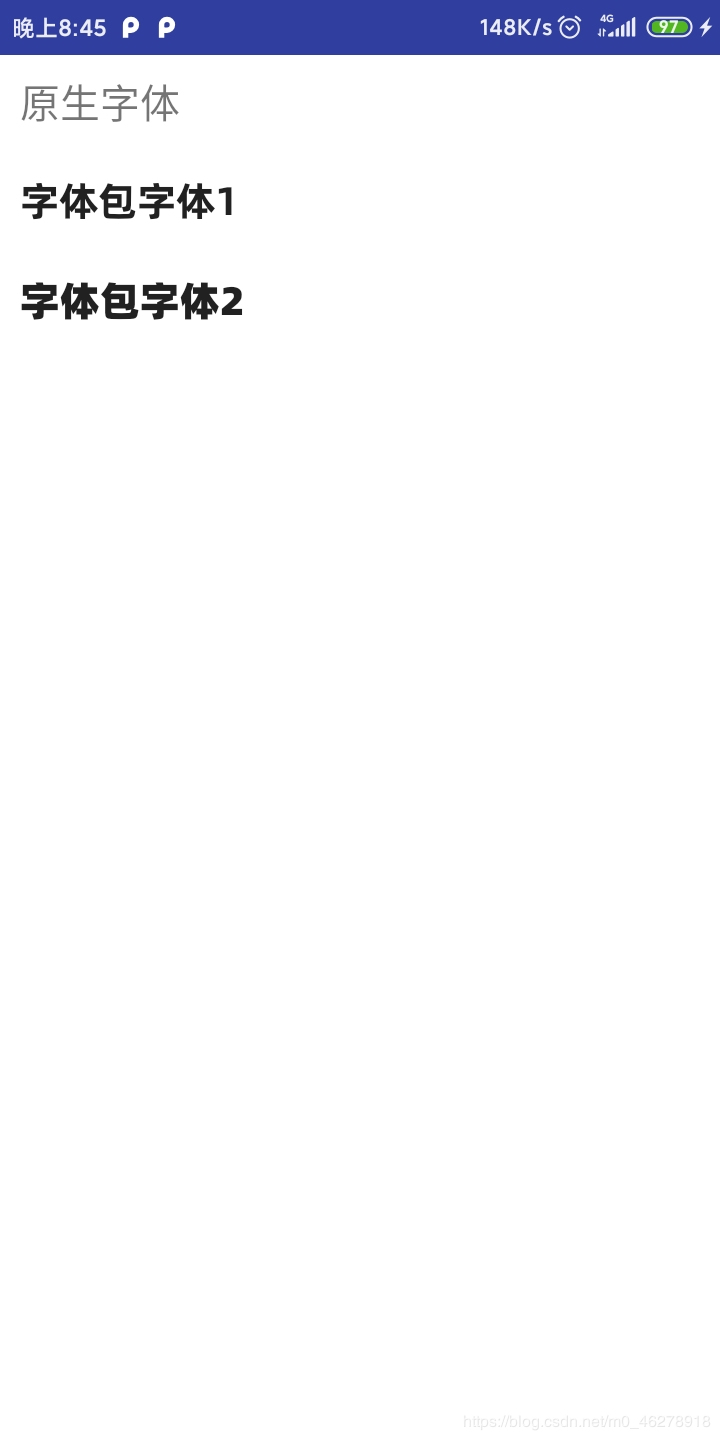
TextView加载字体包
在 Android 中,若需要使得某个TextView加载字体包,使用以下方式即可:
 Typeface typeFace =Typeface.createFromAsset(getAssets(),"fonts/Bold.otf");
  textView.setTypeface(typeFace);
至于字体包的位置:
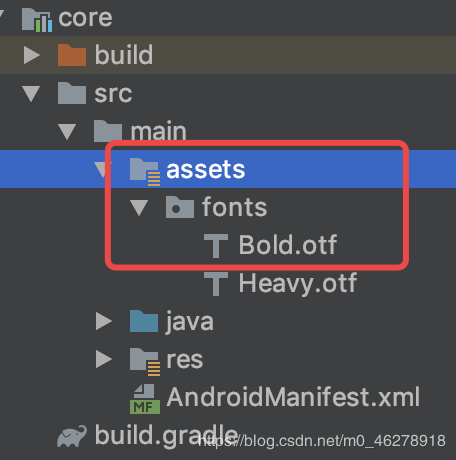
通过以上方法,可以使得一个TextView加载某种字体包,但是,还有这种需求:
TextView加载字体包TextView加载的字体包不一定一样这时,我们就需要稍微封装下,将其封装成一个自定义TextView类,若需要使用字体包,则加载该类,同时,可以根据xml里面的值,从而加载不同的字体包。
封装
定义属性值
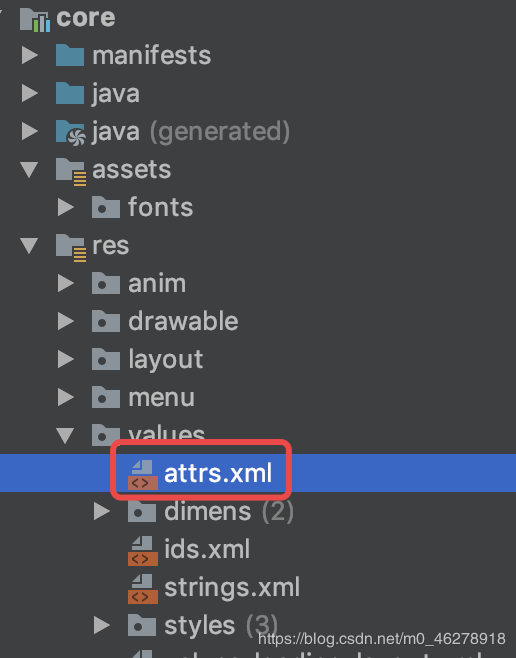
首先,我们需要从xml里面获取值,因此,需要在attr中进行属性值的定义:
<declare-styleable name="FontTextView">
  <attr name="fontType" format="enum">
   <enum name="bold" value="1" />
   <enum name="heavy" value="2" />
  </attr>
 </declare-styleable>
这里我只定义了两种属性,大家可以根据需求进行增减。
创建自定义TextView
public class FontTextView extends AppCompatTextView {

 public FontTextView(Context context) {
  super(context);
 }
 public FontTextView(Context context, @Nullable AttributeSet attrs) {
  this(context, attrs, 0);
 }
 public FontTextView(Context context, @Nullable AttributeSet attrs, int defStyleAttr) {
  super(context, attrs, defStyleAttr);
 }
}
获取属性值
//获取参数
  TypedArray a = context.obtainStyledAttributes(attrs,
    R.styleable.FontTextView, defStyleAttr, 0);

  int fontType = a.getInt(R.styleable.FontTextView_fontType, 1);
进行值判断并加载不同的字体包
private final int BOLD = 1;
 private final int HEAVY = 2;

 String fontPath = null;
  switch (fontType) {
   case BOLD:
    fontPath = "fonts/Bold.otf";
    break;
   case HEAVY:
    fontPath = "fonts/Heavy.otf";
    break;
   default:
  }
  //设置字体
  if (!TextUtils.isEmpty(fontPath)) {
   Typeface typeFace = Typeface.createFromAsset(getContext().getAssets(), fontPath);
   setTypeface(typeFace);
  }
全部源码
public class FontTextView extends AppCompatTextView {

 private final int BOLD = 1;

 private final int HEAVY = 2;

 public FontTextView(Context context) {
  super(context);
 }

 public FontTextView(Context context, @Nullable AttributeSet attrs) {
  this(context, attrs, 0);
 }

 public FontTextView(Context context, @Nullable AttributeSet attrs, int defStyleAttr) {
  super(context, attrs, defStyleAttr);

  //获取参数
  TypedArray a = context.obtainStyledAttributes(attrs,
    R.styleable.FontTextView, defStyleAttr, 0);

  int fontType = a.getInt(R.styleable.FontTextView_fontType, 1);

  String fontPath = null;
  switch (fontType) {
   case BOLD:
    fontPath = "fonts/Bold.otf";
    break;
   case HEAVY:
    fontPath = "fonts/Heavy.otf";
    break;
   default:
  }
  //设置字体
  if (!TextUtils.isEmpty(fontPath)) {
   Typeface typeFace = Typeface.createFromAsset(getContext().getAssets(), fontPath);
   setTypeface(typeFace);

  }
 }
}
若需要使用字体包TextView,使用以下方式即可:
<com.jm.core.common.widget.textview.FontTextView
  android:layout_width="wrap_content"
  android:layout_height="wrap_content"
  app:fontType="bold"
  android:text="测试" />
效果