
本文介绍在win10中安装tensorflow的步骤:
1、安装anaconda3
2、新建conda环境变量,可建多个环境在内部安装多个tensorflow版本,1.x和2.x版本功能差别太大,代码也很大区别
3、环境中安装python和fensorflow
4、用tensorflow运行一段测试程序
安装anaconda下载地址(清华镜像):
https://mirrors.tuna.tsinghua.edu.cn/anaconda/archive/选择最新版本

开始安装anaconda


选择安装位置

勾选后,点击 install

等待一段时间

安装完成,直接退出


安装好anaconda以后,打开cmd输入conda --version” ----->得到conda 4.7.12,安装成功
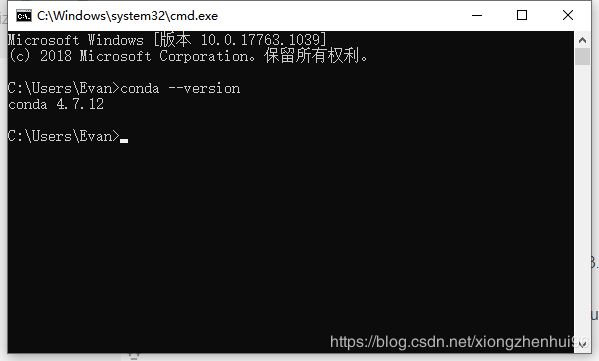
anaconda3就安装好了
开始安装tensorflow
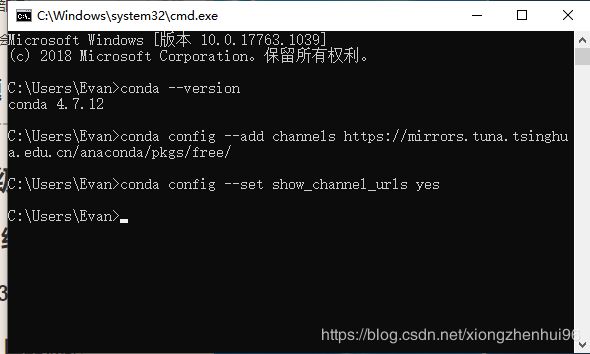
国外原地址下载太慢,这里设置国内镜像源,否则特别慢。。。。:
conda config --add channels https://mirrors.tuna.tsinghua.edu.cn/anaconda/pkgs/free/
conda config --set show_channel_urls yes

我们先安装tensorflow2.0版本创建新的环境tensorflow2,输入: conda create -n tensorflow2 python=3.7
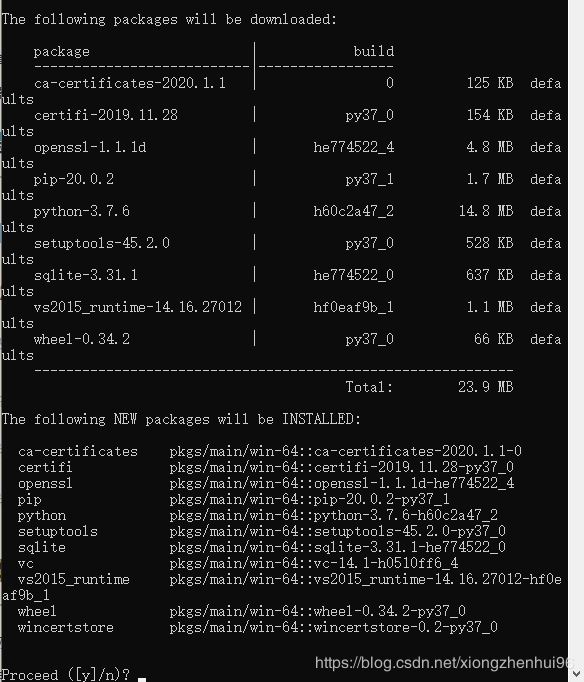
输入 y
开始自动下载文件(可以看到下载的Python版本为3.7.6版本,文件目录在E:\anaconda3\envs中,后面配置时会用到),
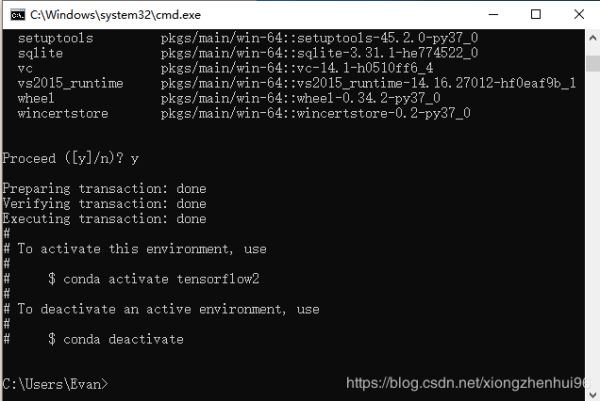
激活刚才创建的环境,输入 : activate tensorflow2

然后就开始安装TensorFlow,输入: pip install -i https://pypi.tuna.tsinghua.edu.cn/simple tensorflow==2.0.0-beta1

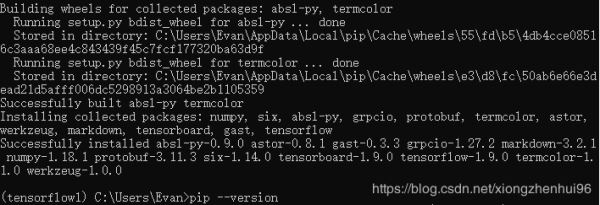
接下来自动安装好了,出现下面提示就安装好了,哈哈!

python的版本不一样,运行环境也不一样,如果还要安装1.x版本,(这里安装tensorflow1.9.0版本),再次进入cmd中
创建新的1.x版本环境
输入 :conda create -n tensorflow1 python=3.6 激活新环境
输入 : activate tensorflow1 安装TensorFlow
输入: pip install -i https://pypi.tuna.tsinghua.edu.cn/simple tensorflow==1.9.0
安装过程中,如需pip9.0.1升级pip20:
输入 python -m pip install --upgrade pip -i https://pypi.tuna.tsinghua.edu.cn/simple
运行tensorflow
既然fensorflow安装好了,我现在用pycharm打开运行一段代码,首先配置pycharm
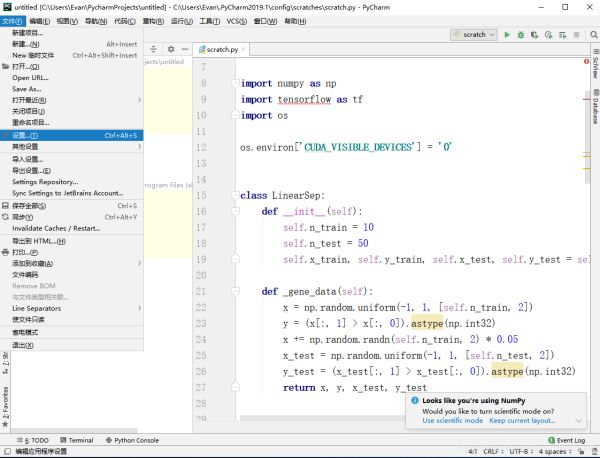
打开设置–项目–项目编辑器–点击Add
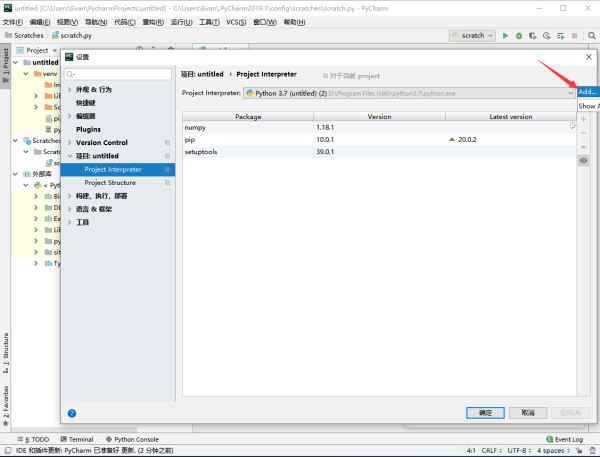
按下面步骤,设置环境就ok了
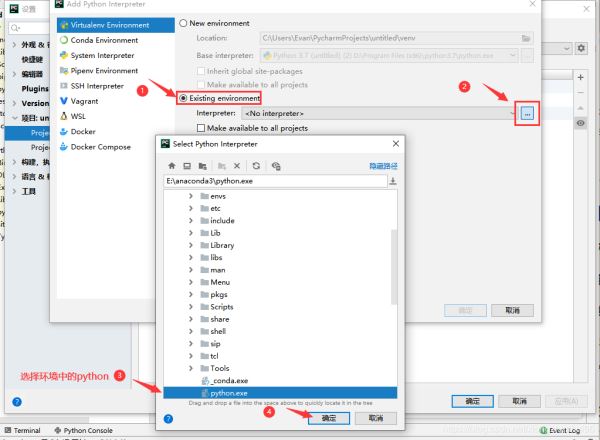
我们设置一个新环境,将环境再改为刚安装好的tensorflow1.9.0的版本,测试运行一个小程序。
# -*- coding: utf-8 -*-
"""
Created on Mon Nov 19 19:33:03 2018
@author: KUMA
"""
import numpy as np
import tensorflow as tf
import os
os.environ['CUDA_VISIBLE_DEVICES'] = '0'
class LinearSep:
 def __init__(self):
 self.n_train = 10
 self.n_test = 50
 self.x_train, self.y_train, self.x_test, self.y_test = self._gene_data()
 def _gene_data(self):
 x = np.random.uniform(-1, 1, [self.n_train, 2])
 y = (x[:, 1] > x[:, 0]).astype(np.int32)
 x += np.random.randn(self.n_train, 2) * 0.05
 x_test = np.random.uniform(-1, 1, [self.n_test, 2])
 y_test = (x_test[:, 1] > x_test[:, 0]).astype(np.int32)
 return x, y, x_test, y_test
# 随机生成数据
dataset = LinearSep()
X_train, Y_train = dataset.x_train, dataset.y_train
print(Y_train)
Y_train = np.eye(2)[Y_train]
X_test, Y_test = dataset.x_test, dataset.y_test
Y_test = np.eye(2)[Y_test]
x = tf.placeholder(tf.float32, [None, 2], name='input')
y = tf.placeholder(tf.float32, [None, 2], name='output')
w1 = tf.get_variable(name='w_fc1', shape=[2, 20], dtype=tf.float32)
b1 = tf.get_variable(name='b_fc1', shape=[20], dtype=tf.float32)
out = tf.matmul(x, w1) + b1
out = tf.nn.relu(out)
w2 = tf.get_variable(name='w_fc2', shape=[20, 2], dtype=tf.float32)
b2 = tf.get_variable(name='b_fc2', shape=[2], dtype=tf.float32)
out = tf.matmul(out, w2) + b2
out = tf.nn.softmax(out)
# cross entropy 损失函数
loss = -tf.reduce_mean(tf.reduce_sum(y * tf.log(out + 1e-8), axis=1), axis=0)
# 准确率
correct_pred = tf.equal(tf.argmax(y, axis=1), tf.argmax(out, axis=1))
accuracy = tf.reduce_mean(tf.cast(correct_pred, tf.float32))
# 定义优化器
train_op = tf.train.AdamOptimizer(1e-3).minimize(loss) # 1e-3 是学习律
# 初始化网络
# BATCH_SIZE = 128
EPOCH = 7000 # 优化次数
sess = tf.Session()
sess.run(tf.global_variables_initializer())
for ep in range(EPOCH):
 sess.run(train_op, feed_dict={x: X_train, y: Y_train})
 loss_train, acc_train = sess.run([loss, accuracy], feed_dict={x: X_train, y: Y_train})
 acc_test, pre_test = sess.run([accuracy, correct_pred], feed_dict={x: X_test, y: Y_test})
 if ep % 1000 == 0:
 print(ep, loss_train, acc_train, acc_test)
 print(Y_test.shape)
test_pre = sess.run(out, feed_dict={x: X_test, y: Y_test})
print(len(test_pre))
mask = np.argmax(test_pre, axis=1)
print(mask)
mask_0 = np.where(mask == 0)
mask_1 = np.where(mask == 1)
X_0 = X_train[mask_0]
X_1 = X_train[mask_1]
print(X_0)
结果如下:
`[1 0 1 0 1 1 1 0 1 1] T:\src\github\tensorflow\tensorflow\core\platform\cpu_feature_guard.cc:141] Your CPU supports instructions that this TensorFlow binary was not compiled to use: AVX2
0 0.81077516 0.1 0.34 (50, 2) 1000 0.013808459 1.0 0.82 (50, 2) 2000 0.0025899492 1.0 0.82 (50, 2) 3000 0.00088921207 1.0 0.82 (50, 2) 4000 0.00038405406 1.0 0.82 (50, 2) 5000 0.0001859894 1.0 0.82 (50, 2) 6000 8.420033e-05 1.0 0.82 (50, 2) 50 [0 1 1 1 0 0 1 1 1 1 1 1 0 1 0 0 1 1 0 1 1 0 0 0 1 1 1 0 1 1 1 1 1 1 1 1 0 0 1 1 0 1 0 0 1 1 0 1 1 1]`
其中出现 Your CPU supports instructions that this TensorFlow binary was not compiled to use: AVX2 这个没问题,可以忽略,能正常运行出结果。


