
User对象
User对象是认证系统的核心。它们通常表示与你的站点进行交互的用户,并用于启用限制访问、注册用户信息和关联内容给创建者等。在Django的认证框架中只存在一种类型的用户,因此诸如'superusers'或管理员'staff'用户只是具有特殊属性集的user对象,而不是不同类型的user对象。
创建users
创建users最直接的方法是使用create_user()辅助函数:
>>> from django.contrib.auth.models import User
>>> user = User.objects.create_user('john', 'lennon@thebeatles.com', 'johnpassword')
from django.contrib.auth.models import User
def create_user(request):
  #auth_user
  # user = User.objects.create_user('john', 'lennon@thebeatles.com', 'johnpassword')
  #superuser python manage.py createsuperuser --username=joe --email=joe@example.com
  u = User.objects.get(username='john')
  u.set_password('new password')
  u.save()
  return HttpResponse("success-----%s"%u)
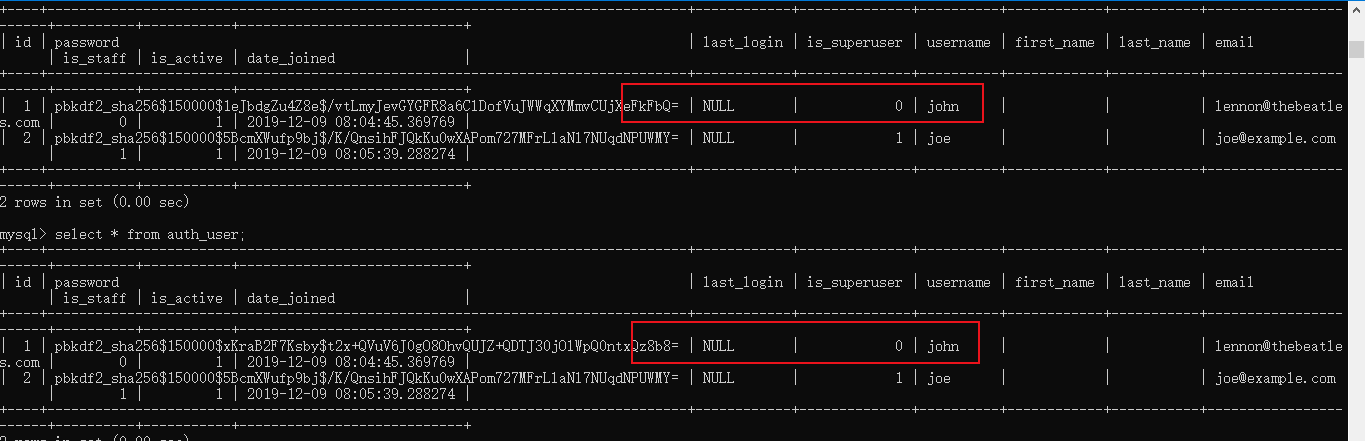
创建成功后见数据库auth_user表

创建superusers
使用createsuperuser命令创建superusers:
$ python manage.py createsuperuser --username=joe --email=joe@example.com
或者
$ python manage.py createsuperuser
接下来依次输入用户密码即可
成功后见auth_user表
修改密码
>>> from django.contrib.auth.models import User
>>> u = User.objects.get(username='john')
>>> u.set_password('new password')
>>> u.save()
成功后见auth_user表,密码已经改变
认证Users
authenticate(**credentials)[source]
认证一个给定用户名和密码,请使用authenticate()。它以关键字参数形式接收凭证,对于默认的配置它是username和password,如果密码对于给定的用户名有效它将返回一个User对象。如果密码无效,authenticate()返回None。例子:
from django.contrib.auth import authenticate
user = authenticate(username='john', password='secret')
if user is not None:
  # the password verified for the user
  if user.is_active:
    print()
  else:
    print()
else:
  # the authentication system was unable to verify the username and password
  print()
def auth(request):
  user = authenticate(username='john', password='new password')#john
  # user = authenticate(username='john', password='johnpassword')#None
  print(user)
  if user is not None:
    # the password verified for the user
    if user.is_active:
      print("验证成功,已激活")
    else:
      print("验证成功,未激活")
  else:
    # the authentication system was unable to verify the username and password
    print("没有此用户")
  return HttpResponse(user)
john
验证成功,已激活

以上就是本文的全部内容,希望对大家的学习有所帮助,也希望大家多多支持脚本之家。


