
本文实例为大家分享了iOS实现折叠单元格的具体代码,供大家参考,具体内容如下
思路
点击按钮或cell单元格来进行展开收缩, 同时使用一个BOOL值记录单元格展开收缩状态。根据BOOL值对tableView的高度和button的image进行实时变更。
注意点:
在执行- (void)tableView:(UITableView *)tableView didSelectRowAtIndexPath:(NSIndexPath *)indexPath( 点击当前单元格)方法时,收缩单元格,显示当前点击的单元格的内容。这一步骤的实现是对存储单元格内容的可变数组进行更改。
代码
//ViewController.h 中

#import <UIKit/UIKit.h>

@interface ViewController : UIViewController

@property UITableView *tableView;
@property UIButton *button;
@property NSMutableArray *imageViewArr;
@property NSMutableArray *labelArr;
@property BOOL select;    //记录单元格展开收缩状态

@end
//ViewController.m 中

#import "ViewController.h"
#import "ViewTableViewCell.h"
#import "Masonry.h"

@interface ViewController () <UITableViewDelegate, UITableViewDataSource>

@end

@implementation ViewController

- (void)viewDidLoad {
 [super viewDidLoad];

 self.view.backgroundColor = [UIColor colorWithWhite:0.92 alpha:1];

 _imageViewArr = [[NSMutableArray alloc] initWithObjects:@"1", @"2", @"3", @"4", @"5", nil];
 _labelArr = [[NSMutableArray alloc] initWithObjects:@"发起群聊", @"添加朋友", @"扫一扫", @"收付款", @"帮助与反馈", nil];

 _tableView = [[UITableView alloc] init];
 [self.view addSubview:_tableView];

 _tableView.frame = CGRectMake(100, 100, 130, 35);
 //以下使用Masonry对tableView进行约束, 约束不是很规范 可忽略
// [_tableView mas_makeConstraints:^(MASConstraintMaker *make) {
//  make.height.mas_offset(self.view.frame.size.height * 0.0485);
//  make.width.mas_offset(self.view.frame.size.width * 0.335);
//  make.left.equalTo(self.view.mas_left).offset(self.view.frame.size.width * 0.6);
//  make.top.equalTo(self.view.mas_top).offset(self.view.frame.size.height * 0.046);
//
// }];

 _tableView.delegate = self;
 _tableView.dataSource = self;
 [_tableView registerClass:[ViewTableViewCell class] forCellReuseIdentifier:@"cell"];

 _button = [UIButton buttonWithType:UIButtonTypeCustom];
 [self.view addSubview:_button];

 [_button mas_makeConstraints:^(MASConstraintMaker *make) {
  make.left.equalTo(_tableView.mas_right).offset(-28);
  make.top.equalTo(_tableView.mas_top).offset(4);
  make.height.mas_offset(self.view.frame.size.height * 0.0495 * 0.68);
  make.width.mas_offset(self.view.frame.size.width * 0.335 * 0.22);

 }];
 [_button setImage:[UIImage imageNamed:@"shou"] forState:UIControlStateNormal];
 [_button addTarget:self action:@selector(press) forControlEvents:UIControlEventTouchUpInside];
 //默认单元格为收缩 select为0
 _select = 0;
}

- (NSInteger)numberOfSectionsInTableView:(UITableView *)tableView {
 return 1;
}

- (NSInteger)tableView:(UITableView *)tableView numberOfRowsInSection:(NSInteger)section {
 //根据select的值来判断收缩展开状态,返回相应的行数
 if(_select == 0) {
  return 1;
 } else {
  return 5;
 }
}

- (CGFloat)tableView:(UITableView *)tableView heightForRowAtIndexPath:(NSIndexPath *)indexPath {
 return 40;
}

- (UITableViewCell *)tableView:(UITableView *)tableView cellForRowAtIndexPath:(NSIndexPath *)indexPath {

 ViewTableViewCell *cell = [tableView dequeueReusableCellWithIdentifier:@"cell" forIndexPath:indexPath];
 cell.iimageView.image = [UIImage imageNamed:_imageViewArr[indexPath.row]];
 cell.label.text = [NSString stringWithString:_labelArr[indexPath.row]];
 return cell;
}

//点击当前单元格
- (void)tableView:(UITableView *)tableView didSelectRowAtIndexPath:(NSIndexPath *)indexPath {

 //记录当前单元格的imageView 和 Label的内容
 NSString *imageViewStr = [NSString stringWithString:_imageViewArr[indexPath.row]];
 NSString *labelStr = [NSString stringWithString:_labelArr[indexPath.row]];

 //将当前单元格的内容插入可变数组,作为第一个元素
 [_imageViewArr insertObject:imageViewStr atIndex:0];
 [_labelArr insertObject:labelStr atIndex:0];

 //同时删除可变数组中当前单元格的原本所在位置
 [_imageViewArr removeObjectAtIndex:indexPath.row + 1];
 [_labelArr removeObjectAtIndex:indexPath.row + 1];

 //更新tableView
 [_tableView reloadData];

 //调用press方法, 变更tableView的高度 和 button的image
 [self press];

}


- (void)press {

 //通过判断select的值, 判断单元格的展开与收缩,更改tableView的高度 和 button的image
 if (_select == 0) {
  _select = 1;

  _tableView.frame = CGRectMake(100, 100, 130, 200);

  //以下使用masonry对tableView进行更新约束 (以下代码为更新tableView的高度)
//  [_tableView mas_updateConstraints:^(MASConstraintMaker *make) {
//   make.height.mas_offset(200);
//  }];

  [_button setImage:[UIImage imageNamed:@"kai"] forState:UIControlStateNormal];

 } else {
  _select = 0;
  _tableView.frame = CGRectMake(100, 100, 130, 35);
//  [_tableView mas_updateConstraints:^(MASConstraintMaker *make) {
//   make.height.mas_offset(self.view.frame.size.height * 0.0485);
//  }];

  [_button setImage:[UIImage imageNamed:@"shou"] forState:UIControlStateNormal];
 }
 [_tableView reloadData];
}

@end
// ViewTableViewCell.h 中

#import <UIKit/UIKit.h>

NS_ASSUME_NONNULL_BEGIN

@interface ViewTableViewCell : UITableViewCell

@property UIImageView *iimageView;
@property UILabel *label;

@end
//ViewTableViewCell.m中

#import "ViewTableViewCell.h"

@implementation ViewTableViewCell

- (instancetype)initWithStyle:(UITableViewCellStyle)style reuseIdentifier:(NSString *)reuseIdentifier {
 self = [super initWithStyle:style reuseIdentifier:reuseIdentifier];

 _iimageView = [[UIImageView alloc] init];
 [self.contentView addSubview:_iimageView];

 _label = [[UILabel alloc] init];
 [self.contentView addSubview:_label];
 return self;
}

- (void)layoutSubviews {
 [super layoutSubviews];
 _iimageView.frame = CGRectMake(5, 5, 25, 25);
 _label.frame = CGRectMake(37, 5, 80, 25);
 _label.font = [UIFont systemFontOfSize:15];
}

@end
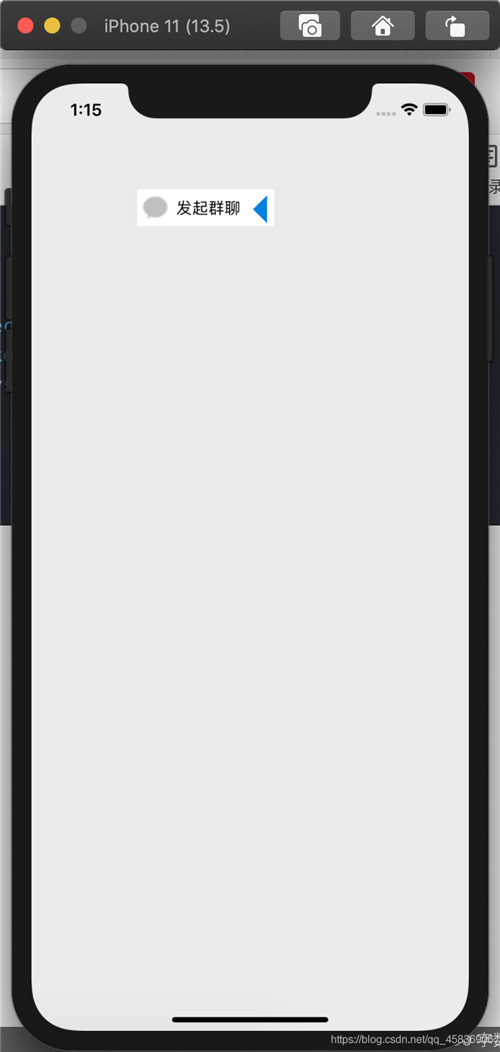
效果图如下
初始状态
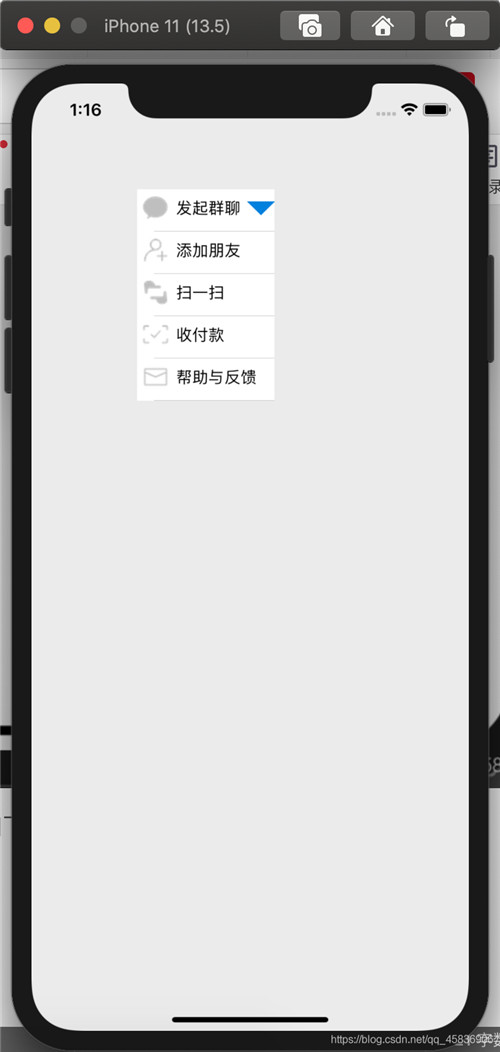
点击cell或点击按钮,显示如下:
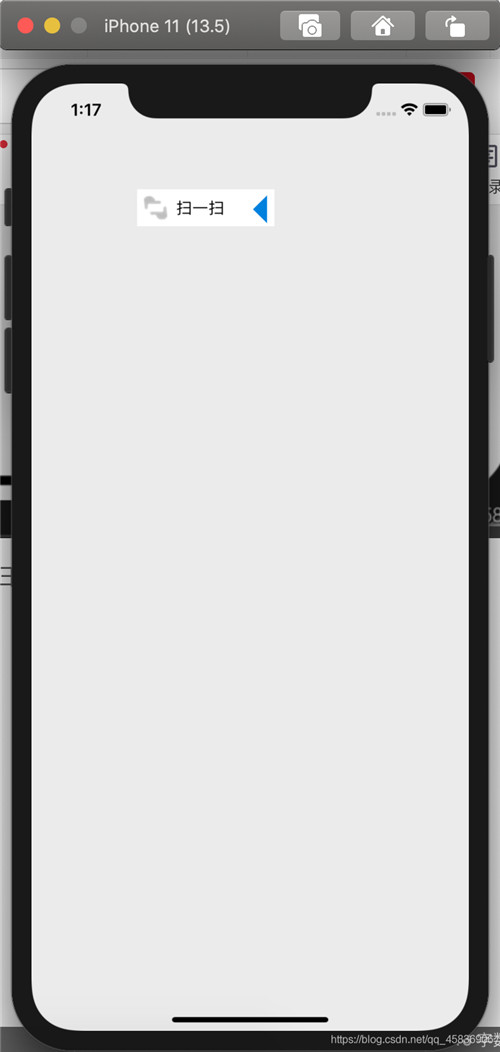
点击任意cell, 例如点击扫一扫,单元格收回,如图
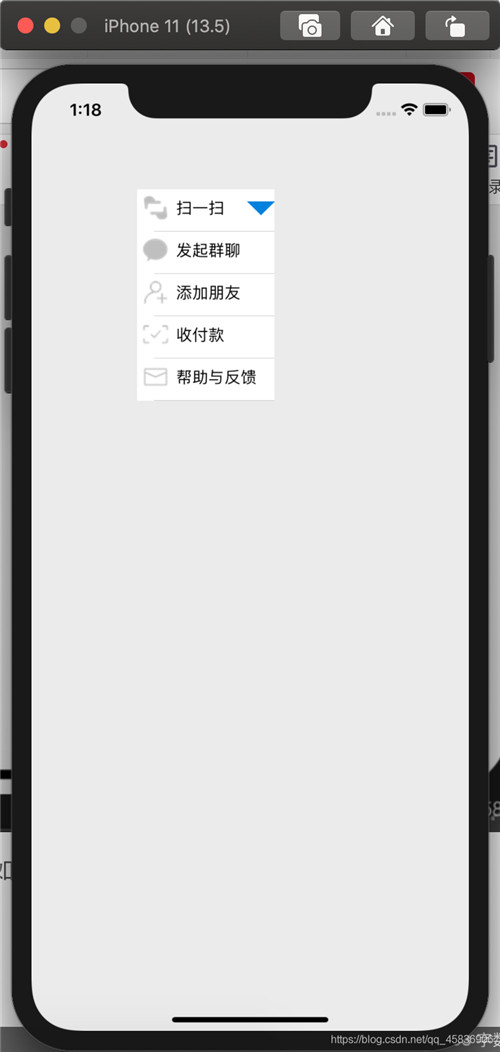
再次展开单元格, cell的内容如下:
以上就是本文的全部内容,希望对大家的学习有所帮助,也希望大家多多支持脚本之家。


