
本文实例为大家分享了Android九宫格图片展示的具体代码,供大家参考,具体内容如下
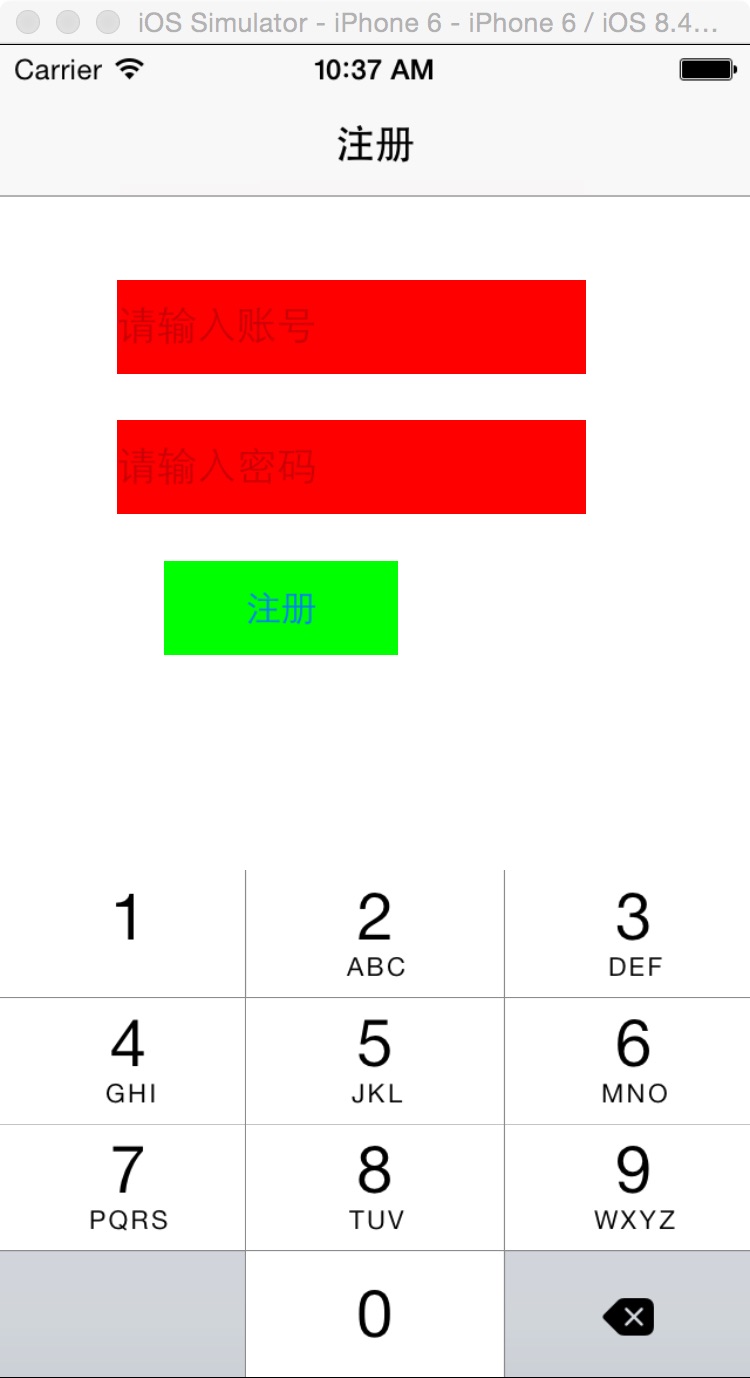
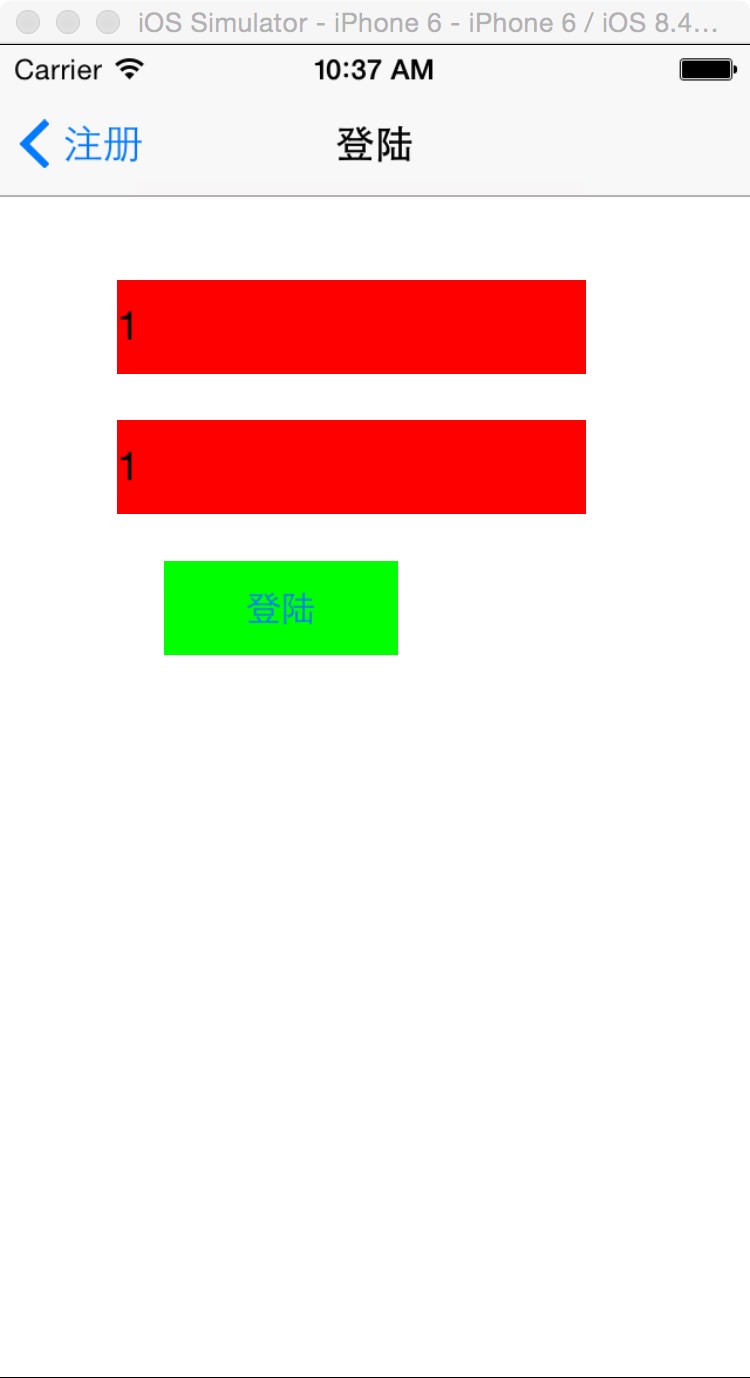
一、效果图
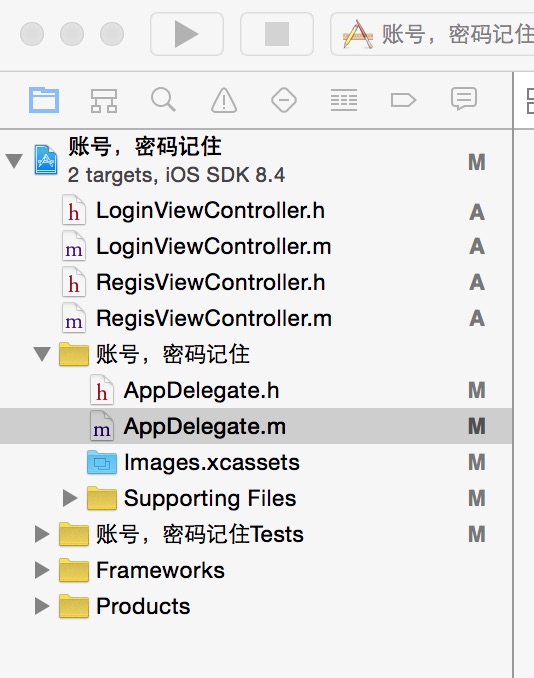
二、工程图
三、代码
RegisViewController.h
#import <UIKit/UIKit.h>

@interface RegisViewController : UIViewController

@end
RegisViewController.m
 //注册页面
#import "RegisViewController.h"
#import "LoginViewController.h"

@interface RegisViewController ()
{
  UITextField *accountField;
  UITextField *passField;
}

@end

@implementation RegisViewController

- (id)initWithNibName:(NSString *)nibNameOrNil bundle:(NSBundle *)nibBundleOrNil
{
  self = [super initWithNibName:nibNameOrNil bundle:nibBundleOrNil];
  if (self) {
    // Custom initialization
  }
  return self;
}

- (void)viewDidLoad
{
  [super viewDidLoad];
  // Do any additional setup after loading the view.

  self.title=@"注册";

  [self initView];

}
-(void)initView
{
  accountField=[[UITextField alloc]initWithFrame:CGRectMake(50, 100, 200, 40)];
  [accountField setBackgroundColor:[UIColor redColor]];
  [accountField setPlaceholder:@"请输入账号"];
  [accountField setKeyboardType:UIKeyboardTypeNumberPad];
  [accountField setClearsContextBeforeDrawing:YES];
  [self.view addSubview:accountField];


  passField=[[UITextField alloc]initWithFrame:CGRectMake(50, 160, 200, 40)];
  [passField setBackgroundColor:[UIColor redColor]];
  [passField setPlaceholder:@"请输入密码"];
  [passField setKeyboardType:UIKeyboardTypeNumberPad];
  [passField setClearsContextBeforeDrawing:YES];
  [self.view addSubview:passField];


  UIButton *registeBut=[UIButton buttonWithType:UIButtonTypeRoundedRect];
  registeBut.backgroundColor=[UIColor greenColor];
  registeBut.frame=CGRectMake(70, 220, 100, 40);
  [registeBut setTitle:@"注册" forState:UIControlStateNormal];
  [registeBut addTarget:self action:@selector(resis) forControlEvents:UIControlEventTouchUpInside];
  [self.view addSubview:registeBut];

}

//注册的时候,将账号,密码保存到本地。
-(void)resis
{

  NSUserDefaults *defaut=[NSUserDefaults standardUserDefaults];
  [defaut setObject:accountField.text forKey:@"account"];
  [defaut setObject:passField.text forKey:@"password"];
  [defaut synchronize];

  LoginViewController *login=[[LoginViewController alloc]init];
  [self.navigationController pushViewController:login animated:YES];


}
- (void)didReceiveMemoryWarning
{
  [super didReceiveMemoryWarning];
  // Dispose of any resources that can be recreated.
}
LoginViewController.h
#import <UIKit/UIKit.h>

@interface LoginViewController : UIViewController

@end
LoginViewController.m
 //登陆页面
#import "LoginViewController.h"

@class RegisViewController;
@interface LoginViewController ()
{
  UITextField *accountField;
  UITextField *passField;
}
@end

@implementation LoginViewController

- (id)initWithNibName:(NSString *)nibNameOrNil bundle:(NSBundle *)nibBundleOrNil
{
  self = [super initWithNibName:nibNameOrNil bundle:nibBundleOrNil];
  if (self) {
    // Custom initialization
  }
  return self;
}

- (void)viewDidLoad
{
  [super viewDidLoad];
  // Do any additional setup after loading the view.
  self.title=@"登陆";

  [self initView];

}
-(void)initView
{
  accountField=[[UITextField alloc]initWithFrame:CGRectMake(50, 100, 200, 40)];
  [accountField setBackgroundColor:[UIColor redColor]];
  [accountField setKeyboardType:UIKeyboardTypeNumberPad];
  [accountField setClearsContextBeforeDrawing:YES];
  [accountField setText:[[NSUserDefaults standardUserDefaults] objectForKey:@"account"]];
  [self.view addSubview:accountField];


  passField=[[UITextField alloc]initWithFrame:CGRectMake(50, 160, 200, 40)];
  [passField setBackgroundColor:[UIColor redColor]];
  [passField setText:[[NSUserDefaults standardUserDefaults] objectForKey:@"password"]];
  [passField setKeyboardType:UIKeyboardTypeNumberPad];
  [passField setClearsContextBeforeDrawing:YES];
  [self.view addSubview:passField];


  UIButton *loginBut=[UIButton buttonWithType:UIButtonTypeRoundedRect];
  loginBut.backgroundColor=[UIColor greenColor];
  loginBut.frame=CGRectMake(70, 220, 100, 40);
  [loginBut setTitle:@"登陆" forState:UIControlStateNormal];
  [loginBut addTarget:self action:@selector(login) forControlEvents:UIControlEventTouchUpInside];
  [self.view addSubview:loginBut];


}
-(void)login
{
  [self.navigationController popViewControllerAnimated:YES];
}
以上就是本文的全部内容,希望对大家的学习有所帮助,也希望大家多多支持脚本之家。


