
今天向朋友们推荐Maya建模--LCD显示器建模教程,教程介绍的制作步骤很详细,不过是英文教程,所以朋友们在学习是还要下一点功夫,希望教程对朋友们有所帮助!
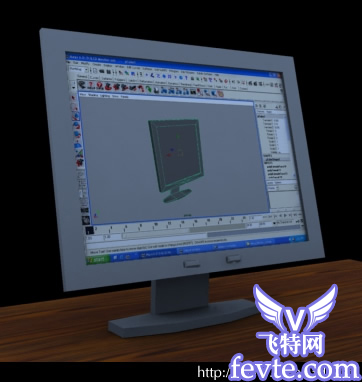
this tutorial will teach you how to model a basic lcd screen in maya using some of the very basic tools such as the extrude tool, the scale tool, the move tool, and the split polygon object tool. this is a beginner tutorial and you are not required to have anything more than basic knowledge on how to use maya. in the first page of this tutorial you will create the main shape of our lcd screen and the second page will describe the way to create the extra details such as the stand and the buttons. an example of what you can make by following this tutorial is illustrated in the image below.
start off by creating a new scene (file;new) and make sure that you have set the ui menu to the ;modeling; set (window;setting/preferences;preferences)
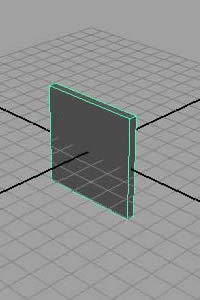
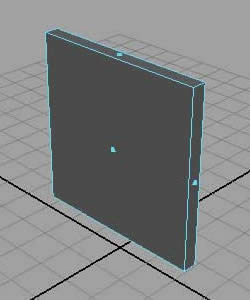
access the ;create; menu by going through ;polygon primitives; and then click on the small cubic icon next to ;cube; to insert a custom-made cube that should make up the screen part of our object. an option window should pop-up, use the values showed in the image below for the width, height, and depth and then click ;create;.
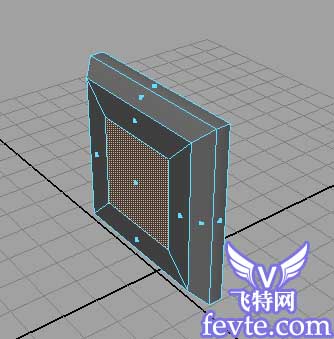
You should get a result similar to the one in the first image below. Right-click the model and drag your mouse while holding the right-click button to show the object transform menu. select ;Face; to select the face part of our model. The selection colour of our object should change.
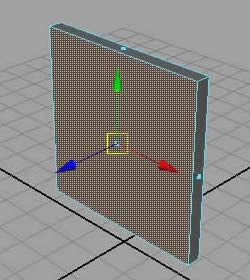
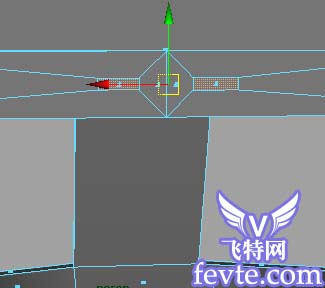
We will now start our extrusion process, use the ;Move tool;  to select the centre of the face of the cube. Go through the ;Edit Polygons; dropdown menu and pick ;Extrude Face;. This will create another layer that you can pull out using the ;Move too;, use the ;Scale tool;
  to pull the the new layer inwards as illustrated in the image below. This will require you to reduce the size on the y and x axis separately.

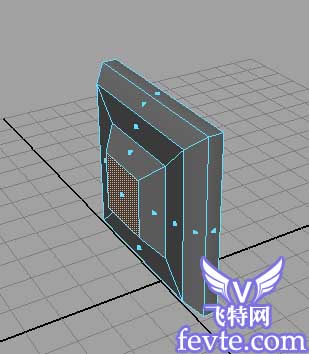
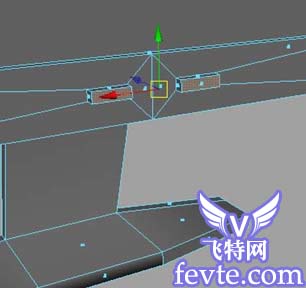
repeat the process again, use extrude face, and then move and scale to get a smaller bump on our object as illustrated in the image below.
repeat the process for a third time to get a result similar to the image illustrated below.
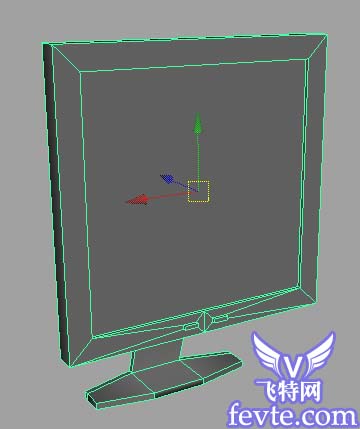
we will now leave the back for now and do the display part of our monitor. rotate the camera (alt+left mouse click) to view the front part of the monitor, select the centre of the face using the move tool and then extrude it. scale it down a little bit as illustrated in the image below and then apply extrude once more. move this new layer backwards using the move tool.
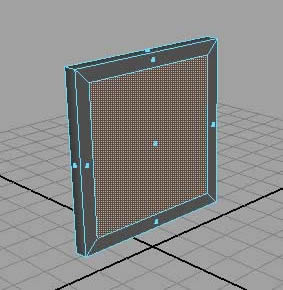
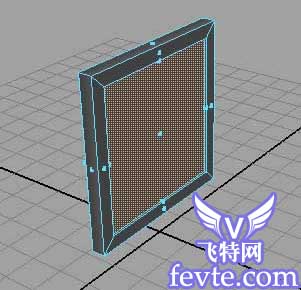
congratulations! this completed the basic shape of our monitor, the second part of our tutorial will describe the creation of the stand and the extra details of the object such as buttons, etc. click on the next page link below to continue.
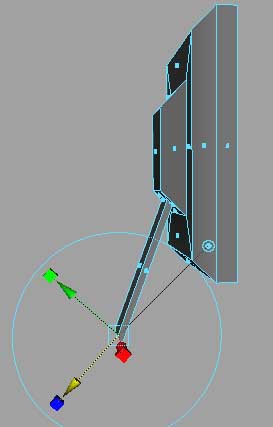
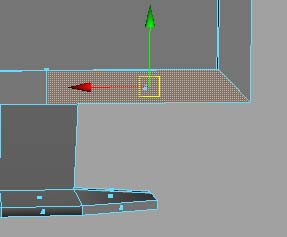
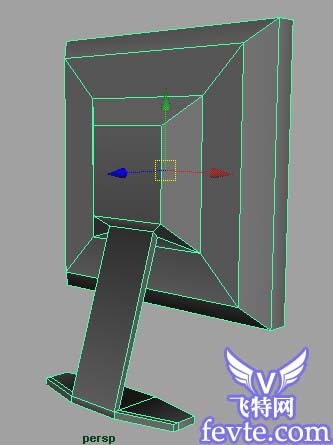
rotate the viewport to the lower back of our lcd screen. select the lower side of the last bump of the monitor using the move tool. extrude this face and reduce it in size.
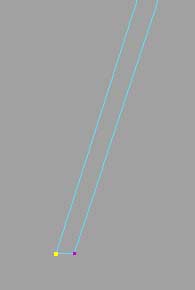
extrude that small face once again and pull it outwards using the move tool.
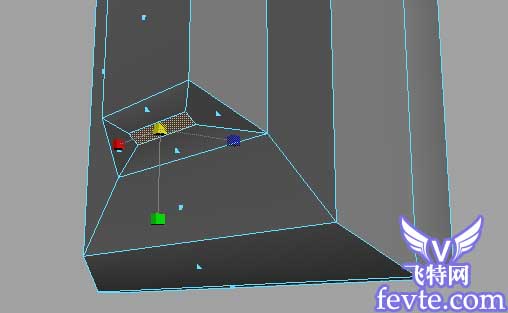
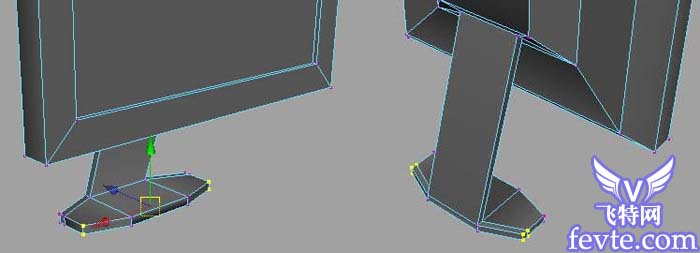
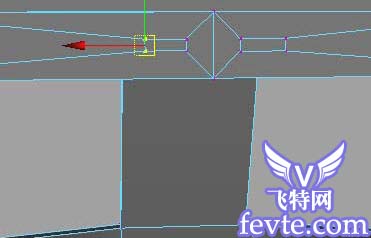
we will now have to flatten the lower end of our stand stick, make sure that you are viewing the model from the sideways, we will alter the vertex of our model instead of the facts, editing the vertex gives us greater control over the shape of the model. right-click and drag the mouse button to change the selection mode to ;vertex;. use the move tool to move one of the points so that it makes a straight horizontal line with the other point as illustrated in the image below. once you are done, right-click and drag the mouse to change the selection mode to ;face;.
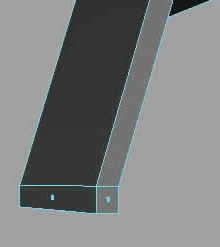
rotate the camera to see the bottom of your stand, extrude that part and then pull it downwards. rotate the camera to view the front part of that last section you extruded and extrude it towards the front side of the screen.

we will now extrude the two sides of the last part that was created. hold shift while selecting the first side using the move tool and then rotate the camera to select the other side. extrude both sides and then move and scale them to acquire a result similar to the one displayed below.

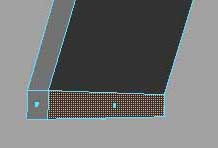
we will now start adding the buttons to the lower piece of the frame of our lcd screen. go through edit polygons;split polygon tool to access the tool that will let us split that piece of the frame into two faces. you will then have to click on the horizontal edges of that face to create your first split point, the percentage of the location of our split will be displayed in the status bar at the bottom of the window. make sure that you split it at 50%. a green dot should appear when you release the mouse click, create another split point at the lower part of the frame to split it into two.
the following shape was created using the process of extrusion with the help of the move and scale tools. this is a simple extra layer that was pulled forwards and then scaled down.
you will merely be required to extrude those faces once again and pull them forwards using the move tool.
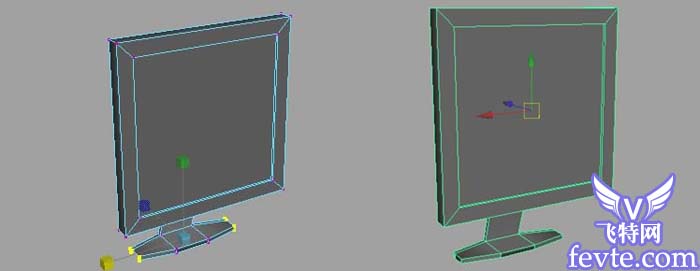
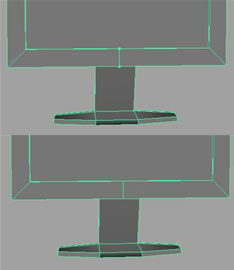
this should end the basic shape of our model, here is how the model i made looked like without any texturing.
here is the final render i created by applying a lambert material with the mental ray render with ambient light and cost shadows on. this concludes our tutorial, if you have any comments or questions to ask please email me at sunrise300@gmail.com or simply post at the oman3d forum.
- end of tutorial.
教程已完毕,希望大家看完本教程,都能学会利用MAYA制作LCD显示器建模,谢谢大家观看。


