Vue实现浏览器打印功能
实际项目中使用vue实现调用本地打印机打印功能
import vueEasyPrint from "vue-easy-print";
1.导入 “vue-easy-print”
2.编写打印模板
<template>
 <div>
  <div >
   <!-- 分页 -->
   <div class='tab_company_out'>
    <table cellpadding='0' cellspacing='0'>
     <tr>
      <th width='5%'>用户昵称</th>
      <th width='25%'>归属部门</th>
      <th width='5%'>手机号码</th>
      <th width='10%'>邮箱</th>
      <th width='5%'>用户名称</th>
      <th width='8%'>用户性别</th>
      <th width='8%'>状态</th>
      <th width='12%'>岗位</th>
      <th width='12%'>角色</th>
      <th width='10%'>备注</th>
     </tr>
     <!-- 每页显示onePageRow条数据 -->
     <tr >
      <td>{{tableData.nickName}}</td>
      <td>{{tableData.deptId}}</td>
      <td>{{tableData.phonenumber}}</td>
      <td>{{tableData.email}}</td>
      <td>{{tableData.userName}}</td>
      <td>{{tableData.sex}}</td>
      <td>{{tableData.status}}</td>
      <td>{{tableData.userName}}</td>
      <td>{{tableData.userName}}</td>
      <td></td>
     </tr>

    </table>

   </div>
  </div>
 </div>
</template>


<script>
export default {
 name: "printUser",
 // 制作打印模版组件时,props区域尽量保留。
 props: {
 // 接受的打印数据
 tableData: {},

 // 每页多少行
 onePageRow: {
  type: Number,
  default: 5
 },
 // 是否插入空白行
 blankLines: {
  type: Boolean,
  default: true
 },
 getChineseNumber: Function // 求数字的中文写法,从easyPrint组件传入
 },
 computed: {
 pages() {
  console.log(this.tableData);
  // 求当前数据能打印的页数
  /* var pages_ = Math.ceil(this.tableData.detail.length / this.onePageRow); // 向上取整数*/
  // return pages_ <= 0 ? 1 : pages_;
  return 1;
 },
 chineseTotal() {
  // 计算中文合计,如果忘记传入
  return this.getChineseNumber != null
  ? this.getChineseNumber(this.tableData.total_amount)
  : "您还没有传入getChineseNumber";
 }
 },

 methods: {

 test() {
  console.log("21111111111111");
  console.log("test");
 }
 }
};
</script>

<style scoped>
* {
 padding: 0;
 margin: 0;
 list-style-type: none;
 font-family: "微软雅黑";
 font-size: 12px;
}

.tab_company_out {
 text-align: center;
 width: 100%;
 margin: auto;
 page-break-after: always;
}

h3 {
 font-size: 14px;
}

.dan {
 text-align: center;
 position: relative;
}

.dan span {
 position: absolute;
 right: 0;
}

p {
 overflow: hidden;
 padding: 10px 0;
}

p span {
 float: left;
}

p span ins {
 text-decoration: underline;
}

p time {
 float: right;
}

table {
 width: 100%;
 border: none;
 border-bottom: 1px solid #000;
}

table tr td {
 border: 1px solid #000;
 border-bottom: none;
 border-right: none;
 height: 20px;
 line-height: 20px;
}

table tr td:last-of-type,
table tr th:last-of-type {
 border-right: 1px solid #000;
}

table tr th {
 border-top: 1px solid #000;
 border-left: 1px solid #000;
 height: 22px;
 line-height: 22px;
 font-size: 12px;
}

table tr th:nth-child(2) {
 width: 0;
}

.lu {
 display: inline-block;
 padding-top: 10px;
}

.lu li {
 float: left;
 text-align: left;
 margin-right: 15px;
}

.lu li label {
 width: 100px;
 display: inline-block;
}

.lu li:last-of-type {
 margin-right: 0;
}

@page{
 size: auto A4 landscape;
 margin: 3mm;
}
</style>
3.在需要添加打印功能的界面引入打印模板
import printUser from "./printUser";
4.注册模板 printUser 和vueEasyPrint
components: { vueEasyPrint,printUser },
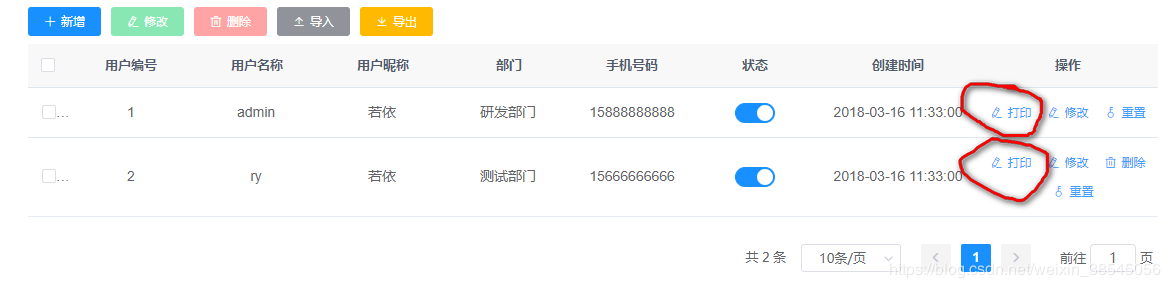
5.添加打印按钮。
el-button size="mini" type="text" icon="el-icon-edit"
 @click="printDemo(scope.row)" v-hasPermi="['system:user:edit']" >打印
    **<vue-easy-print** tableShow ref="easyPrint" v-show="false" >
     <template slot-scope="func">
     **<print-user** :getChineseNumber="func.getChineseNumber" :tableData="tabledata">**</print-user>**
     </template>
    **</vue-easy-print>**
 </el-button>
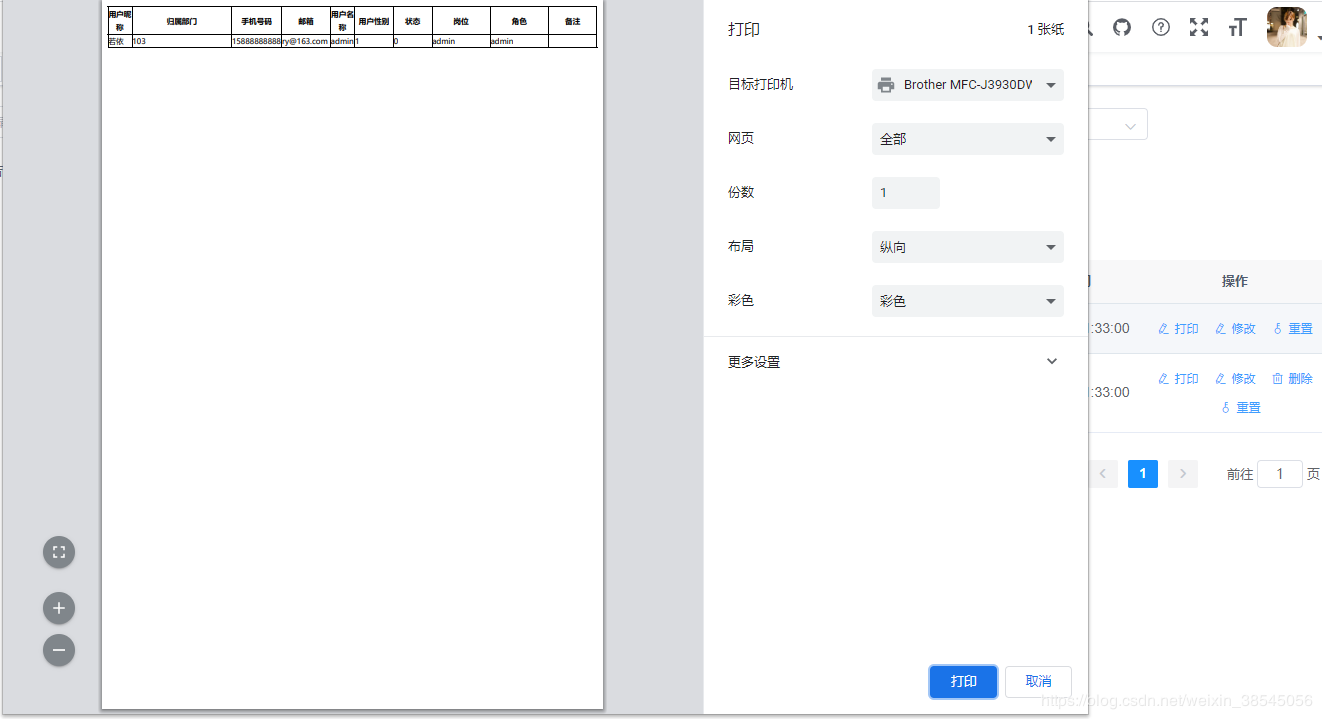
6.将要打印的内容传值到模板
printDemo(row) {
  this.reset();
  const userId = row.userId || this.ids;
  getUser(userId).then(response => {
  this.tabledata = response.data;
  //注:此处使用延时的原因是,防止点击打印都,打印内容还未渲染到模板,导致打印页面显示空白。
  setTimeout(() =>{
   this.$refs.easyPrint.print();
  },100);
  });

 },
7.打印模板接收值并赋值到打印模板(打印模板可根据业务需求自行调整)
export default {
 name: "printUser",
 // 制作打印模版组件时,props区域尽量保留。
 props: {
 // 接受的打印数据,此处父子组件传值,在子组件(模板)定义一个对象(若为集合或者其他类型,自行定义)tableData,用于接收父组件传递的值,
 tableData: {},

 // 每页多少行
 onePageRow: {
  type: Number,
  default: 5
 },
 // 是否插入空白行
 blankLines: {
  type: Boolean,
  default: true
 },
 getChineseNumber: Function // 求数字的中文写法,从easyPrint组件传入
 },
 computed: {
 pages() {
  console.log(this.tableData);
  // 求当前数据能打印的页数
  /* var pages_ = Math.ceil(this.tableData.detail.length / this.onePageRow); // 向上取整数*/
  // return pages_ <= 0 ? 1 : pages_;
  return 1;
 },
 chineseTotal() {
  // 计算中文合计,如果忘记传入
  return this.getChineseNumber != null
  ? this.getChineseNumber(this.tableData.total_amount)
  : "您还没有传入getChineseNumber";
 }
 },

 methods: {

 test() {
  console.log("21111111111111");
  console.log("test");
 }
 }
};
实现功能的界面如下: