
1.导入jar包:
 <!--jmsTemplate-->
  <dependency>
   <groupId>org.springframework.boot</groupId>
   <artifactId>spring-boot-starter-activemq</artifactId>
  </dependency>
  <dependency>
   <groupId>org.apache.activemq</groupId>
   <artifactId>activemq-pool</artifactId>
  </dependency>
2.填写配置文件(application.properties)
#设置JMS(AMQ)
spring.activemq.broker-url=tcp://localhost:61616
spring.activemq.user=admin
spring.activemq.password=admin
spring.activemq.pool.enabled=true
#spring.jms.pub-sub-domain=true
spring.activemq.pool.max-connections=50
spring.activemq.pool.expiry-timeout=10000
spring.activemq.pool.idle-timeout=30000
上面需要注意的是,如果开启订阅者和发布者模式下面的代码会使监听器失效。
3.编写控制器代码
@RestController
@RequestMapping("/Jms")
public class ProducerController {

 @Autowired
 private JmsProducerService jmsProducerService;

 @RequestMapping("/send")
 public void contextLoads() throws InterruptedException {
  Destination destination = new ActiveMQQueue("mytest.queue");
  for(int i=0; i<10; i++){
   jmsProducerService.sendMessage(destination, "我是超人啊");
  }
  System.out.println("发送成功");
 }

}
4.服务层代码:
package com.zzf.finals.service.impl;

import com.zzf.finals.service.JmsProducerService;
import org.springframework.beans.factory.annotation.Autowired;
import org.springframework.jms.core.JmsTemplate;
import org.springframework.stereotype.Service;

import javax.jms.Destination;

@Service
public class JmsProducerServiceImpl implements JmsProducerService {

 @Autowired
 private JmsTemplate jmsTemplate;

 @Override
 public void sendMessage(Destination destination, String message) {
  this.jmsTemplate.convertAndSend(destination,message);
 }
}
5.最后加上监听器类
package com.zzf.finals.domain;

import org.springframework.jms.annotation.JmsListener;
import org.springframework.stereotype.Component;

@Component
public class Consumer {

 @JmsListener(destination = "mytest.queue")
 public void receiveQueue(String text) {
  System.out.println("Message:"+text);
 }
}

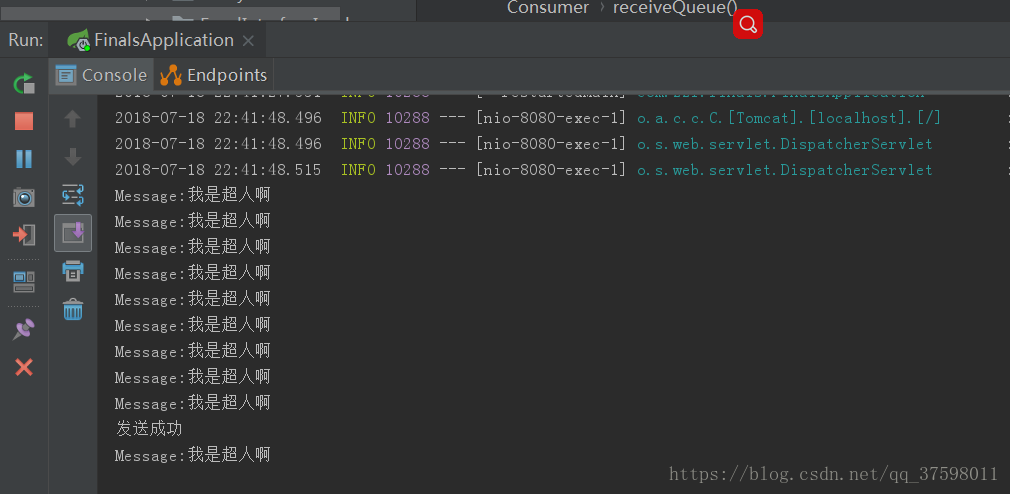
OK~
但是这样有另外一个问题:如果开启了订阅者和发布者模式则无法发送和接收queue消息。
这里我提供两种写法xml和java配置:
首先贴上我的xml配置代码
<?xml version="1.0" encoding="UTF-8"?>
<beans xmlns="http://www.springframework.org/schema/beans"
  xmlns:xsi="http://www.w3.org/2001/XMLSchema-instance"
  xsi:schemaLocation="http://www.springframework.org/schema/beans
  http://www.springframework.org/schema/beans/spring-beans.xsd">

 <!--连接池,内部引入一个连接工厂-->
 <bean id="jmsFactory" class="org.apache.activemq.pool.PooledConnectionFactory"
   destroy-method="stop">
  <property name="connectionFactory">
   <bean class="org.apache.activemq.ActiveMQConnectionFactory">
    <property name="brokerURL">
     <value>tcp://localhost:61616</value>
    </property>
   </bean>
  </property>
  <property name="maxConnections" value="100"></property>
 </bean>


 <bean id="destinationQueue" class="org.apache.activemq.command.ActiveMQQueue">
  <constructor-arg name="name" value="spring-queue"/>
 </bean>

 <!--测试Topic-->
 <bean id="destinationTopic" class="org.apache.activemq.command.ActiveMQTopic">
  <constructor-arg name="name" value="spring-topic"/>
 </bean>

 <!--配置消息容器-->
 <bean id="TopicContainers" class="org.springframework.jms.config.DefaultJmsListenerContainerFactory">
  <property name="pubSubDomain" value="true"/>
  <property name="connectionFactory" ref="jmsFactory"/>
 </bean>

 <!--配置队列消息容器-->
 <bean id="QueueContainers" class="org.springframework.jms.config.DefaultJmsListenerContainerFactory">
  <property name="connectionFactory" ref="jmsFactory"/>
 </bean>

</beans>
JavaConfig配置为:
package com.zzf.finals.domain;

import org.apache.activemq.command.ActiveMQQueue;
import org.apache.activemq.command.ActiveMQTopic;
import org.springframework.context.annotation.Bean;
import org.springframework.context.annotation.Configuration;
import org.springframework.jms.config.DefaultJmsListenerContainerFactory;
import org.springframework.jms.config.JmsListenerContainerFactory;

import javax.jms.ConnectionFactory;
import javax.jms.Queue;
import javax.jms.Topic;

@Configuration
public class JmsConfig {
 public final static String TOPIC = "topic.test";
 public final static String QUEUE = "queue.test";
 @Bean
 public Queue queue() {
  return new ActiveMQQueue(QUEUE);
 }

 @Bean
 public Topic topic() {
  return new ActiveMQTopic(TOPIC);
 }

 // topic模式的ListenerContainer
 @Bean
 public JmsListenerContainerFactory<?> jmsListenerContainerTopic(ConnectionFactory activeMQConnectionFactory) {
  DefaultJmsListenerContainerFactory bean = new DefaultJmsListenerContainerFactory();
  bean.setPubSubDomain(true);
  bean.setConnectionFactory(activeMQConnectionFactory);
  return bean;
 }
 // queue模式的ListenerContainer
 @Bean
 public JmsListenerContainerFactory<?> jmsListenerContainerQueue(ConnectionFactory activeMQConnectionFactory) {
  DefaultJmsListenerContainerFactory bean = new DefaultJmsListenerContainerFactory();
  bean.setConnectionFactory(activeMQConnectionFactory);
  return bean;
 }

}
控制台代码为:
package com.zzf.finals.controller;

import com.zzf.finals.service.JmsProducerService;
import org.apache.activemq.command.ActiveMQQueue;
import org.springframework.beans.factory.annotation.Autowired;
import org.springframework.web.bind.annotation.RequestMapping;
import org.springframework.web.bind.annotation.RestController;

import javax.jms.Destination;
import javax.jms.Queue;
import javax.jms.Topic;

@RestController
@RequestMapping("/Jms")
public class ProducerController {

 @Autowired
 private JmsProducerService jmsProducerService;
 @Autowired
 private Topic topic;
 @Autowired
 private Queue queue;

 @Autowired
 private Topic destinationTopic;
 @Autowired
 private Queue destinationQueue;


 @RequestMapping("/send3")
 public void testJms2() {
  for (int i=0;i<10;i++) {
   jmsProducerService.sendMessage(destinationQueue,"queue,world!" + i);
   jmsProducerService.sendMessage(destinationTopic, "topic,world!" + i);
  }
 }

 @RequestMapping("/send2")
 public void testJms() {
  for (int i=0;i<10;i++) {
   jmsProducerService.sendMessage(queue,"queue,world!" + i);
   jmsProducerService.sendMessage(topic, "topic,world!" + i);
  }
 }

  @RequestMapping("/send")
 public void contextLoads() throws InterruptedException {
  Destination destination = new ActiveMQQueue("mytest.queue");
  for(int i=0; i<10; i++){
   jmsProducerService.sendMessage(destination, "我是超人啊");
  }
  System.out.println("发送成功");
 }
}
最后的监听器类:
package com.zzf.finals.domain;
import org.springframework.jms.annotation.JmsListener;
import org.springframework.stereotype.Component;
@Component
public class Consumer {
@JmsListener(destination = "mytest.queue")
public void receiveQueue(String text) {
System.out.println("Message:"+text);
}
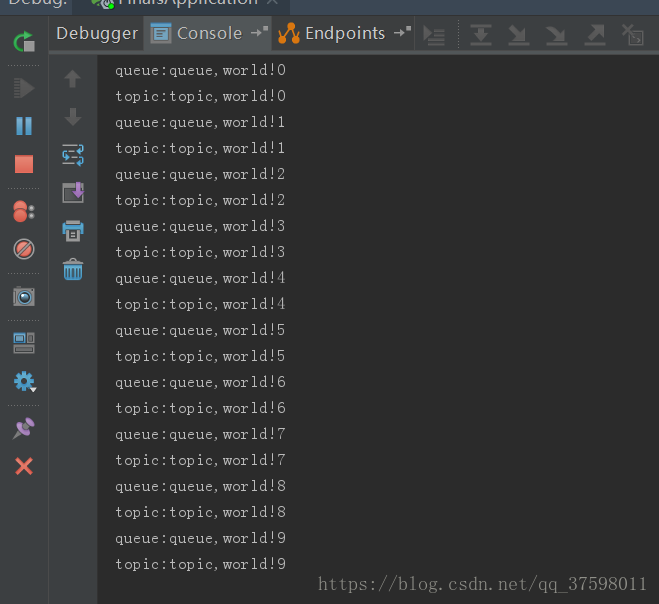
@JmsListener(destination = JmsConfig.TOPIC,containerFactory = "jmsListenerContainerTopic")
public void onTopicMessage(String msg) {
System.out.println("topic:"+msg);
}
@JmsListener(destination = JmsConfig.QUEUE,containerFactory = "jmsListenerContainerQueue")
public void onQueueMessage(String msg) {
System.out.println("queue:"+msg);
}
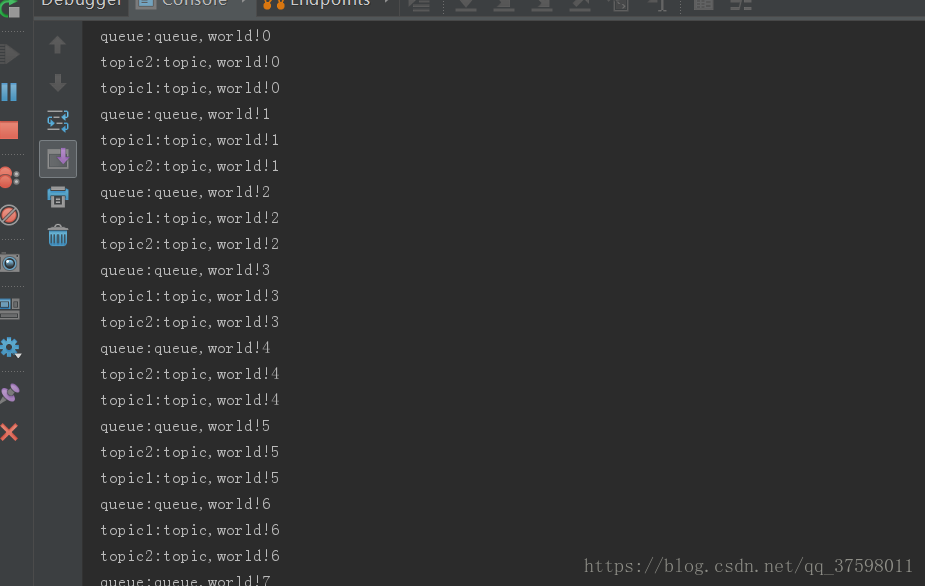
@JmsListener(destination = "spring-topic",containerFactory = "TopicContainers")
public void onTopicMessageXML(String msg) {
System.out.println("topic1:"+msg);
}
@JmsListener(destination = "spring-topic",containerFactory = "TopicContainers")
public void onTopicMessageXML2(String msg) {
System.out.println("topic2:"+msg);
}
@JmsListener(destination = "spring-queue",containerFactory = "QueueContainers")
public void onQueueMessageXML(String msg) {
System.out.println("queue:"+msg);
}
}
![]()
![]()
OK~JmsTemplate的使用和配置Demo就完成了 ,有兴趣的可以自己跑下试试


