
前提:
1.Springboot项目
2.引入maven 依赖
 <dependency>
      <groupId>org.springframework.boot</groupId>
      <artifactId>spring-boot-starter-mail</artifactId>
    </dependency>
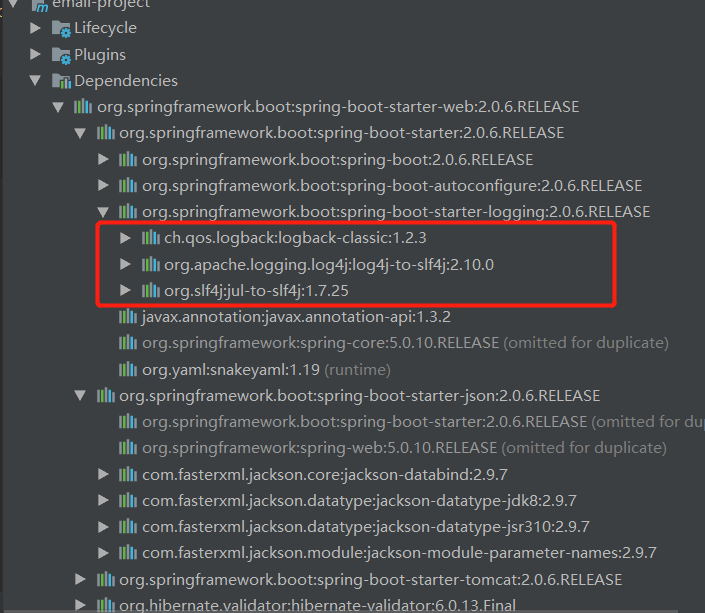
以下代码中涉及到的maven依赖有日志依赖,但是springboot都有集成,不用重新引入依赖
Application(程序入口)
package com.springbootemaildemo;

import org.springframework.boot.SpringApplication;
import org.springframework.boot.autoconfigure.SpringBootApplication;
import org.springframework.scheduling.annotation.EnableScheduling;
import springfox.documentation.swagger2.annotations.EnableSwagger2;
/**
 * 引入了一个注解@EnableSwagger2来启动swagger注解。(启动该注解使得用在controller中的swagger注解生效, 覆盖的范围由@ComponentScan的配置来指定,
 * 这里默认指定为根路径”com.springboot”下的所有controller)
 * 也可以单独写衣swaggerConfigura
 */
@EnableScheduling //启动定时任务
@EnableSwagger2 //启动swagger注解
@SpringBootApplication
public class MailApplication {
  public static void main(String[] args) {
    SpringApplication.run(MailApplication.class, args);
  }
}
MailJob(定时任务类)
package com.springbootemaildemo.job;

import com.springbootemaildemo.send.SendMail;
import com.springbootemaildemo.send.TenSenvenMail;
import org.slf4j.Logger;
import org.slf4j.LoggerFactory;
import org.springframework.scheduling.annotation.EnableScheduling;
import org.springframework.scheduling.annotation.Scheduled;
import org.springframework.stereotype.Component;

import javax.annotation.Resource;

@Component
@EnableScheduling
public class MailJob {
  private static final Logger logger = LoggerFactory.getLogger(MailJob.class);

  @Resource
  SendMail sendMail;

  @Resource
  TenSenvenMail tenSenvenMail;

  //@Scheduled(cron = "0/5 * * * * ?")
  //或直接指定时间间隔,例如:100秒
  // @Scheduled(fixedRate=100000)
  //早晨7点
  @Scheduled(cron = "0 0 7 * * ?")
  public void sendJob() {
    String bodyTen = "早安哇,太阳出来啦,记得开心哟";
    String bodyWen = "记得开心哟";
    logger.info("定时任务开始..........................");
    sendMail.sendWen(bodyWen);
    tenSenvenMail.sendTen(bodyTen);
    logger.info("定时任务结束..........................");
  }
}
@EnableScheduling 这个注解是 开启定时任务。
发送邮件代码:
发送普通的邮件(发送邮件类):
package com.springbootemaildemo.send;

import org.slf4j.Logger;
import org.slf4j.LoggerFactory;
import org.springframework.stereotype.Component;

import javax.mail.Message;
import javax.mail.MessagingException;
import javax.mail.Session;
import javax.mail.Transport;
import javax.mail.internet.InternetAddress;
import javax.mail.internet.MimeMessage;
import java.util.Date;
import java.util.Properties;


@Component
public class SendMail {
  private static final Logger logger = LoggerFactory.getLogger(SendMail.class);

  public void sendWen(String body) {
    logger.info("开始发送..................");
    String from = "212212@qq.com";
    String to = "5456456@qq.com";
    String subject = "HAPPY";
    String smtpHost = "smtp.qq.com";
    Properties props = new Properties();
    props.setProperty("mail.transport.protocol", "smtp"); // 使用的协议(JavaMail规范要求)
    props.setProperty("mail.smtp.host", smtpHost); // 发件人的邮箱的 SMTP服务器地址
    props.setProperty("mail.smtp.auth", "true"); // 请求认证,参数名称与具体实现有关

    // 创建Session实例对象
    Session session = Session.getDefaultInstance(props);
    // 创建MimeMessage实例对象
    MimeMessage message = new MimeMessage(session);
    // 设置发件人
    try {
      message.setFrom(new InternetAddress(from));
      // 设置收件人
      message.setRecipients(Message.RecipientType.TO, InternetAddress.parse(to));
      // 设置发送日期
      message.setSentDate(new Date());
      // 设置邮件主题
      message.setSubject(subject);
      // 设置纯文本内容的邮件正文
      message.setText(body);
      // 保存并生成最终的邮件内容
      message.saveChanges();
      // 设置为debug模式, 可以查看详细的发送 log
      session.setDebug(true);
      // 获取Transport对象
      Transport transport = session.getTransport("smtp");
      // 第2个参数需要填写的是QQ邮箱的SMTP的授权码,什么是授权码,它又是如何设置?
      transport.connect(from, "ipeiquufachheefg");
      // 发送,message.getAllRecipients() 获取到的是在创建邮件对象时添加的所有收件人, 抄送人, 密送人
      transport.sendMessage(message, message.getAllRecipients());
      logger.info("发送完成");
      transport.close();
    } catch (MessagingException e) {
      e.printStackTrace();
    }
  }
}
以上就是本文的全部内容,希望对大家的学习有所帮助,也希望大家多多支持脚本之家。


