
IOS打开照相机与本地相册选择图片
最近正好项目里面要集成“打开照相机与本地相册选择图片”的功能,今天就在这边给大家写一个演示程序;打开相机拍摄后或者在相册中选择一张照片,然后将它显示在界面上。好了废话不多说,因为比较简单直接上源码。
首先,我们在头文件中添加需要用到的actionSheet控件,显示图片的UIImageView控件,并且加上所需要的协议
#import <UIKit/UIKit.h>

@interface ImagePickerViewController : UIViewController<UIImagePickerControllerDelegate,UIActionSheetDelegate,UINavigationControllerDelegate>

@property (strong, nonatomic) IBOutlet UIImageView *headImage;

@property (strong, nonatomic) UIActionSheet *actionSheet;

- (IBAction)clickPickImage:(id)sender;
@end
通过点击我设置在界面中的按钮来呼出actionSheet控件,来选择相应的操作拍照或是在相册中选择相片,代码如下:
//
// ImagePickerViewController.m
// testAuto
//
// Created by silicon on 15/5/9.
// Copyright (c) 2015年 silicon. All rights reserved.
//

#import "ImagePickerViewController.h"

@interface ImagePickerViewController ()

@end

@implementation ImagePickerViewController

@synthesize actionSheet = _actionSheet;

- (void)viewDidLoad {
  [super viewDidLoad];
  // Do any additional setup after loading the view from its nib.

}

- (void)didReceiveMemoryWarning {
  [super didReceiveMemoryWarning];
  // Dispose of any resources that can be recreated.
}


/**
 @ 调用ActionSheet
 */
- (void)callActionSheetFunc{
  if([UIImagePickerController isSourceTypeAvailable:UIImagePickerControllerSourceTypeCamera]){
    self.actionSheet = [[UIActionSheet alloc] initWithTitle:@"选择图像" delegate:self cancelButtonTitle:@"取消" destructiveButtonTitle:nil otherButtonTitles:@"拍照", @"从相册选择", nil nil];
  }else{
    self.actionSheet = [[UIActionSheet alloc] initWithTitle:@"选择图像" delegate:self cancelButtonTitle:@"取消"destructiveButtonTitle:nil otherButtonTitles:@"从相册选择", nil nil];
  }

  self.actionSheet.tag = 1000;
  [self.actionSheet showInView:self.view];
}

// Called when a button is clicked. The view will be automatically dismissed after this call returns
- (void)actionSheet:(UIActionSheet *)actionSheet clickedButtonAtIndex:(NSInteger)buttonIndex{
  if (actionSheet.tag == 1000) {
    NSUInteger sourceType = UIImagePickerControllerSourceTypePhotoLibrary;
    // 判断是否支持相机
    if([UIImagePickerController isSourceTypeAvailable:UIImagePickerControllerSourceTypeCamera]) {
      switch (buttonIndex) {
        case 0:
          //来源:相机
          sourceType = UIImagePickerControllerSourceTypeCamera;
          break;
        case 1:
          //来源:相册
          sourceType = UIImagePickerControllerSourceTypePhotoLibrary;
          break;
        case 2:
          return;
      }
    }
    else {
      if (buttonIndex == 2) {
        return;
      } else {
        sourceType = UIImagePickerControllerSourceTypeSavedPhotosAlbum;
      }
    }
    // 跳转到相机或相册页面
    UIImagePickerController *imagePickerController = [[UIImagePickerController alloc] init];
    imagePickerController.delegate = self;
    imagePickerController.allowsEditing = YES;
    imagePickerController.sourceType = sourceType;

    [self presentViewController:imagePickerController animated:YES completion:^{

    }];
  }
}

- (void)imagePickerController:(UIImagePickerController *)picker didFinishPickingMediaWithInfo:(NSDictionary *)info
{
  [picker dismissViewControllerAnimated:YES completion:^{

  }];

  UIImage *image = [info objectForKey:UIImagePickerControllerOriginalImage];
  self.headImage.image = image;
}

/*
#pragma mark - Navigation

// In a storyboard-based application, you will often want to do a little preparation before navigation
- (void)prepareForSegue:(UIStoryboardSegue *)segue sender:(id)sender {
  // Get the new view controller using [segue destinationViewController].
  // Pass the selected object to the new view controller.
}
*/

- (IBAction)clickPickImage:(id)sender {

  [self callActionSheetFunc];
}
@end
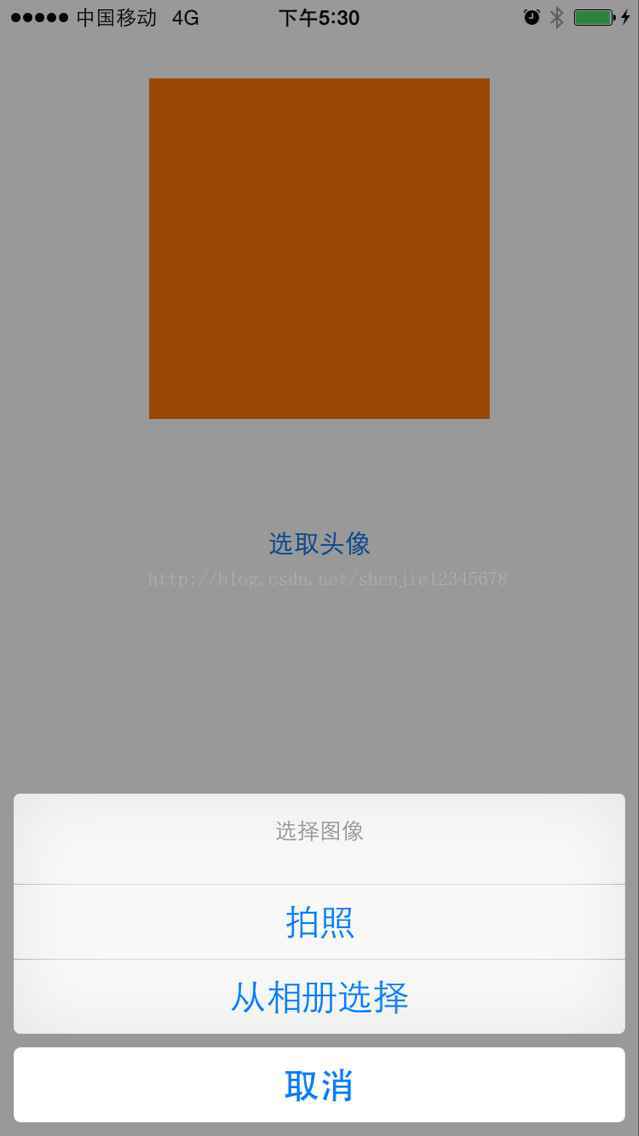
代码比较简单,也容易理解,运行的效果如下:

感谢阅读,希望能帮助到大家,谢谢大家对本站的支持!


