
说到抽屉效果在iOS中比较有名的第三方类库就是PPRevealSideViewController。一说到第三方类库就自然而然的想到我们的CocoaPods,本文用CocoaPods引入PPRevealSideViewController,然后在我们的工程中以代码结合storyboard来做出抽屉效果。
一、在工程中用CocoaPods引入第三方插件PPRevealSideViewController.
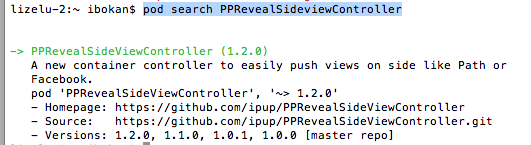
(1).在终端中搜索PPRevealSideViewController的版本
(2).在Podfile中添加相应的版本库

(3).之后保存一下Podfile文件,然后执行pod install即可
二、为我们的工程添加pch文件
因为用的是XCode6, 上面默认是没有pch文件的,如果我们想使用pch文件,需要手动添加,添加步骤如下
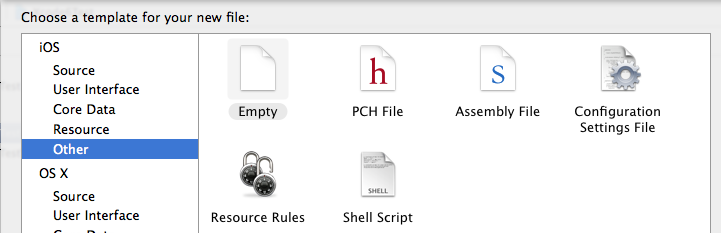
1.在XCode6中是么有pch文件的,如下图

2.创建pch文件

3.配置pch文件
(1)、找工程的Targets->Build Settings->Apple LLVM 6.0 - Language

(2)在Prefix Header下面的Debug和Release下添加$(SRCROOT)/工程名/pch文件,入下图

三、使用PPRevealSideViewController来实现抽屉效果
当然了首先在pch文件中引入我们的第三方类库,然后使用即可
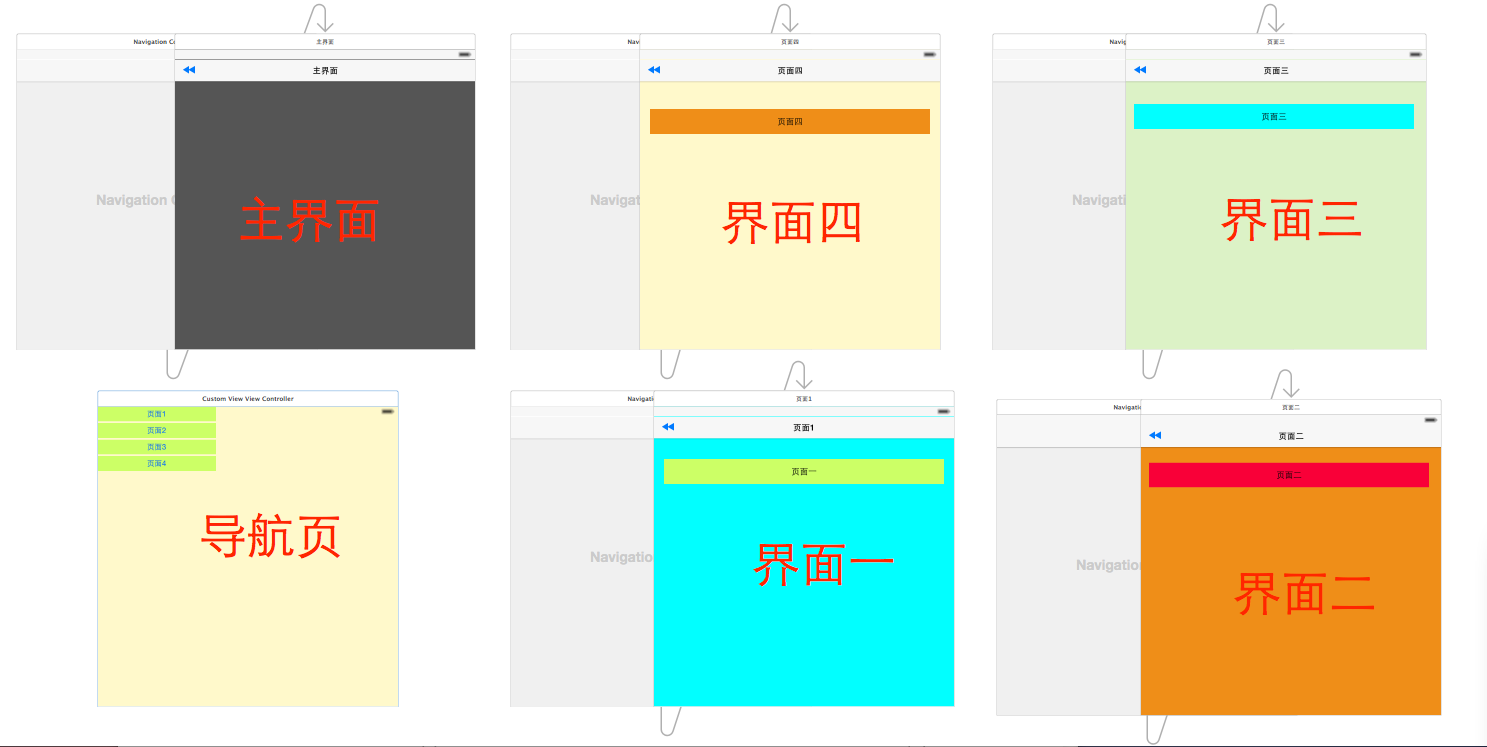
1.在storyboard拖出来我们要用的视图控制器,点击主界面上的按钮会以抽屉的形式展示出导航页,然后在导航页导航到各个界面,之后在从各个页面回到主界面
2.在AppDelegate中初始化我们的PPRevealSideViewController并设置为启动页面代码如下:
- (BOOL)application:(UIApplication *)application didFinishLaunchingWithOptions:(NSDictionary *)launchOptions {
 // Override point for customization after application launch.

 self.window = [[UIWindow alloc] initWithFrame:[[UIScreen mainScreen] bounds]];

 //获取主视图的导航控制器
 UIStoryboard *storyboard = [UIStoryboard storyboardWithName:@"Main" bundle:[NSBundle mainBundle]];
 UIViewController *vc = [storyboard instantiateViewControllerWithIdentifier:@"NavigationController"];

 //新建PPRevealSideViewController,并设置根视图(主页面的导航视图)
 PPRevealSideViewController *sideViewController = [[PPRevealSideViewController alloc] initWithRootViewController:vc];

 sideViewController.fakeiOS7StatusBarColor = [UIColor whiteColor];

 //把sideViewController设置成根视图控制器
 self.window.rootViewController = sideViewController;

 [self.window makeKeyAndVisible];

 return YES;
}
3.在主界面使用PPRevealSideViewController来推出导航页
- (IBAction)tapItem:(id)sender {

 UIStoryboard *storybaord = [UIStoryboard storyboardWithName:@"Main" bundle:[NSBundle mainBundle]];
 UITableViewController *table = [storybaord instantiateViewControllerWithIdentifier:@"CustomViewViewController"];
 [self.revealSideViewController pushViewController:table onDirection:PPRevealSideDirectionLeft animated:YES];
}
4.在导航页点击不同的按钮使用PPRevealSideViewController跳转到不同的controller
- (IBAction)tap1:(id)sender {
  UIStoryboard *storyboard = [UIStoryboard storyboardWithName:@"Main" bundle:[NSBundle mainBundle]];
 UIViewController *one = [storyboard instantiateViewControllerWithIdentifier:@"one"];
 [self.revealSideViewController popViewControllerWithNewCenterController:one animated:YES];
}

- (IBAction)tap2:(id)sender {

 UIStoryboard *storyboard = [UIStoryboard storyboardWithName:@"Main" bundle:[NSBundle mainBundle]];
 UIViewController *one = [storyboard instantiateViewControllerWithIdentifier:@"two"];
 [self.revealSideViewController popViewControllerWithNewCenterController:one animated:YES];

}

- (IBAction)tap3:(id)sender {
 UIStoryboard *storyboard = [UIStoryboard storyboardWithName:@"Main" bundle:[NSBundle mainBundle]];
 UIViewController *one = [storyboard instantiateViewControllerWithIdentifier:@"three"];
 [self.revealSideViewController popViewControllerWithNewCenterController:one animated:YES];
}

- (IBAction)tap4:(id)sender {
 UIStoryboard *storyboard = [UIStoryboard storyboardWithName:@"Main" bundle:[NSBundle mainBundle]];
 UIViewController *one = [storyboard instantiateViewControllerWithIdentifier:@"four"];
 [self.revealSideViewController popViewControllerWithNewCenterController:one animated:YES];
}
5.各个页面返回到主界面的代码如下:
- (IBAction)tapPage:(id)sender {
 UIStoryboard *storyboard = [UIStoryboard storyboardWithName:@"Main" bundle:[NSBundle mainBundle]];

 UIViewController *view = [storyboard instantiateViewControllerWithIdentifier:@"NavigationController"];

 [self.revealSideViewController popViewControllerWithNewCenterController:view animated:YES];
}
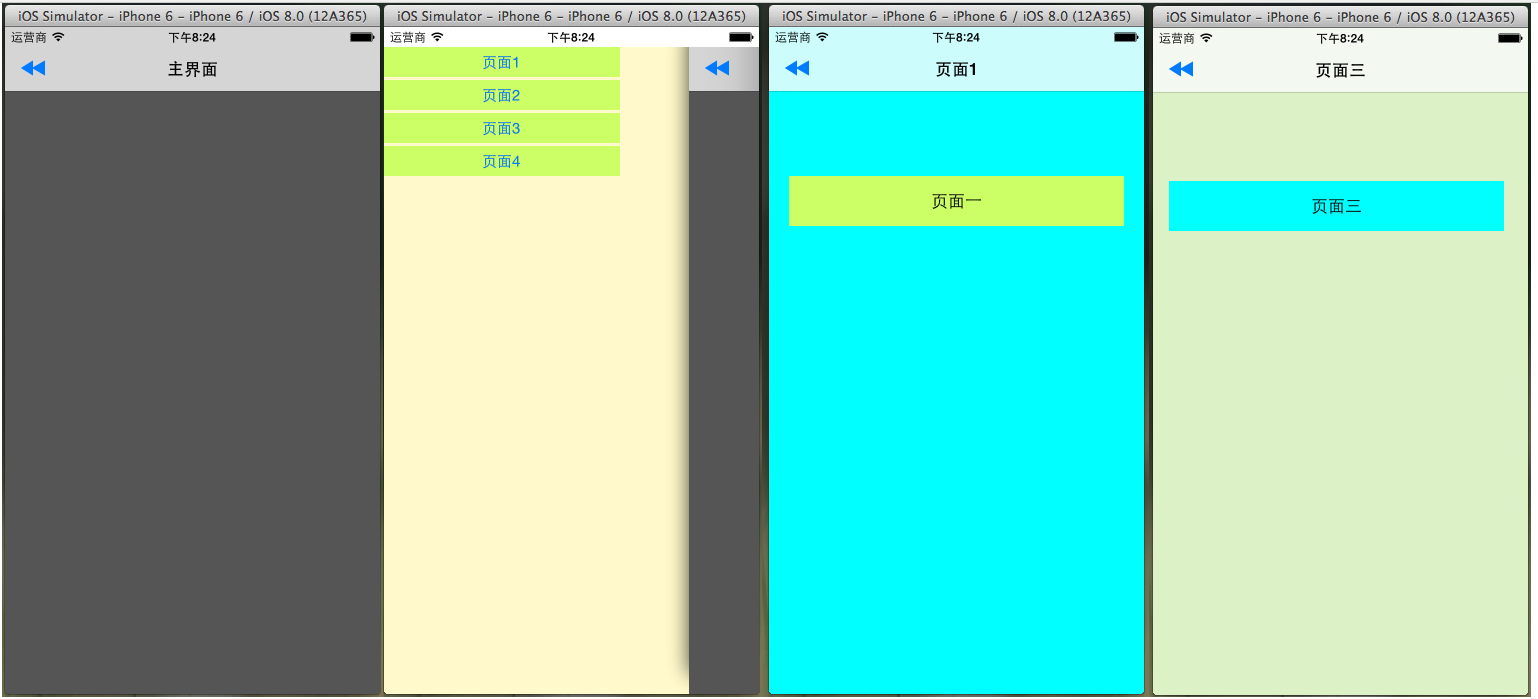
四、到此效果实现完毕,下面是效果图:
以上就是本文的全部内容,希望对大家的学习有所帮助。


