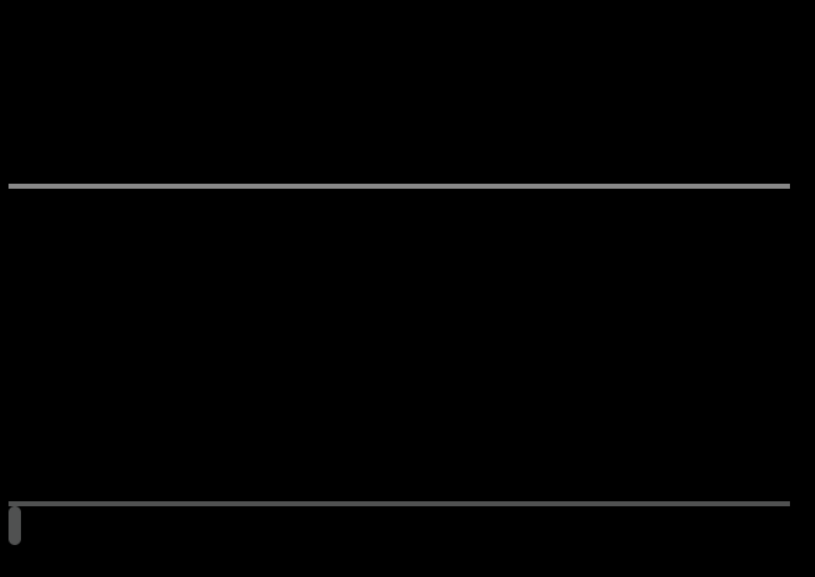
HTML+CSS+JS模仿win10亮度调节效果
代码
<!doctype html>
<html>
	<head>
		<meta charset="utf-8">
		<title>模仿win10的亮度调节</title>
		<style>
			.control_bar{
				height:200px;
				width:500px;
				border-bottom:3px solid #888888;

			}
			.control_bar_cursor{
				height:25px;
				width:8px;
				background: #505151;
				border-radius:5px;
				margin-top:-12.5px;
				position:relative;
				top:0;
				left:0;
			}
			.control_bar_cursor:hover{
				background:white;
			}
			#control_bar_mask{
				margin-top:-203px;
				width:0px;
			}
			.mask{
				position:fixed;
				bottom:0;
				top:0;
				left:0;
				right:0;
				background:black;
				z-index:-1;
			}
		</style>
	</head>
	<body>
		<div class="mask"></div>
		<div class="control_bar"></div>
		<div class="control_bar" style="border-bottom:3px solid #505151;" id="control_bar_mask"></div>
		<div class="control_bar_cursor"></div>
	</body>
	<script>
		window.onload = function(){
			var control_bar = document.getElementsByClassName("control_bar")[0];
			var control_bar_mask = document.getElementById("control_bar_mask");
			var control_bar_cursor = document.getElementsByClassName("control_bar_cursor")[0];
			var def_left = control_bar_cursor.offsetLeft;
			var mask = document.getElementsByClassName("mask")[0];
			document.body.onmousedown = function(){
				window.onmousemove = function(){
					var cursor_X = event.clientX;
					var cursor_Y = event.clientY;
					if(cursor_X < def_left){
						control_bar_cursor.style.left = 0;
					}else if(cursor_X > control_bar.offsetWidth + def_left){
						control_bar_cursor.style.left = control_bar.offsetWidth;
					}else{
						control_bar_cursor.style.left = cursor_X - def_left + "px";
					}
					//亮度比
					var proportion = parseInt(control_bar_cursor.offsetLeft - def_left) / parseInt(control_bar.offsetWidth - 1);
					control_bar_mask.style.width = proportion * control_bar.offsetWidth + "px";
					mask.style.opacity = 1 - proportion;
					};
				window.onmouseup = function(){
					window.onmousemove = null;
				};
			};
		};
	</script>
</html>
1.将各个元素的样子写出来
这里为了方便好观察给body添加了一个背景颜色
html
<div class="control_bar">
</div>
<div class="control_bar" style="border-bottom:3px solid #505151;"
id="control_bar_mask>
</div>
<div class="control_bar_cursor">
</div>
css
body{
    background:back;
}
.control_bar{
    height:200px;
    width:500px;
    border-bottom:3px solid #888888;
}
.control_bar_cursor{
    height:25px;
    width:8px;
    background: #505151;
    border-radius:5px;
}
效果图

2. 将各个元素叠到一起
css
body{
    background:black;
}
.control_bar{
    height:200px;
    width:500px;
    border-bottom:3px solid #888888;

}
.control_bar_cursor{
    height:25px;
    width:8px;
    background: #505151;
    border-radius:5px;
    margin-top:-12.5px;
    position:relative;
    top:0;
    left:0;
}
.control_bar_cursor:hover{
    background:white;
}
#control_bar_mask{
    margin-top:-203px;
    width:100px;
}
这里为了显示遮罩效果把遮罩层的div宽度设小了

3. 添加js
js
window.onload = function(){
    var control_bar = document.getElementsByClassName("control_bar")[0];
    var control_bar_mask = document.getElementById("control_bar_mask");
    var control_bar_cursor = document.getElementsByClassName("control_bar_cursor")[0];
    var def_left = control_bar_cursor.offsetLeft;
    document.body.onmousedown = function(){
        window.onmousemove = function(){
            var cursor_X = event.clientX;
            var cursor_Y = event.clientY;
            if(cursor_X < def_left){
                control_bar_cursor.style.left = 0;
            }else if(cursor_X > control_bar.offsetWidth + def_left){
                control_bar_cursor.style.left = control_bar.offsetWidth;
            }else{
                control_bar_cursor.style.left = cursor_X - def_left + "px";
            }
            var proportion = parseInt(control_bar_cursor.offsetLeft - def_left) / parseInt(control_bar.offsetWidth - 1);
            control_bar_mask.style.width = proportion * control_bar.offsetWidth + "px";
        };
        window.onmouseup = function(){
            window.onmousemove = null;
        };
    };
};
4. 添加一个mask用控制条来控制其透明度达到亮度调节效果
<div class="mask"></div>
.mask{
    position:fixed;
    bottom:0;
    top:0;
    left:0;
    right:0;
    background:black;
    z-index:-1;
}
window.onload = function(){
    var control_bar = document.getElementsByClassName("control_bar")[0];
    var control_bar_mask = document.getElementById("control_bar_mask");
    var control_bar_cursor = document.getElementsByClassName("control_bar_cursor")[0];
    var def_left = control_bar_cursor.offsetLeft;
    var mask = document.getElementsByClassName("mask")[0];
    document.body.onmousedown = function(){
        window.onmousemove = function(){
            var cursor_X = event.clientX;
            var cursor_Y = event.clientY;
            if(cursor_X < def_left){
                control_bar_cursor.style.left = 0;
            }else if(cursor_X > control_bar.offsetWidth + def_left){
                control_bar_cursor.style.left = control_bar.offsetWidth;
            }else{
                control_bar_cursor.style.left = cursor_X - def_left + "px";
            }
            //亮度比
            var proportion = parseInt(control_bar_cursor.offsetLeft - def_left) / parseInt(control_bar.offsetWidth - 1);
            control_bar_mask.style.width = proportion * control_bar.offsetWidth + "px";
            mask.style.opacity = 1 - proportion;
        };
        window.onmouseup = function(){
            window.onmousemove = null;
        };
    };
};
到此这篇关于HTML+CSS+JS模仿win10亮度调节效果的示例代码的文章就介绍到这了,更多相关html css win10 亮度调节内容请搜索脚本之家以前的文章或继续浏览下面的相关文章,希望大家以后多多支持脚本之家!