
JS中的Canvas动画
几天没写博客了,今天又忙到很晚,教大家做一个波浪花环吧
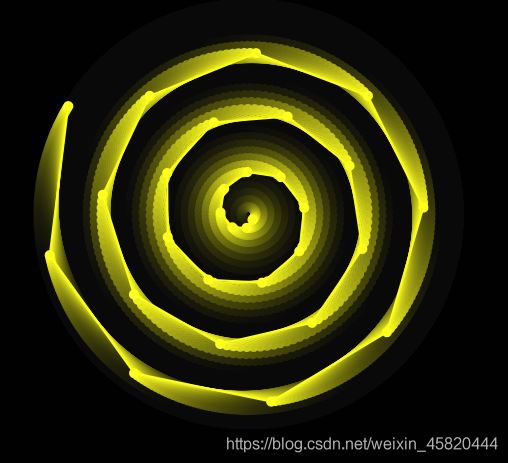
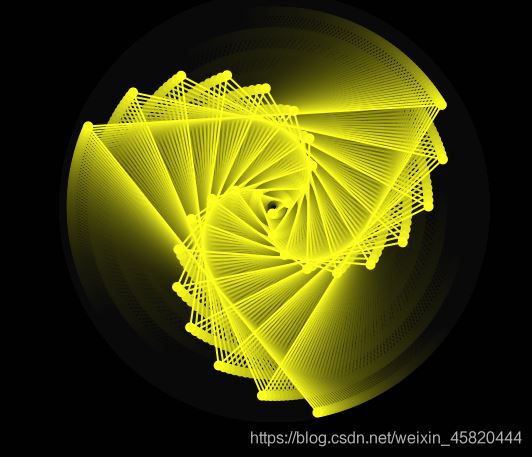
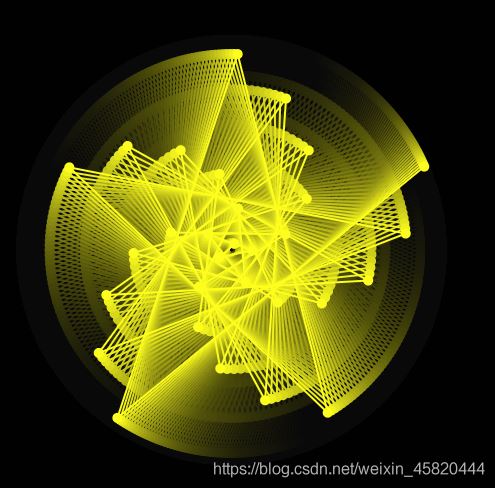
效果图如上所示:
老规矩先把代码给大家,新建一个html文档(新建一个txt文本文档,把后缀名改为“ .html
”),以记事本打开,把复制好的代码粘贴进去,“ 保存 ”,退出,双击或右键选择浏览器打开。
祝大家前端学习愉快,在今后的日子中与君共勉
<!DOCTYPE html>
<html lang="en">
<head>
	<meta charset="UTF-8">
	<title>Document</title>
	<style>
		body {
		  	background: #111;
		  	padding:0;
		  	margin:0;
			overflow:hidden;
		}
	</style>
</head>
<body>
	<div id="wrapper"></div>
</body>
<script>
(function(){
	'use strict';
	let wrapper, canvas, ctx, width, height,
	Tau=Math.PI*2, PI180=Math.PI/180,
	systems=[];

/* PlanetarySystem */
	let PlanetarySystem = function(id='pSys'){
		Object.defineProperty(this, 'id',               { value:id, writable:true} );
		Object.defineProperty(this, 'x',                { value:0, writable:true });
		Object.defineProperty(this, 'y',                { value:0, writable:true });
		Object.defineProperty(this, 'allBodies',        { value:[], writable:true });
		Object.defineProperty(this, 'allBodiesLookup',  { value:{}, writable:true });    // fast id lookup for children
		Object.defineProperty(this, 'numBodies',        { value:0, writable:true });
	}
	PlanetarySystem.prototype.addBody = function(vo) {
		vo.parentSystem = this;
		vo.parentBody = vo.parentBody === null ? this : this.allBodiesLookup[vo.parentBody];
		let body = new PlanetaryBody(vo);
		body.update();
		this.allBodies.push(body);
		this.allBodiesLookup[vo.id] = body;
		this.numBodies += 1;
	}
	PlanetarySystem.prototype.setSpeedFactor = function(value){
		let body;
		for(let i=0; i<this.numBodies; i++){
			body = this.allBodies[i];
			body.setSpeedFactor(value);
		}
	}
	PlanetarySystem.prototype.update = function(){
		let body;
		for(let i=0; i<this.numBodies; i++){
			body = this.allBodies[i];
			body.update();
		}
	}
/* PlanetaryBody */
	let PlanetaryBody = function(vo){
		Object.defineProperty(this, 'id',					{ value:vo.id, writable:true} );
		Object.defineProperty(this, 'diameter',				{ value:vo.diameter, writable:true });
		Object.defineProperty(this, 'colour',				{ value:vo.colour, writable:true });
		Object.defineProperty(this, 'x',					{ value:0, writable:true });
		Object.defineProperty(this, 'y',					{ value:0, writable:true });
		Object.defineProperty(this, 'vx',					{ value:0, writable:true });
		Object.defineProperty(this, 'vy',					{ value:0, writable:true });
		Object.defineProperty(this, 'degrees',				{ value:vo.degrees, writable:true });
		Object.defineProperty(this, 'speedBase',			{ value:vo.speed, writable:true });
		Object.defineProperty(this, 'speed',				{ value:vo.speed , writable:true });
		Object.defineProperty(this, 'orbitalRadius',		{ value:vo.orbitalRadius, writable:true });
		Object.defineProperty(this, 'parentSystem',			{ value:vo.parentSystem, writable:true });
		Object.defineProperty(this, 'parentBody',			{ value:vo.parentBody, writable:true });

		return this;
	}
	PlanetaryBody.prototype.update = function(){
		let angle = this.degrees * PI180;
		this.degrees += this.speed;
		this.vx = this.orbitalRadius * Math.cos(angle);
		this.vy = this.orbitalRadius * Math.sin(angle);
		// update position
		if(this.parentBody != null){
			this.x = this.vx + this.parentBody.x;
			this.y = this.vy + this.parentBody.y;
		}
	}

/* init() */
	function init(){
		wrapper = document.querySelector('#wrapper');
		canvas = createCanvas('canvas', width, height);
		wrapper.appendChild(canvas);
		ctx = canvas.getContext('2d');
		setupEvents();
		resizeCanvas();

		/* Define new PlanetarySystem and set values */
		let system1 = new PlanetarySystem('pSys1');
		systems.push(system1);
		system1.x = width * .5;
		system1.y = height * .5;
		system1.addBody({id:'sun', diameter:5, degrees:0, speed:0, colour:'#FDFE1D', orbitalRadius:0, parentBody:null});
		for(let loop=30, i=0; i<loop; i+=1){
			system1.addBody({	id:				'ball'+i,
								diameter:		5,
								degrees:		0,
								speed:			2 + (loop * 0.15) - (i* 0.2),
								colour:			'#FDFE1D',
								orbitalRadius:	7*(i+1),
								parentBody:		'sun'});
		}
	}

/* Methods */
	function createCanvas(id, w, h){
		let tCanvas = document.createElement('canvas');
		tCanvas.width = w;
		tCanvas.height = h;
		tCanvas.id = id;
		return tCanvas;
	}

	function setupEvents(){
		window.onresize = resizeCanvas;
	}
	function resizeCanvas(){
		let rect = wrapper.getBoundingClientRect();
		width = window.innerWidth;
		height = window.innerHeight - rect.top -2;
		canvas.width = width;
		canvas.height = height;
		for(let i=0; i<systems.length; i++){
			systems[i].x = width * .5;
			systems[i].y = height * .5;
		}
	}

	function update(){
		for(let loop=systems.length, i=0; i<loop; i++){
			systems[i].update();
		}
	}

	function draw(){
		let system;
		let prev = null;
		for(let i=0; i<systems.length; i++){
			system = systems[i];
			let planetaryBody;
			for(let loop=system.numBodies, j=1; j<loop; j+=1) {
				planetaryBody = system.allBodies[j];
				ctx.beginPath();
				ctx.arc(planetaryBody.x, planetaryBody.y, planetaryBody.diameter, 0, Tau, false);
				ctx.fillStyle = planetaryBody.colour;
				ctx.fill();
				if(j>1){
					ctx.strokeStyle = planetaryBody.colour;
					ctx.lineWidth = 2;
					ctx.beginPath();
					ctx.moveTo(planetaryBody.x, planetaryBody.y);
					ctx.lineTo(prev.x, prev.y);
					ctx.stroke();
				}
				prev = {x:planetaryBody.x, y:planetaryBody.y};
			}
		}
	}

	function animate(){
		ctx.fillStyle = 'rgba(0,0,0, .05)';
		ctx.fillRect(0, 0, width, height);
		update();
		draw();
		requestAnimationFrame(animate);
	}
	init();
	animate();
}());
</script>
</html>
到此这篇关于Canvas波浪花环的示例代码的文章就介绍到这了,更多相关Canvas 波浪花环内容请搜索脚本之家以前的文章或继续浏览下面的相关文章,希望大家以后多多支持脚本之家!


