特别注意!!!!!!!!!!!!!
一. 用管理员账号登陆dedecms5.5后台管理系统
二. 点击 “系统” –》 “软件频道设置”
三. 在软件频道设置面里面找到“附件下载方式”,千万要注意以下三点:
1) 如果你的网站管理系统里面是选的“链接到真实软件地址”这个选项,你就按照附件里面提供的“链接到真实软件地址加专用链”文件夹下的说明文档操作吧。
2) 如果你的网站管理系统里面选的是“链接到跳转页面”这个选项,你就按照附件里面提供的“链接到跳转页面加专用链”文件夹下的说明文档操作吧。
3) 因为“链接到真实软件地址加专用链”和“链接到跳转页面加专用链”这两个文件夹下提供的操作说明文档是不一样的,你要根据你网站管理系统的设置,选择对应的修改说明文档,千万不要选错了!
四.把文章模块的下载链接转换成专用链的修改方法请按照“修改文章模块的改法”这个里面提供的改法修改。
部分化修改方法:
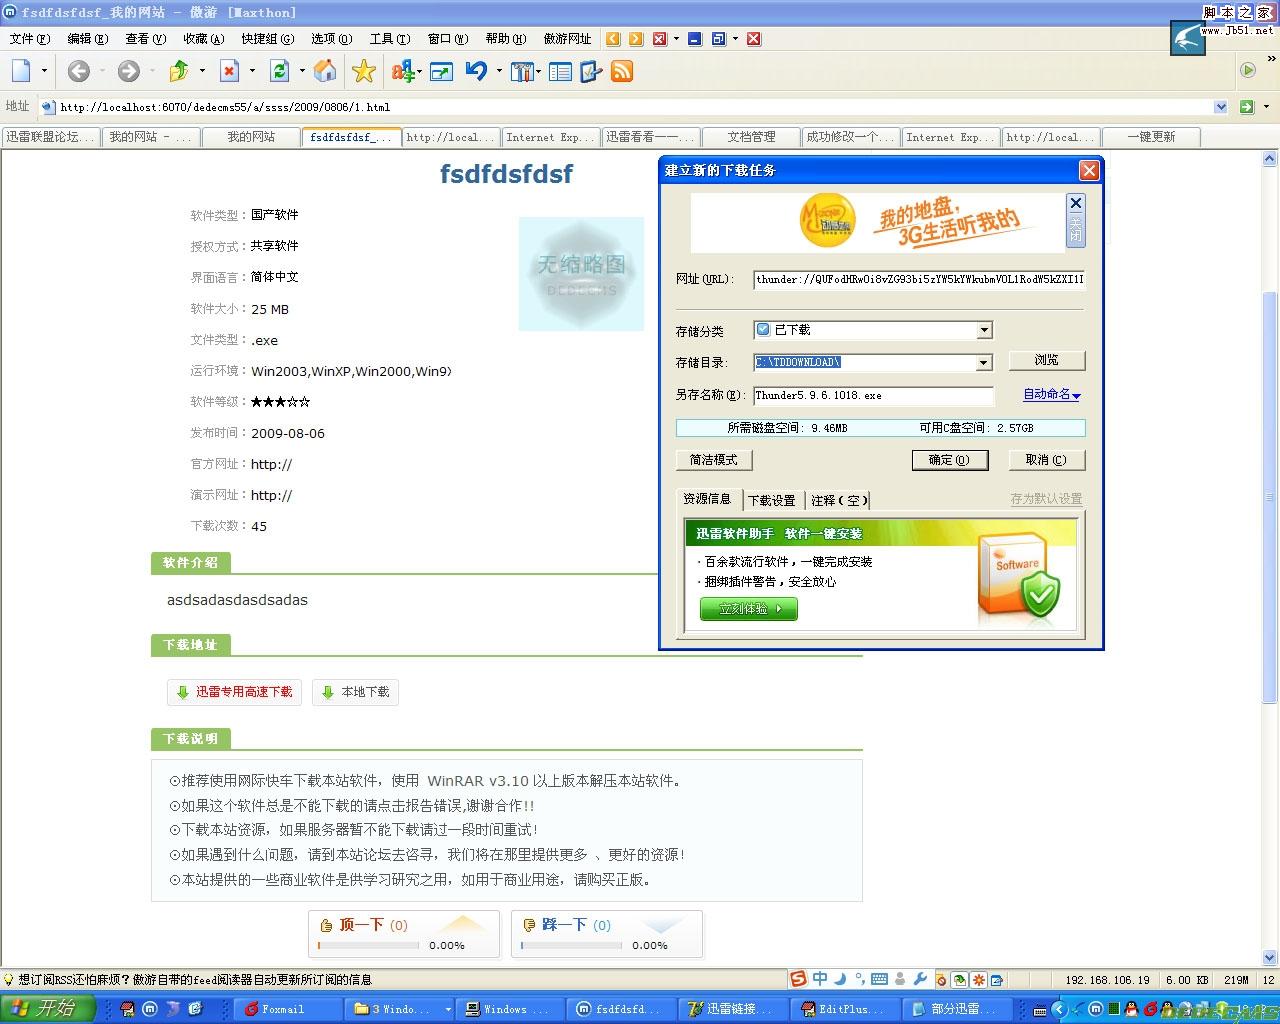
1.部分迅雷化:是保留你的本地资源下载链接,在你的本地资源下载链接的旁边单独添加一个迅雷专用链接。
2.部分迅雷化,需要修改templets\system\channel_downlinks.htm和\plus\download.php这2个文件,打开这个templets\system\channel_downlinks.htm文件,找到以下代码:
<li><a href="~link~" target="_blank">~server~</a></li>
在这句代码的前面加上以下代码:
<li><a target=_blank href='~link~&flag=1'><font color=red>迅雷专用高速下载</font></a></li>
3.templets\system\channel_downlinks.htm这个文件修改完毕,详情请查看附件里面的channel_downlinks.htm这个文件。
4.打开\plus\download.php这个文件:
A) 找到以下代码:
require_once(DEDEINC."/channelunit.class.php");
在这句代码的下面加上以下代码:
$flag=(int)$_GET['flag'];
B) 找到以下代码:
header("location:$link");
把这句代码替换成以下代码:
if ($flag == 1)
{
$thunderPrefix="AA";
$thunderPosix="ZZ";
$thunderTitle="thunder://";
$name = $link;
$pan = "://";
$con = explode($pan,$name);
if (count($con)>1)
{
$thunderUrl=$thunderTitle.base64_encode($thunderPrefix.$link.$thunderPosix);
}
else
{
$thunderUrl=$thunderTitle.base64_encode($thunderPrefix."http://localhost:6070/dedecms55/".$link.$thunderPosix);
}
echo "<script src='http://pstatic.xunlei.com/js/webThunderDetect.js'></script><script>OnDownloadClick('".$thunderUrl."','',location.href,'92922',2,'')</script>";
echo "<script>window.opener=null;window.close();</script>";
}
else
{
header("location:$link");
}
C) 找到以下代码:
header("location:{$softUrl}");
把这句代码替换成以下代码:
if ($flag == 1)
{
$thunderPrefix="AA";
$thunderPosix="ZZ";
$thunderTitle="thunder://";
$name = $softUrl;
$pan = "://";
$con = explode($pan,$name);
if (count($con)>1)
{
$thunderUrl=$thunderTitle.base64_encode($thunderPrefix.$softUrl.$thunderPosix);
}
else
{
$thunderUrl=$thunderTitle.base64_encode($thunderPrefix."http://localhost:6070/dedecms55/".$softUrl.$thunderPosix);
}
echo "<script src='http://pstatic.xunlei.com/js/webThunderDetect.js'></script><script>OnDownloadClick('".$thunderUrl."','',location.href,'92922',2,'')</script>";
echo "<script>window.opener=null;window.close();</script>";
}
else
{
header("location:{$softUrl}");
}
注意:
1)把以上所有代码里面的“http://localhost:6070/dedecms55/”这个全部修改成你自己的域名。
2)把 <script>OnDownloadClick('".$thunderUrl."','',location.href,'92922',2,'')</script>这句里面的92922修改成你自己的联盟号
5.download.php这个文件修改完毕,详情请查看附件里面的download.php文件。
6.覆盖说明:
1)用修改好的download.php这个文件覆盖你网站管理系统里面的\plus\download.php这个文件。
2)用修改好的channel_downlinks.htm这个文件覆盖系统里面的templets\system\channel_downlinks.htm这个文件。
3)覆盖后全部重新生成一下就可以了。
 全部迅雷化的改法
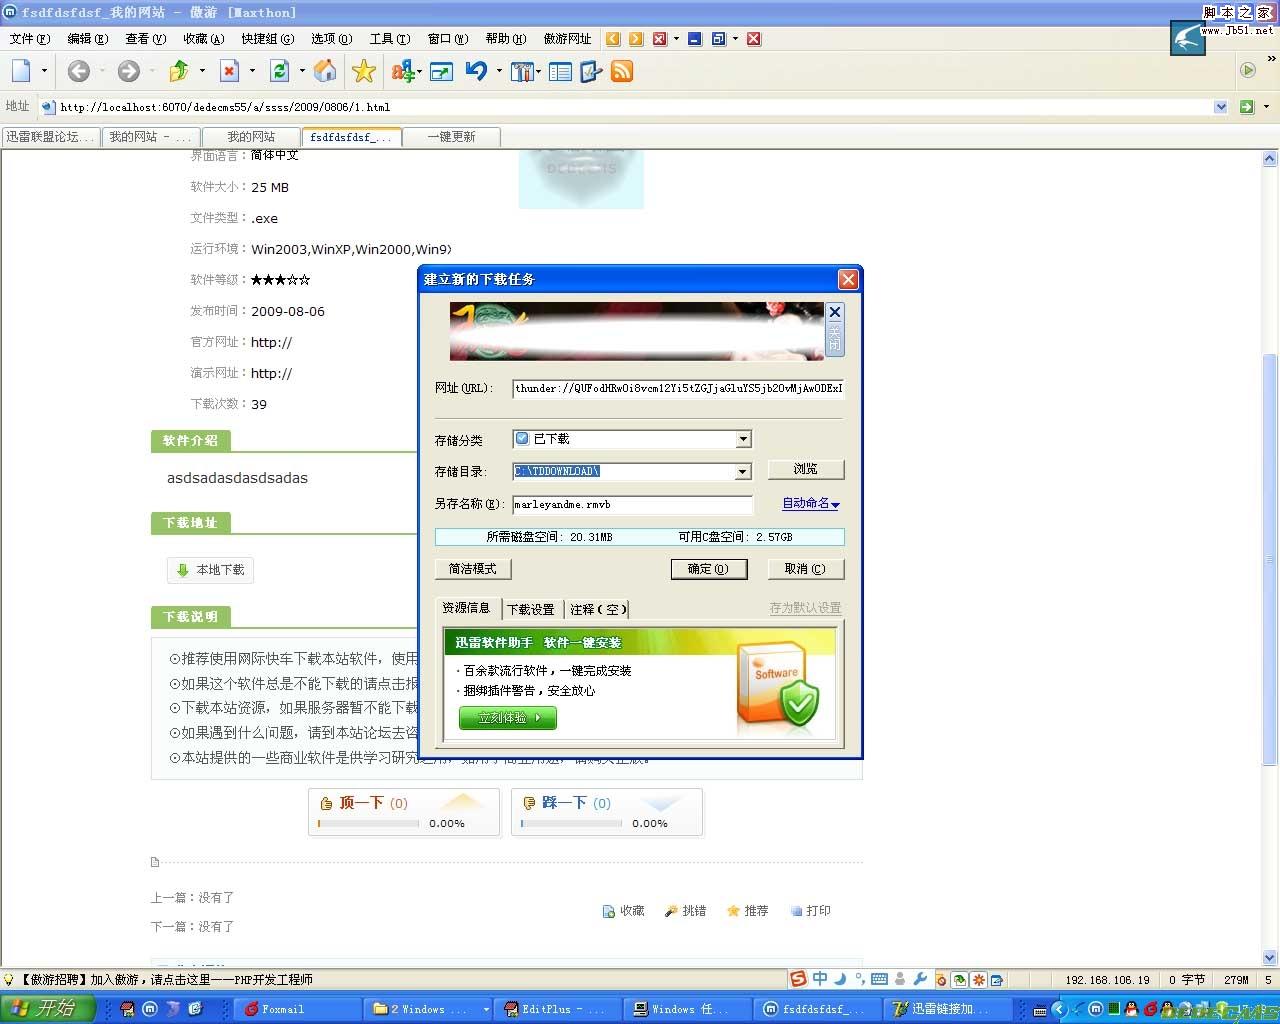
 1.全部迅雷化:是把你网站上的所有资源下载链接都转换成迅雷专用链接。
2.全部迅雷化只需要修改\plus\download.php这个文件就可以了。
3.打开\plus\download.php这个文件:
A) 找到以下代码:
header("location:$link");
把这句代码替换成以下代码:
$thunderPrefix="AA";
$thunderPosix="ZZ";
$thunderTitle="thunder://";
$name = $link;
$pan = "://";
$con = explode($pan,$name);
if (count($con)>1)
{
$thunderUrl=$thunderTitle.base64_encode($thunderPrefix.$link.$thunderPosix);
}
else
{
$thunderUrl=$thunderTitle.base64_encode($thunderPrefix."http://localhost:6070/dedecms55/".$link.$thunderPosix);
}
echo "<script src='http://pstatic.xunlei.com/js/webThunderDetect.js'></script><script>OnDownloadClick('".$thunderUrl."','',location.href,'92922',2,'')</script>";
echo "<script>window.opener=null;window.close();</script>";
B) 找到以下代码:
header("location:{$softUrl}");
把这句代码替换成以下代码:
$thunderPrefix="AA";
$thunderPosix="ZZ";
$thunderTitle="thunder://";
$name = $softUrl;
$pan = "://";
$con = explode($pan,$name);
if (count($con)>1)
{
$thunderUrl=$thunderTitle.base64_encode($thunderPrefix.$softUrl.$thunderPosix);
}
else
{
$thunderUrl=$thunderTitle.base64_encode($thunderPrefix."http://localhost:6070/dedecms55/".$softUrl.$thunderPosix);
}
echo "<script src='http://pstatic.xunlei.com/js/webThunderDetect.js'></script><script>OnDownloadClick('".$thunderUrl."','',location.href,'92922',2,'')</script>";
echo "<script>window.opener=null;window.close();</script>";
注意:
1)把以上所有代码里面的“http://localhost:6070/dedecms55/”这个全部修改成你自己的域名。
2)把 <script>OnDownloadClick('".$thunderUrl."','',location.href,'92922',2,'')</script>这句里面的92922修改成你自己的联盟号
4.download.php这个文件修改完毕,详情请查看附件里面的download.php文件。
5.覆盖说明:
1)用修改好的download.php这个文件覆盖你网站管理系统里面的\plus\download.php这个文件。
2)覆盖后全部重新生成一下就可以了。
 以上附件打包下载


