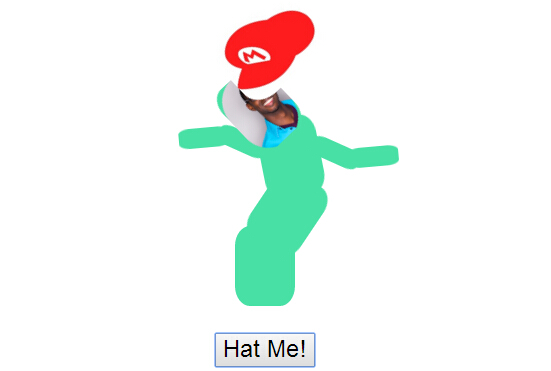
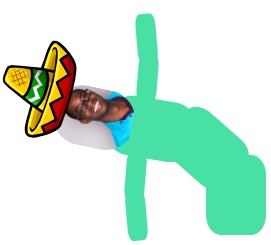
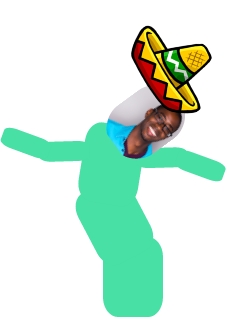
今天给大家分享一款基于jquery和css3的头像恶搞特效。这款实例中,一个头像在画面中跳舞,头像还有可爱的帽子,单击下面的按钮可以为头像切换不同的帽子。如下图照片中头像左右摇晃,很搞笑,大家也可以自己尝试制作哦。
实现的代码。
html代码:
XML/HTML Code复制内容到剪贴板
- <div class="wwiaftm-container">
- <div class="base wwiaftm">
- <div class="body-1 wwiaftm">
- <div class="body-2 wwiaftm">
- <div class="hat wwiaftm" style="background-image: url(Mini_Sombrero.png)">
- </div>
- <div class="head wwiaftm">
- <div class="profile">
- <img src="head.png">
- </div>
- </div>
- <div class="wwiaftm arm-1 left">
- <div class="wwiaftm arm-2 left">
- <div class="wwiaftm fingers">
- </div>
- </div>
- </div>
- <div class="wwiaftm arm-1 right">
- <div class="wwiaftm arm-2 right">
- <div class="wwiaftm fingers">
- </div>
- </div>
- </div>
- </div>
- </div>
- </div>
- </div>
- <div class="switch-container">
- <button id="hat-switch">
- Hat Me!</button>
- </div>
- <script src='jquery.min.js'></script>
- <script> var hats = Array(
- 'Mini_Sombrero.png', 'med.png',
- 'svg.med.png',
- 'cartoon-cowboy-8.gif',
- '1313955-witch-hat-002_92007.gif',
- 'hat_mario_101401.jpg',
- 'vector-hat-design1.jpg'
- );
-
- $('#hat-switch').on('click', function (e) {
- e.preventDefault();
- var hat = hats[Math.floor(Math.random() * hats.length)];
- $('.hat').css('background-image', 'url(' + hat + ')');
- });
- //@ sourceURL=pen.js
- </script>
css3代码:
CSS Code复制内容到剪贴板
- .wwiaftm-container {
- position: relative;
- width: 200px;
- height: 275px;
- margin: auto;
- padding-top: 100px;
- }
-
- .profile {
- border-radius: 100px;
- overflow: hidden;
- }
-
- .wwiaftm {
- background: #48e0a4;
- position: absolute;
- margin: auto;
- border-radius: 25%;
- }
-
- .body-1 {
- background-repeat: no-repeat;
- background-position: center;
- background-size: 70%;
- }
-
- .base {
- width: 60px;
- height: 80px;
- bottombottom: 0;
- left: 0;
- rightright: 0;
- }
-
- .hat {
- top: -120px;
- height: 80px;
- width: 100px;
- -webkit-transform-origin: 50% 100%;
- transform-origin: 50% 100%;
- -webkit-transform: rotate3d(0,0,1,0deg);
- transform: rotate3d(0,0,1,0deg);
- background-repeat: no-repeat;
- background-position: center;
- background-color: transparent;
- background-size: 100%;
- z-index: 10 !important;
- }
-
- .body-1, .body-2, .head {
- top: -60px;
- height: 80px;
- width: 60px;
- -webkit-transform-origin: 50% 100%;
- transform-origin: 50% 100%;
- -webkit-transform: rotate3d(0,0,1,0deg);
- transform: rotate3d(0,0,1,0deg);
- }
-
- .body-1 {
- -webkit-animation: flail 4s linear infinite;
- animation: flail 4s linear infinite;
- }
-
- .body-2 {
- -webkit-animation: flail 3s linear infinite;
- animation: flail 3s linear infinite;
- }
-
- .head, .hat {
- -webkit-animation: flail 2s linear infinite;
- animation: flail 2s linear infinite;
- z-index: 1;
- }
-
- .head .eye, .head .mouth {
- height: 20%;
- width: 15%;
- background: black;
- position: absolute;
- top: 25%;
- }
-
- .head .eye.rightright {
- rightright: 20%;
- }
-
- .head .eye.left {
- left: 20%;
- }
-
- .head .mouth {
- width: 70%;
- top: 60%;
- height: 5%;
- left: 0;
- rightright: 0;
- margin: auto;
- }
-
- .arm-1, .arm-2 {
- position: absolute;
- width: 50px;
- height: 20px;
- rightright: 90%;
- top: 25%;
- -webkit-animation: flail 1s linear infinite;
- animation: flail 1s linear infinite;
- -webkit-transform-origin: 100% 50%;
- transform-origin: 100% 50%;
- }
-
- .arm-1.rightright, .arm-2.rightright {
- left: 90%;
- -webkit-transform-origin: 0% 50%;
- transform-origin: 0% 50%;
- }
-
- .arm-1 .arm-2 {
- -webkit-animation: flail .5s linear infinite;
- animation: flail .5s linear infinite;
- rightright: 80%;
- top: auto;
- }
-
- .arm-1 .arm-2.rightright {
- left: 80%;
- rightright: auto;
- }
-
- @-webkit-keyframes flail {
- 0% {
- -webkit-transform: rotate3d(0,0,1,0deg);
- }
- 25% {
- -webkit-transform: rotate3d(0,0,1,50deg);
- }
- 50% {
- -webkit-transform: rotate3d(0,0,1,0deg);
- }
- 75% {
- -webkit-transform: rotate3d(0,0,1,-50deg);
- }
- 100% {
- -webkit-transform: rotate3d(0,0,1,0deg);
- }
- }
-
- @keyframes flail {
- 0% {
- transform: rotate3d(0,0,1,0deg);
- }
- 25% {
- transform: rotate3d(0,0,1,50deg);
- }
- 50% {
- transform: rotate3d(0,0,1,0deg);
- }
- 75% {
- transform: rotate3d(0,0,1,-50deg);
- }
- 100% {
- transform: rotate3d(0,0,1,0deg);
- }
- }
-
- .switch-container {
- text-align: center;
- margin-top: 25px;
- }
-
- #hat-switch {
- text-align: center;
- font-size: 24px;
- cursor: pointer;
- }


