

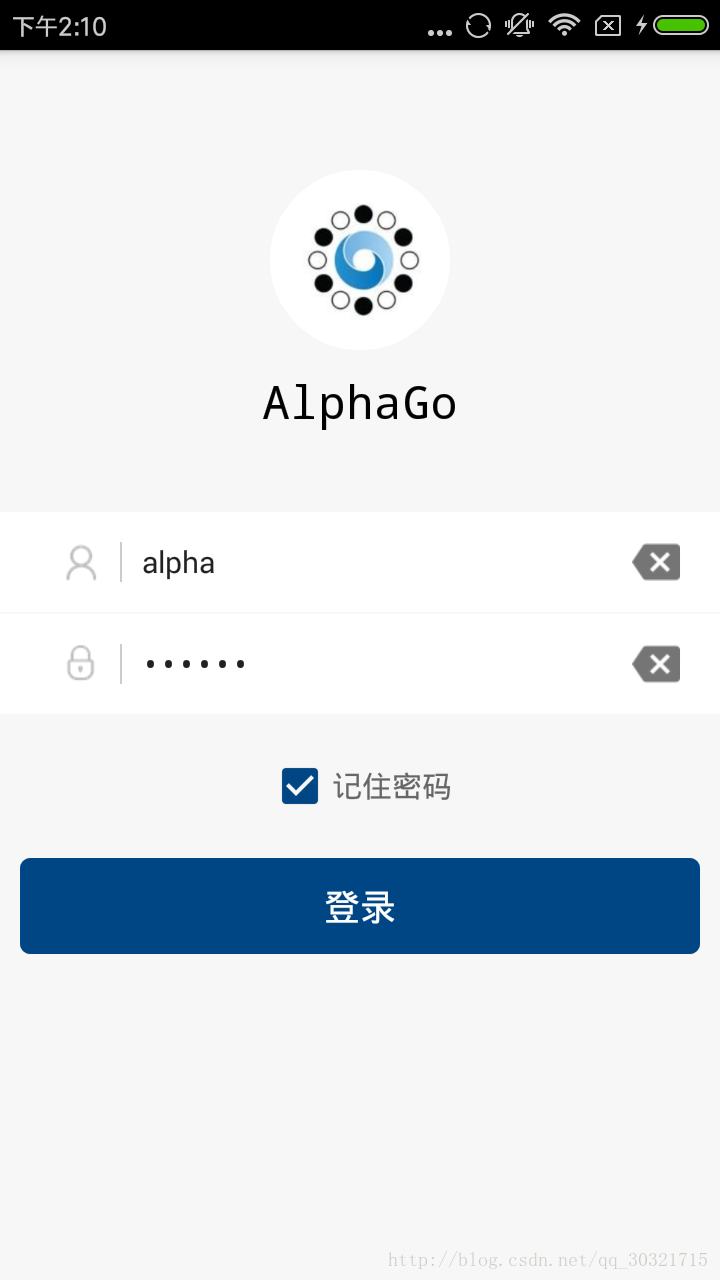
先来看看登录界面写完的效果图

2 监听editText,可以一键清空
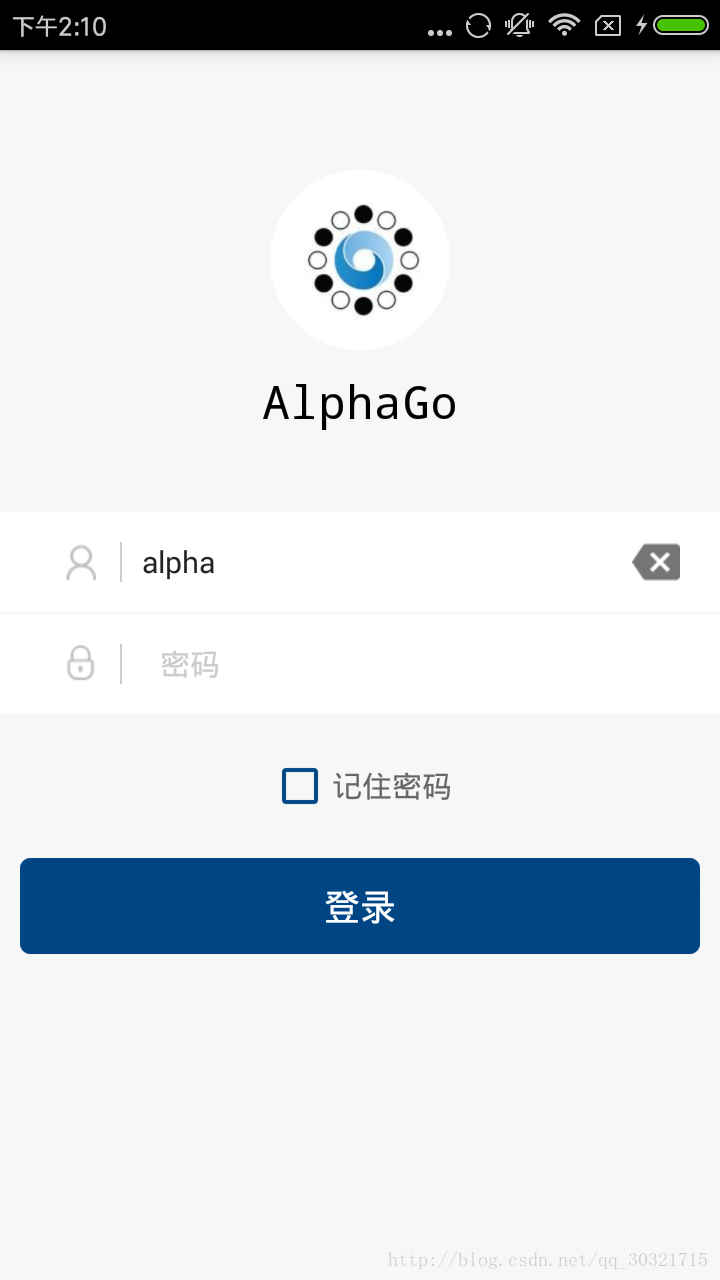
3 checkBox的颜色统一
代码
下面,说说如何实现这个界面的,我将代码全部贴出来。
<RelativeLayout xmlns:android="http://schemas.android.com/apk/res/android"
 xmlns:app="http://schemas.android.com/apk/res-auto"
 xmlns:tools="http://schemas.android.com/tools"
 android:id="@+id/activity_login"
 android:layout_width="match_parent"
 android:layout_height="match_parent"
 android:background="@color/logoScreenBackground">

 <de.hdodenhof.circleimageview.CircleImageView
  android:id="@+id/iv_icon"
  android:layout_width="90dp"
  android:layout_height="90dp"
  android:layout_centerHorizontal="true"
  android:layout_marginTop="60dp"
  android:scaleType="centerCrop"
  android:src="@mipmap/ic_logo" />

 <TextView
  android:id="@+id/tv_title"
  android:layout_width="wrap_content"
  android:layout_height="wrap_content"
  android:layout_centerHorizontal="true"
  android:layout_marginTop="160dp"
  android:text="AlphaGo"
  android:textColor="#000"
  android:textSize="23sp"
  android:typeface="monospace" />

 <RelativeLayout
  android:id="@+id/rl_userName"
  android:layout_width="wrap_content"
  android:layout_height="wrap_content"
  android:layout_below="@id/tv_title"
  android:layout_marginTop="40dp"
  android:background="@drawable/rectangle_edittext">

  <ImageView
   android:id="@+id/iv_userIconName"
   android:layout_width="wrap_content"
   android:layout_height="wrap_content"
   android:layout_centerVertical="true"
   android:paddingBottom="15dp"
   android:paddingLeft="30dp"
   android:paddingTop="15dp"
   android:src="@mipmap/ic_edittextuname" />

  <View
   android:id="@+id/viewName"
   android:layout_width="1dip"
   android:layout_height="20dp"
   android:layout_centerVertical="true"
   android:layout_marginLeft="10dp"
   android:layout_toRightOf="@id/iv_userIconName"
   android:background="@color/colorCursor" />

  <EditText
   android:id="@+id/et_userName"
   android:layout_width="match_parent"
   android:layout_height="30dp"
   android:layout_centerVertical="true"
   android:layout_marginLeft="10dp"
   android:layout_toRightOf="@id/viewName"
   android:background="@null"
   android:ems="19"
   android:hint=" 用户名"
   android:textColorHint="@color/colorCursor"
   android:textCursorDrawable="@drawable/color_cursor"
   android:textSize="15sp" />

  <ImageView
   android:id="@+id/iv_unameClear"
   android:layout_width="wrap_content"
   android:layout_height="wrap_content"
   android:layout_alignParentRight="true"
   android:layout_centerVertical="true"
   android:layout_marginRight="20dp"
   android:src="@mipmap/ic_backspace_grey600_24dp"
   android:visibility="invisible" />

 </RelativeLayout>

 <RelativeLayout
  android:id="@+id/rl_userPassword"
  android:layout_width="wrap_content"
  android:layout_height="wrap_content"
  android:layout_below="@id/rl_userName"
  android:layout_marginTop="1dp"
  android:background="@drawable/rectangle_edittext">

  <ImageView
   android:id="@+id/iv_userIconPwd"
   android:layout_width="wrap_content"
   android:layout_height="wrap_content"
   android:layout_centerVertical="true"
   android:paddingBottom="15dp"
   android:paddingLeft="30dp"
   android:paddingTop="15dp"
   android:src="@mipmap/ic_edittextupwd" />

  <View
   android:id="@+id/viewPwd"
   android:layout_width="1dip"
   android:layout_height="20dp"
   android:layout_centerVertical="true"
   android:layout_marginLeft="10dp"
   android:layout_toRightOf="@id/iv_userIconPwd"
   android:background="@color/colorCursor" />

  <EditText
   android:id="@+id/et_password"
   android:layout_width="match_parent"
   android:layout_height="30dp"
   android:layout_centerVertical="true"
   android:layout_marginLeft="10dp"
   android:layout_toRightOf="@id/viewPwd"
   android:background="@null"
   android:drawablePadding="5dp"
   android:ems="19"
   android:hint=" 密码"
   android:inputType="textPassword"
   android:textColorHint="@color/colorCursor"
   android:textCursorDrawable="@drawable/color_cursor"
   android:textSize="15sp" />

  <ImageView
   android:id="@+id/iv_pwdClear"
   android:layout_width="wrap_content"
   android:layout_height="wrap_content"
   android:layout_alignParentRight="true"
   android:layout_centerVertical="true"
   android:layout_marginRight="20dp"
   android:src="@mipmap/ic_backspace_grey600_24dp"
   android:visibility="invisible" />

 </RelativeLayout>

 <CheckBox
  android:id="@+id/cb_checkbox"
  android:layout_width="wrap_content"
  android:layout_height="wrap_content"
  android:layout_below="@id/rl_userPassword"
  android:layout_centerHorizontal="true"
  android:layout_marginTop="20dp"
  android:background="@null"
  android:checked="false"
  android:duplicateParentState="false"
  android:text="记住密码"
  android:textColor="#666666"
  android:textSize="15sp"
  app:buttonTint="@color/colorLoginButton" />

 <Button
  android:id="@+id/btn_login"
  android:layout_width="340dp"
  android:layout_height="wrap_content"
  android:layout_below="@id/cb_checkbox"
  android:layout_centerHorizontal="true"
  android:layout_marginTop="20dp"
  android:background="@drawable/round_corner_bg"
  android:gravity="center"
  android:padding="10dp"
  android:text="登录"
  android:textColor="#fff"
  android:textSize="18sp" />

</RelativeLayout>
几个重点的问题
从图中可以看出整个布局是从上到下的分布,那我们就按这样的顺讯来分析
1.如何一张图片圆形化的展示出来
2.整体输入框的布局(输入框中竖线的实现)
3.监听edittext是否有输入
4.将checkbox的颜色与界面统一
1.如何将一张图片圆形化的展示出来
我是用的是一个开源的项目CircleImageView,它可以用来轻松的实现图片的圆形化
首先在build.gradle中添加依赖compile 'de.hdodenhof:circleimageview:2.1.0'
在xml布局中用<de.hdodenhof.circleimageview.CircleImageView>来代替ImageView
 <de.hdodenhof.circleimageview.CircleImageView
  android:id="@+id/iv_icon"
  android:layout_width="90dp"
  android:layout_height="90dp"
  android:layout_centerHorizontal="true"
  android:layout_marginTop="60dp"
  android:scaleType="centerCrop"
  android:src="@mipmap/ic_logo" />
2.整体输入框的布局(输入框中竖线的实现)
整个输入框就是常规的ImageView加上textView实现的,分隔图片和提示文字的竖线,需要我们用view自己去写。
<View
   android:id="@+id/viewPwd"
   android:layout_width="1dip"
   android:layout_height="20dp"
   android:layout_centerVertical="true"
   android:layout_marginLeft="10dp"
   android:layout_toRightOf="@id/iv_userIconPwd"
   android:background="@color/colorCursor" />
这样一条竖线就写好了,距离大小根据你的输入框去调就好。
在写editText的时候要想十分的简洁,需要将背景设置为"@null",自己去写一个"shape"
<shape xmlns:android="http://schemas.android.com/apk/res/android">
 <size android:width="1dp"/>
 <solid android:color="@color/colorCursor"/>
</shape>
"colorCursor"是自己界面的风格
3.监听EditText是否有输入
我先将代码贴出来
public class EditTextClearTools {
 public static void addClearListener(final EditText et , final ImageView iv){
  et.addTextChangedListener(new TextWatcher() {
   @Override
   public void beforeTextChanged(CharSequence s, int start, int count, int after) {

   }

   @Override
   public void onTextChanged(CharSequence s, int start, int before, int count) {

   }

   @Override
   public void afterTextChanged(Editable s) {
    //如果有输入内容长度大于0那么显示clear按钮
    String str = s + "" ;
    if (s.length() > 0){
     iv.setVisibility(View.VISIBLE);
    }else{
     iv.setVisibility(View.INVISIBLE);
    }
   }
  });

  iv.setOnClickListener(new View.OnClickListener() {
   @Override
   public void onClick(View v) {
    et.setText("");
   }
  });
 }

}
首先大家可以从布局中看出删除按钮默认是隐藏的android:visibility="invisible"
然后监听EditText的输入事件,输入的内容长度如果大于0,就将删除图标显示出来,并可以清空输入。
上面的代码是一个工具类参考这篇博客--AndroidMsky,这篇博客也写了一个登录的界面。
在程序中调用的代码:
protected void onCreate(Bundle savedInstanceState) {
  super.onCreate(savedInstanceState);
  setContentView(R.layout.activity_logo_activty);
  init();
 }

 private void init(){
  EditText userName = (EditText) findViewById(R.id.et_userName);
  EditText password = (EditText) findViewById(R.id.et_password);
  ImageView unameClear = (ImageView) findViewById(R.id.iv_unameClear);
  ImageView pwdClear = (ImageView) findViewById(R.id.iv_pwdClear);

  EditTextClearTools.addClearListener(userName,unameClear);
  EditTextClearTools.addClearListener(password,pwdClear);
 }
以上就是个登录界面的整体实现,这里只是一个Demo级的例子,大家有更好的实现方法,可以多多交流,如有错误请您不吝赐教。
还有如果你看到这里了,很感谢你,读完我的文章,Android的路上又多了一个可以一起探讨和交流的伙伴。
项目地址:https://github.com/DongXUU/LoginDemo,大家可以下载完整的项目
以上就是本文的全部内容,希望对大家的学习有所帮助,也希望大家多多支持脚本之家。


