
Android Studio Intent隐式启动,发短信,拨号,打电话,访问网页等实例代码
功能
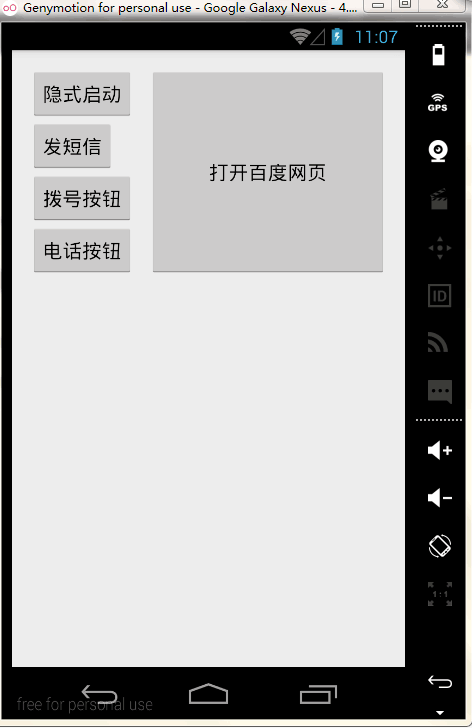
创建5个按钮,隐式启动、发短信、拨号按钮、电话按钮、打开网页按钮。通过使用Intent来完成各自按钮下的功能
代码目录如下
详细代码如下:
activity_main.xml代码如下
<LinearLayout xmlns:android="http://schemas.android.com/apk/res/android"
  xmlns:tools="http://schemas.android.com/tools"
  android:layout_width="match_parent"
  android:layout_height="match_parent"
  android:orientation="horizontal"
  android:paddingBottom="@dimen/activity_vertical_margin"
  android:paddingLeft="@dimen/activity_horizontal_margin"
  android:paddingRight="@dimen/activity_horizontal_margin"
  android:paddingTop="@dimen/activity_vertical_margin"
  tools:context=".MainActivity">

  <LinearLayout
    android:layout_width="0dp"
    android:layout_height="wrap_content"
    android:layout_weight="1"
    android:orientation="vertical">

    <Button
      android:id="@+id/button1"
      android:layout_width="wrap_content"
      android:layout_height="wrap_content"
      android:text="隐式启动" />

    <Button
      android:id="@+id/button2"
      android:layout_width="wrap_content"
      android:layout_height="wrap_content"
      android:text="发短信" />

    <Button
      android:id="@+id/button3"
      android:layout_width="wrap_content"
      android:layout_height="wrap_content"
      android:text="拨号按钮" />

    <Button
      android:id="@+id/button4"
      android:layout_width="wrap_content"
      android:layout_height="wrap_content"
      android:text="电话按钮" />
  </LinearLayout>

  <LinearLayout
    android:layout_width="0dp"
    android:layout_height="wrap_content"
    android:layout_weight="2">

    <Button
      android:id="@+id/button5"
      android:layout_width="match_parent"
      android:layout_height="192dp"
      android:text="打开百度网页"
      />

  </LinearLayout>


</LinearLayout>
firstlayout.xml代码如下:
<?xml version="1.0" encoding="utf-8"?>
<LinearLayout xmlns:android="http://schemas.android.com/apk/res/android"
  android:layout_width="match_parent"
  android:layout_height="match_parent"
  android:orientation="vertical">
  <EditText
    android:id="@+id/editText1"
    android:layout_width="match_parent"
    android:layout_height="match_parent"
    android:text="这是第二个界面"/>

</LinearLayout>
MainActivity.java代码如下:
package com.example.administrator.chang;

import android.app.Activity;
import android.content.Intent;
import android.net.Uri;
import android.os.Bundle;
import android.view.View;
import android.widget.Button;

public class MainActivity extends Activity {

  @Override
  protected void onCreate(Bundle savedInstanceState) {
    super.onCreate(savedInstanceState);
    setContentView(R.layout.activity_main);

    Button button1= (Button) findViewById(R.id.button1);
    button1.setOnClickListener(new View.OnClickListener() {
      @Override
      public void onClick(View v) {
        Intent intent =new Intent("com.example.administrator.chang.ACTION_START");
        startActivity(intent);
      }
    });
    //发短信
    Button button2= (Button) findViewById(R.id.button2);
    button2.setOnClickListener(new View.OnClickListener() {
      @Override
      public void onClick(View v) {
        Intent intent = new Intent();
        intent.setAction(Intent.ACTION_SENDTO);
        intent.setData(Uri.parse("smsto:10086"));
        intent.putExtra("sms_body","The SMS text");
        startActivity(intent);
      }
    });
    // 拨号
    Button button3= (Button) findViewById(R.id.button3);
    button3.setOnClickListener(new View.OnClickListener() {
      @Override
      public void onClick(View v) {
        Intent intent =new Intent();
        intent.setAction(Intent.ACTION_DIAL);
        intent.setData(Uri.parse("tel:10086"));
        startActivity(intent);
      }
    });
    //打电话
    Button button4= (Button) findViewById(R.id.button4);
    button4.setOnClickListener(new View.OnClickListener() {
      @Override
      public void onClick(View v) {
        Intent intent=new Intent();
        intent.setAction(Intent.ACTION_CALL);
        intent.setData(Uri.parse("tel:10086"));
        startActivity(intent);
      }
    });

    Button button5= (Button) findViewById(R.id.button5);
    button5.setOnClickListener(new View.OnClickListener() {
      @Override
      public void onClick(View v) {
        Intent intent=new Intent();
        intent.setAction(Intent.ACTION_VIEW);
        intent.setData(Uri.parse("http://www.baidu.com"));
        startActivity(intent);
      }
    });

  }


}
SecondActivity.java代码如下:
package com.example.administrator.chang;

import android.app.Activity;
import android.os.Bundle;

/**
 * Created by Administrator on 2015/8/19.
 */
public class SecondActivity extends Activity {
  @Override
  protected void onCreate(Bundle savedInstanceState) {
    super.onCreate(savedInstanceState);
    setContentView(R.layout.firstlayout);
  }
}
AndroidManifest.xml代码如下:
<?xml version="1.0" encoding="utf-8"?>
<manifest xmlns:android="http://schemas.android.com/apk/res/android"
  package="com.example.administrator.chang">

  <uses-permission android:name="android.permission.CALL_PHONE" />
  <application
    android:allowBackup="true"
    android:icon="@mipmap/ic_launcher"
    android:label="@string/app_name"
    android:theme="@style/AppTheme">

    <activity
      android:name=".MainActivity"
      android:label="@string/app_name">
      <intent-filter>
        <action android:name="android.intent.action.MAIN" />

        <category android:name="android.intent.category.LAUNCHER" />
      </intent-filter>
    </activity>
    <activity android:name=".SecondActivity">
      <intent-filter>
        <action android:name="com.example.administrator.chang.ACTION_START" />
        <category android:name="android.intent.category.DEFAULT" />
      </intent-filter>
    </activity>
  </application>

</manifest>
说明 :打电话按钮中需要添加用户权限,具体代码部分是
<uses-permission android:name="android.permission.CALL_PHONE" />
发短信按钮我用的是intent.setAction(Intent.ACTION_SENDTO);如过短信直接能发送出去需要添加用户权限
android.permission.SEND_SMS
在安卓中严格区分大小写。例如下面两段代码代表不同的意思:
<categoryandroid:name="android.intent.category.LAUNCHER" />

 <category android:name="ANDROID.INTENT.CATEGORY.LAUNCHER" />
结果如下:
主页面:
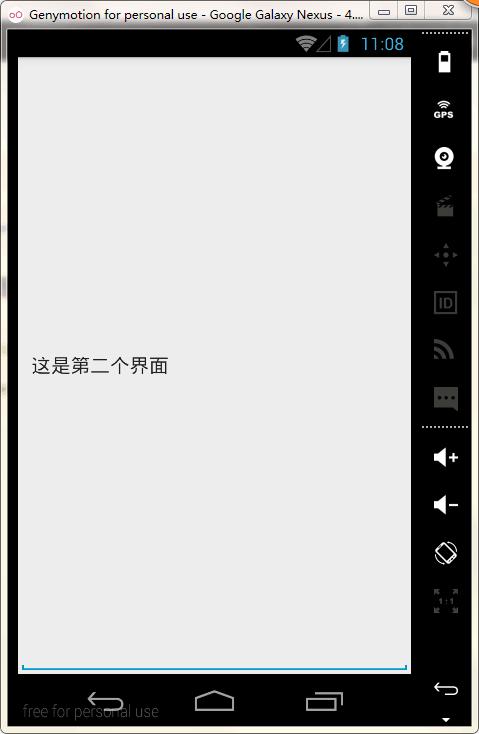
点击隐式启动后跳转到第二个页面
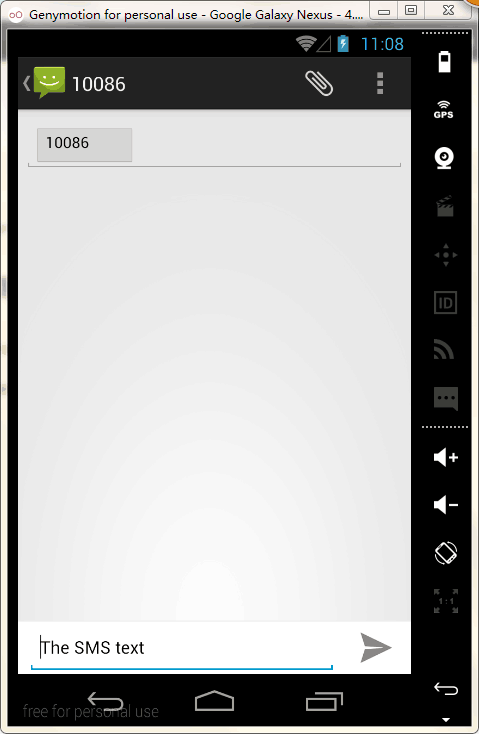
点击发送短信跳转到发送短信页面
点击拨号按钮跳转到系统拨号界面
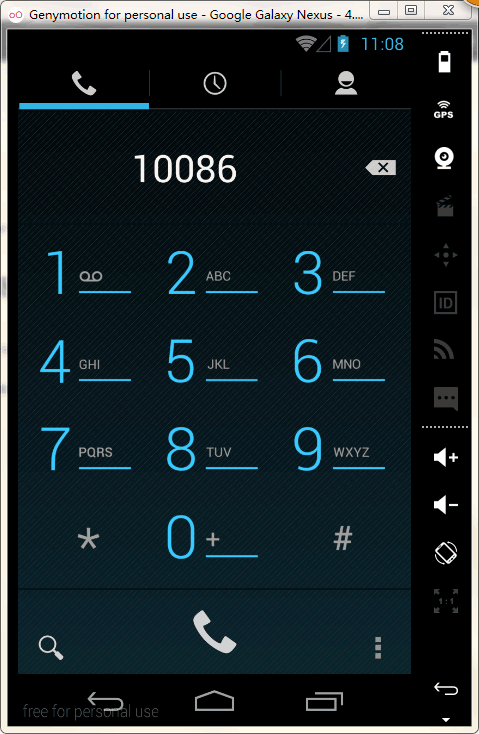
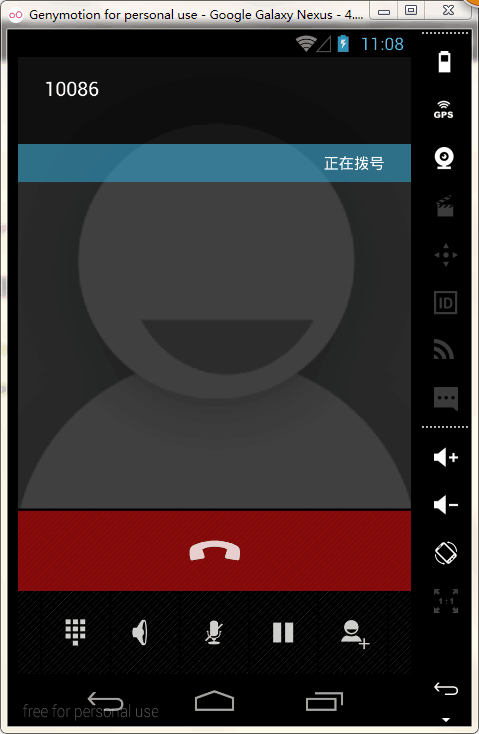
点击电话按钮跳转到通话界面
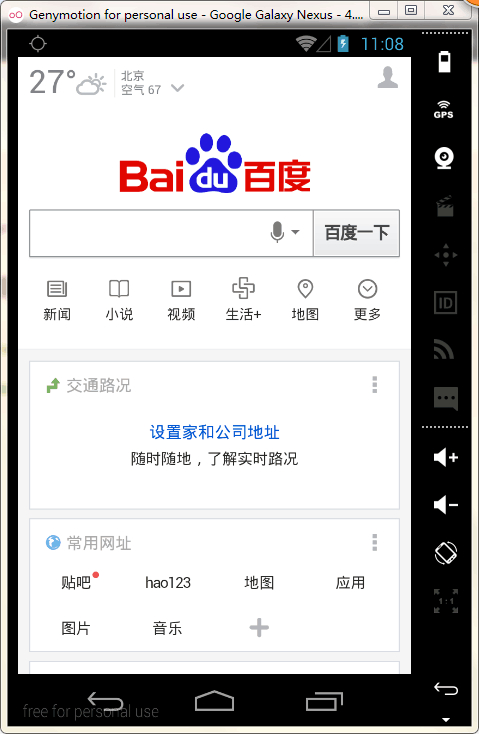
点击打开百度网页按钮跳转到百度网站
感谢阅读,希望能帮助到大家,谢谢大家对本站的支持!


