

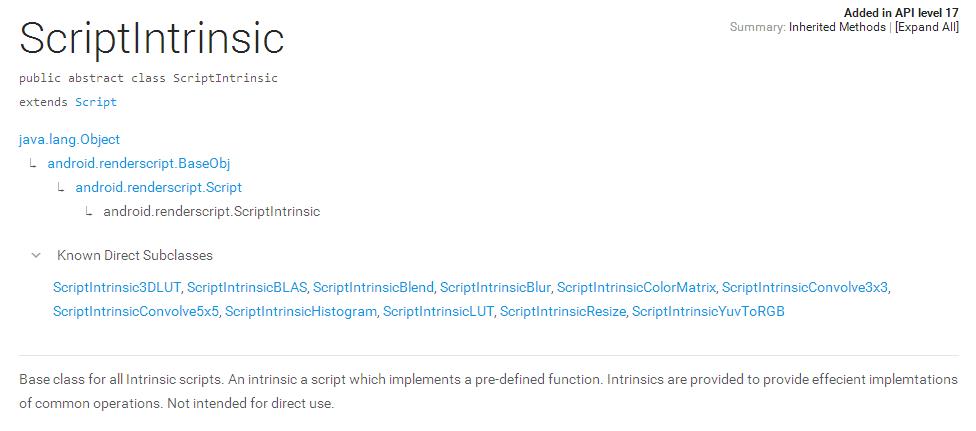
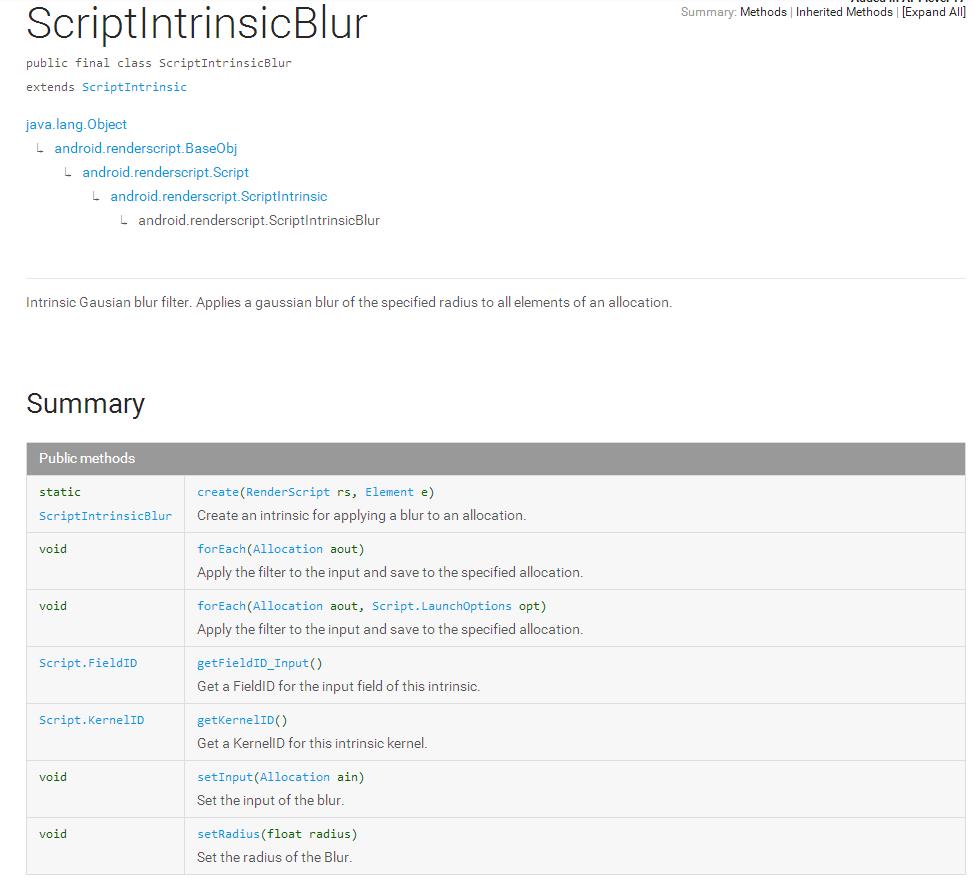
昨天看了下RenderScript的官方文档,发现RenderScript这厮有点牛逼。无意中发现ScriptIntrinsic这个抽象类,有些很有用的子类。其中有个子类叫ScriptIntrinsicBlur类,大致就是将图片实现高斯模糊。
ScriptIntrinsic的申明:
ScriptIntrinsicBlur类的申明:
加上结合着看了下SDK中的samples,自己写了个高斯模糊。
( sample的具体位置为:
SDK目录/samples/android-19/renderscript/RenderScriptIntrinsic/RenderScriptIntrinsicSample/
)。
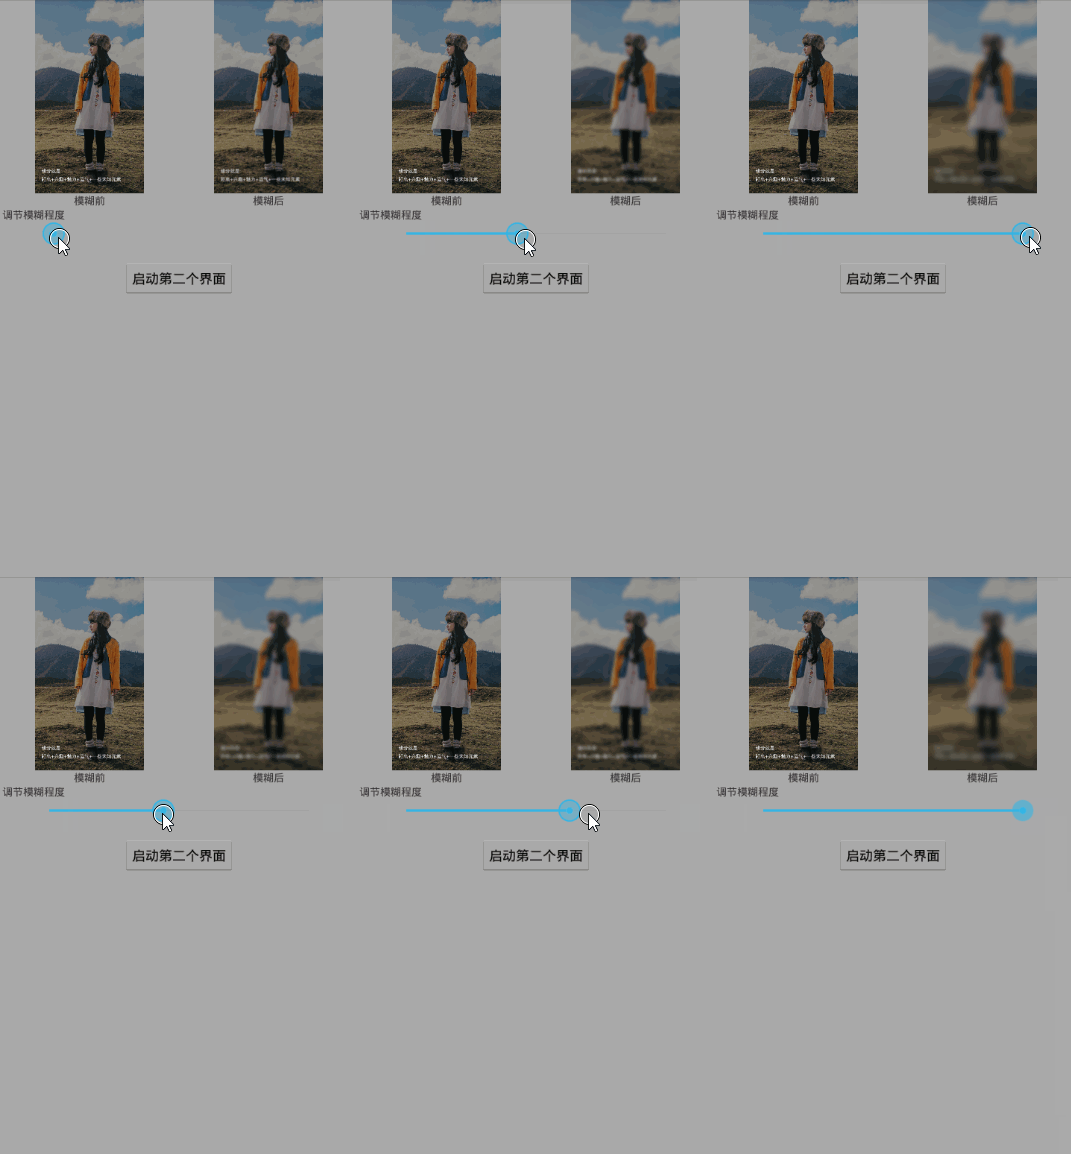
先上图。效果如下:
【注意!! 开始之前,我们需要导入需要的支持包。
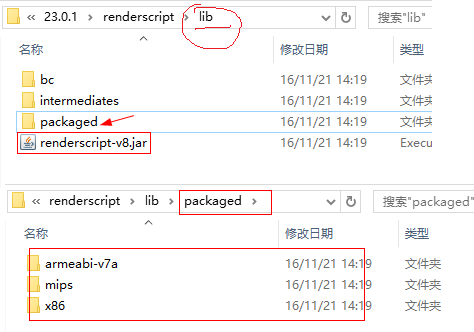
支持包的具体路径为: sdk目录/buildtools/任意一个版本号/renderscript/lib/renderscript-v8.jar
另外:为了防止出现有的机型兼容问题,最好将renderscript-v8.jar同目录下的packaged目录下的所有库也一并拷贝到lib文件夹下】
例如:
好了。开始写代码。。
1、先申明常用成员变量。
private SeekBar blurSeekBar;//拖动条
private ImageView img_blur;//显示模糊后bitmap的ImageView
//原bitmap和高斯模糊后的bitmap
private Bitmap bitmap_original, bitmap_blur;
//高斯模糊处理的AsyncTask
private RenderScriptTask mLatestTask = null;
//RenderScript 对象(Google的高性能并行计算类,他可以利用设备的GPU/CPU等计算资源)
private RenderScript mRS;
//下面是两个RenderScript的传入参数对象
private Allocation mInAllocation;
private Allocation mOutAllocation;
//高斯模糊处理实例
private ScriptIntrinsicBlur mScriptBlur;
2、加载两份bitmap,并初始化高斯模糊相关的对象。
@Override
protected void onCreate(Bundle savedInstanceState) {
  super.onCreate(savedInstanceState);
  setContentView(R.layout.activity_main);
  blurSeekBar = (SeekBar) findViewById(R.id.aty_main_seekBar);
  img_blur = (ImageView) findViewById(R.id.aty_main_img_blur);

  bitmap_original = loadBitmap(R.drawable.meet_entry_guide_3);
  // 复制一份
  bitmap_blur = Bitmap.createBitmap(bitmap_original.getWidth(),
      bitmap_original.getHeight(), bitmap_original.getConfig());
  createBlureScript();
  setSeekBarListening();//为SeekBar设置拖拽监听
}

/**
 * Helper to load Bitmap from resource
 */
private Bitmap loadBitmap(int resource) {
  final BitmapFactory.Options options = new BitmapFactory.Options();
  options.inPreferredConfig = Bitmap.Config.ARGB_8888;
  return BitmapFactory.decodeResource(getResources(), resource, options);
}

/**
 * 创建Script
 */
private void createBlureScript() {
  mRS = RenderScript.create(this);
  mInAllocation = Allocation.createFromBitmap(mRS, bitmap_original);
  mOutAllocation = Allocation.createFromBitmap(mRS, bitmap_blur);

  /*
   * Create intrinsics. RenderScript has built-in features such as blur,
   * convolve filter etc. These intrinsics are handy for specific
   * operations without writing RenderScript kernel. In the sample, it's
   * creating blur, convolve and matrix intrinsics.
   */
  mScriptBlur = ScriptIntrinsicBlur.create(mRS, Element.U8_4(mRS));
}
3、完成高斯模糊处理代码。
private void performFilter(Allocation inAllocation,
      Allocation outAllocation, Bitmap bitmapOut, float value) {
  /*
   * 设置模糊程度。范围在0~25之间。否则会出错
   */
  mScriptBlur.setRadius(value);

  /*
   * Invoke filter kernel
   */
  mScriptBlur.setInput(inAllocation);
  mScriptBlur.forEach(outAllocation);

  outAllocation.copyTo(bitmapOut);
}
4、将处理后的bitmap设置到ImageView中。
// Request UI update
img_blur.setImageBitmap(bitmap_blur);
img_blur.invalidate();
基本工作也就完成了。剩下就是代码的相互调用了。
【 总 结 】
其实总起来,使用RenderScript进行高斯模糊主要是分为三步:
1、创建并初始化需要的对象(初始化一次就OK)。
mRS = RenderScript.create(this);
mScriptBlur = ScriptIntrinsicBlur.create(mRS, Element.U8_4(mRS));
//RenderScript的输入和输出参数对象
mInAllocation = Allocation.createFromBitmap(mRS, bitmap_original);
mOutAllocation = Allocation.createFromBitmap(mRS, bitmap_blur);
2、执行高斯模糊,并将结果拷贝出来。
/*
 * 设置模糊程度。范围在0~25之间。否则会出错(这个也可以只设置一次)
 */
mScriptBlur.setRadius(value);

/*
 * Invoke filter kernel
 */
mScriptBlur.setInput(inAllocation);
mScriptBlur.forEach(outAllocation);
//将结果拷贝出来,拷贝到bitmapOut对象中
outAllocation.copyTo(bitmapOut);
3、回收RenderScript对象
mRS.destory();
mRs = null;
文章到此结束。
按照惯例:下面是我的完整的代码实现。
public class MainActivity extends Activity {

  private SeekBar blurSeekBar;
  private ImageView img_blur;
  private Bitmap bitmap_original, bitmap_blur;

  private RenderScriptTask mLatestTask = null;

  private RenderScript mRS;
  private Allocation mInAllocation;
  private Allocation mOutAllocation;
  private ScriptIntrinsicBlur mScriptBlur;

  @Override
  protected void onCreate(Bundle savedInstanceState) {
    super.onCreate(savedInstanceState);
    setContentView(R.layout.activity_main);
    blurSeekBar = (SeekBar) findViewById(R.id.aty_main_seekBar);
    img_blur = (ImageView) findViewById(R.id.aty_main_img_blur);
    bitmap_original = loadBitmap(R.drawable.meet_entry_guide_3);
    // 复制一份
    bitmap_blur = Bitmap.createBitmap(bitmap_original.getWidth(),
        bitmap_original.getHeight(), bitmap_original.getConfig());
    createBlureScript();
    setSeekBarListening();
  }

  /**
   * 设置SeekBar的监听
   */
  private void setSeekBarListening() {
    blurSeekBar.setOnSeekBarChangeListener(new OnSeekBarChangeListener() {

      @Override
      public void onStopTrackingTouch(SeekBar seekBar) {
      }

      @Override
      public void onStartTrackingTouch(SeekBar seekBar) {

      }

      @Override
      public void onProgressChanged(SeekBar seekBar, int progress,
          boolean fromUser) {
        updateImage(progress);
      }
    });
  }

  /**
   * 创建Script
   */
  private void createBlureScript() {
    mRS = RenderScript.create(this);
    mInAllocation = Allocation.createFromBitmap(mRS, bitmap_original);
    mOutAllocation = Allocation.createFromBitmap(mRS, bitmap_blur);

    /*
     * Create intrinsics. RenderScript has built-in features such as blur,
     * convolve filter etc. These intrinsics are handy for specific
     * operations without writing RenderScript kernel. In the sample, it's
     * creating blur, convolve and matrix intrinsics.
     */
    mScriptBlur = ScriptIntrinsicBlur.create(mRS, Element.U8_4(mRS));
  }

  private void performFilter(Allocation inAllocation,
      Allocation outAllocation, Bitmap bitmapOut, float value) {
    /*
     * Set blur kernel size
     */
    mScriptBlur.setRadius(value);

    /*
     * Invoke filter kernel
     */
    mScriptBlur.setInput(inAllocation);
    mScriptBlur.forEach(outAllocation);

    outAllocation.copyTo(bitmapOut);
  }

  /*
   * In the AsyncTask, it invokes RenderScript intrinsics to do a filtering.
   * After the filtering is done, an operation blocks at Allication.copyTo()
   * in AsyncTask thread. Once all operation is finished at onPostExecute() in
   * UI thread, it can invalidate and update ImageView UI.
   */
  private class RenderScriptTask extends AsyncTask<Float, Integer, Integer> {
    Boolean issued = false;

    protected Integer doInBackground(Float... values) {
      if (isCancelled() == false) {
        issued = true;
        performFilter(mInAllocation, mOutAllocation, bitmap_blur,
            values[0]);
      }
      return 0;
    }

    void updateView(Integer result) {
      // Request UI update
      img_blur.setImageBitmap(bitmap_blur);
      img_blur.invalidate();
    }

    protected void onPostExecute(Integer result) {
      updateView(result);
    }

    protected void onCancelled(Integer result) {
      if (issued) {
        updateView(result);
      }
    }
  }

  /*
   * Invoke AsynchTask and cancel previous task. When AsyncTasks are piled up
   * (typically in slow device with heavy kernel), Only the latest (and
   * already started) task invokes RenderScript operation.
   */
  private void updateImage(int progress) {
    float f = getBlureParam(progress);

    if (mLatestTask != null)
      mLatestTask.cancel(false);
    mLatestTask = new RenderScriptTask();
    mLatestTask.execute(f);
  }

  /**
   * 模糊的值在1 ~ 25之间
   *
   * @param progress
   *      SeekBar的进度值(0 ~ 100)
   * @return 模糊值
   */
  private float getBlureParam(int progress) {
    final float max = 25.0f;
    final float min = 1.f;
    return (float) ((max - min) * (progress / 100.0) + min);
  }

  /**
   * Helper to load Bitmap from resource
   */
  private Bitmap loadBitmap(int resource) {
    final BitmapFactory.Options options = new BitmapFactory.Options();
    options.inPreferredConfig = Bitmap.Config.ARGB_8888;
    return BitmapFactory.decodeResource(getResources(), resource, options);
  }
}
以上就是本文的全部内容,希望对大家的学习有所帮助,也希望大家多多支持脚本之家。


