

可能我们在开发中会时常用到计时器这玩意儿,比如在录像的时候,我们可能需要在右上角显示一个计时器。这个东西其实实现起来非常简单。
只需要用一个控件Chronometer,是的,就这么简单,我都不好意思讲述一下了。
<Chronometer
android:layout_width="wrap_content"
android:layout_height="wrap_content"
android:format="%s"
android:id="@+id/timer"/>
是的,就这么简单。java代码同样
@Override
protected void onCreate(Bundle savedInstanceState) {
super.onCreate(savedInstanceState);
setContentView(R.layout.activity_main);
timer = (Chronometer) findViewById(R.id.timer);
}
public void btnClick(View view) {
timer.setBase(SystemClock.elapsedRealtime());//计时器清零
timer.start();
}
超简单有木有?看看运行结果:
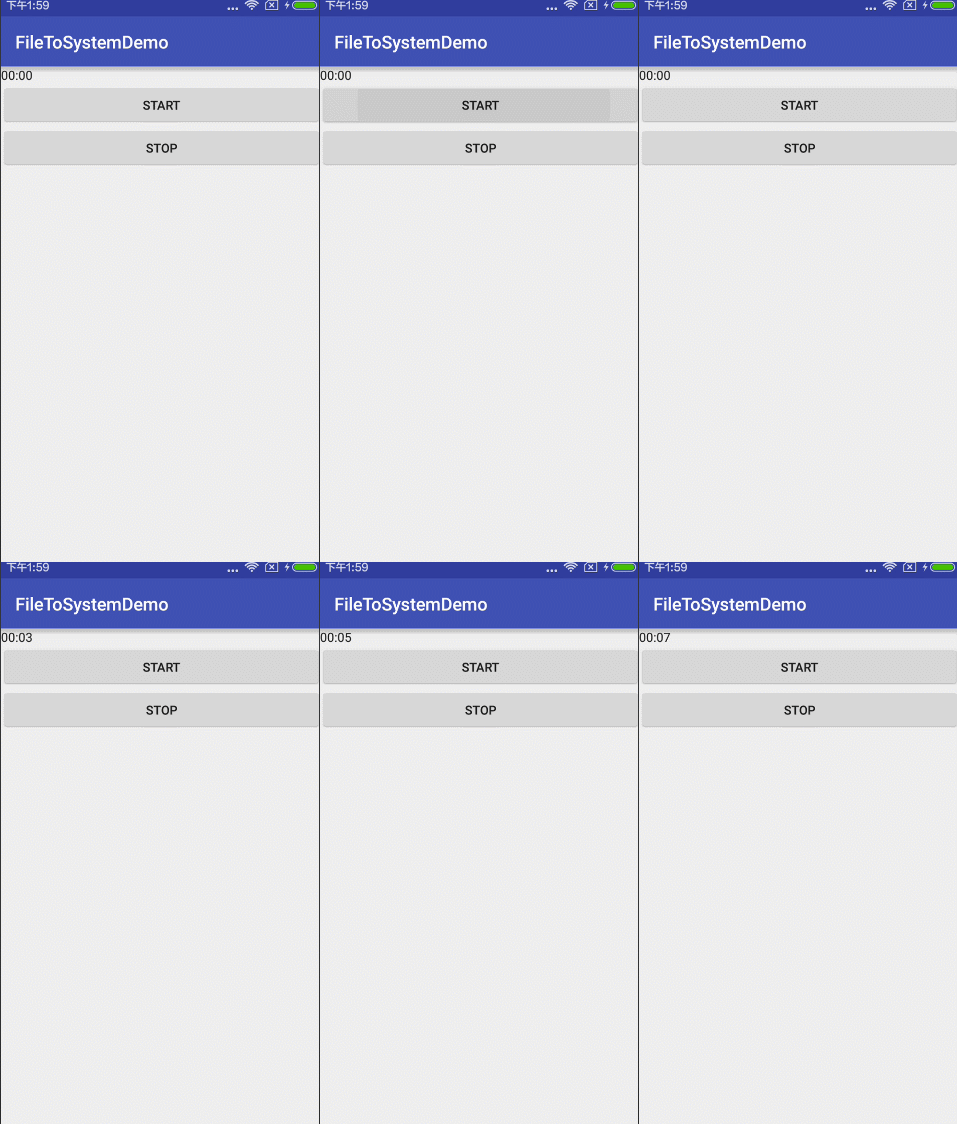
或许你会说,这个要是需要显示上时间怎么弄呢?不急不急,两行代码就能解决的事情。
public void btnClick(View view) {
timer.setBase(SystemClock.elapsedRealtime());//计时器清零
int hour = (int) ((SystemClock.elapsedRealtime() - timer.getBase()) / 1000 / 60);
timer.setFormat("0"+String.valueOf(hour)+":%s");
timer.start();
}
public void stopClick(View view) {
timer.stop();
}
恩,对,就是 这么简单,不过别忘了把xml的format改一下
<Chronometer
android:layout_width="match_parent"
android:layout_height="wrap_content"
android:format="00:00:00"
android:gravity="center"
android:id="@+id/timer"/>
是的,你没有看错,这样就可以了,不信,你看!
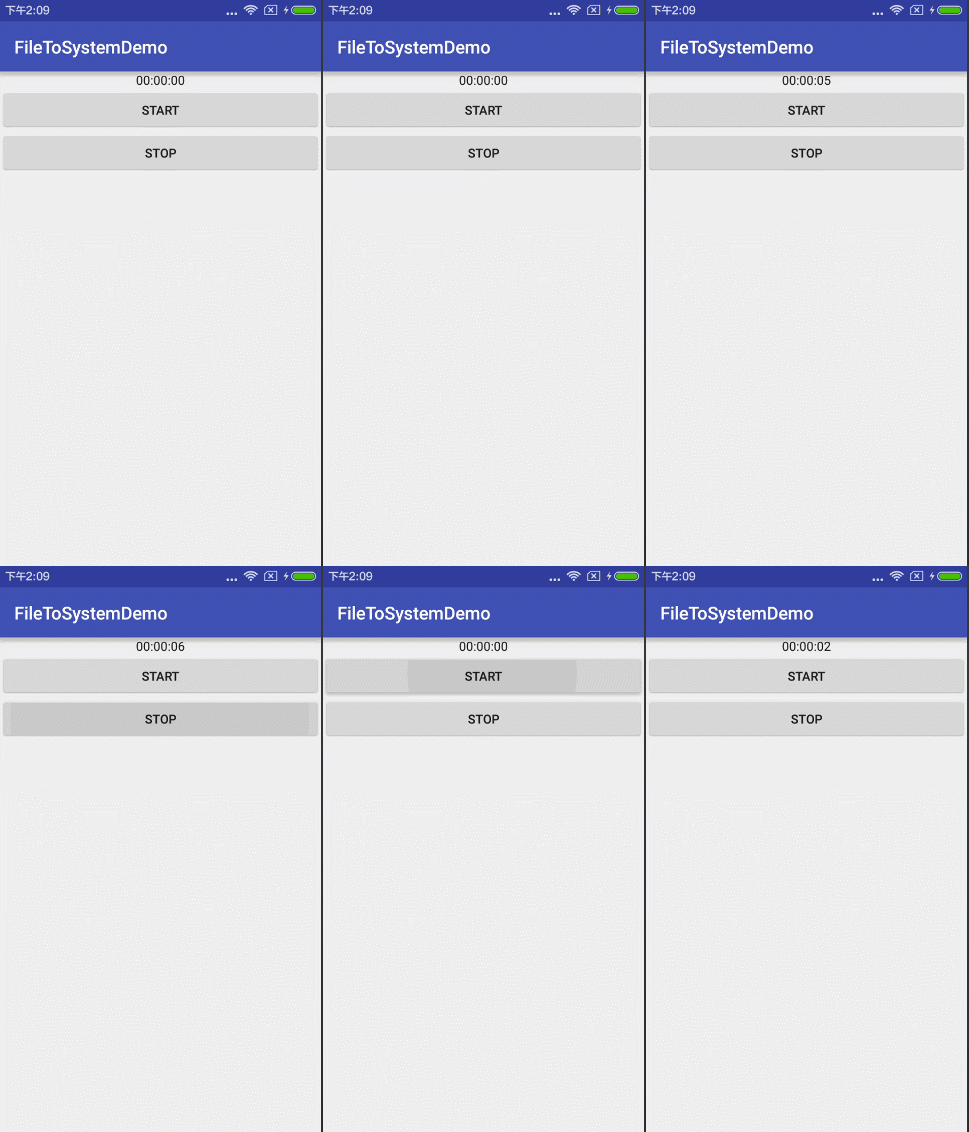
就和你想象的录像上方的时间一样有木有?恩。你前面设置一个圆圈,再设置计时器颜色就和它一样有逼格了。
而或许你并不喜欢用这种方式,当然用handler+timer+timerTask的方式也是可以的啦。由于太简单,就直接上代码了。
package com.example.nanchen.timerdemo;
import android.os.SystemClock;
import android.support.annotation.Nullable;
import android.support.v7.app.AppCompatActivity;
import android.os.Bundle;
import android.view.View;
import android.widget.Chronometer;
import android.widget.TextView;
import java.util.Locale;
import java.util.Timer;
import java.util.TimerTask;
public class MainActivity extends AppCompatActivity {
private Chronometer timer;
private Timer timer1;
private TextView textView;
private TimerTask timerTask;
@Override
protected void onCreate(@Nullable Bundle savedInstanceState) {
super.onCreate(savedInstanceState);
setContentView(R.layout.activity_main);
timer = (Chronometer) findViewById(R.id.timer);
textView = (TextView) findViewById(R.id.text);
timer1 = new Timer();
}
public void btnClick(View view) {
timer.setBase(SystemClock.elapsedRealtime());//计时器清零
int hour = (int) ((SystemClock.elapsedRealtime() - timer.getBase()) / 1000 / 60);
timer.setFormat("0"+String.valueOf(hour)+":%s");
timer.start();
}
public void stopClick(View view) {
timer.stop();
}
public void startClick(View view) {
timerTask = new TimerTask() {
int cnt = 0;
@Override
public void run() {
runOnUiThread(new Runnable() {
@Override
public void run() {
textView.setText(getStringTime(cnt++));
}
});
}
};
timer1.schedule(timerTask,0,1000);
}
private String getStringTime(int cnt) {
int hour = cnt/3600;
int min = cnt % 3600 / 60;
int second = cnt % 60;
return String.format(Locale.CHINA,"%02d:%02d:%02d",hour,min,second);
}
public void stopClick1(View view) {
if (!timerTask.cancel()){
timerTask.cancel();
timer1.cancel();
}
}
}
<?xml version="1.0" encoding="utf-8"?>
<LinearLayout
xmlns:android="http://schemas.android.com/apk/res/android"
xmlns:tools="http://schemas.android.com/tools"
android:layout_width="match_parent"
android:layout_height="match_parent"
android:orientation="vertical"
tools:context="com.example.nanchen.timerdemo.MainActivity">
<Chronometer
android:layout_width="match_parent"
android:layout_height="wrap_content"
android:format="00:00:00"
android:gravity="center"
android:id="@+id/timer"/>
<Button
android:layout_width="match_parent"
android:onClick="btnClick"
android:text="start"
android:layout_height="wrap_content"/>
<Button
android:layout_width="match_parent"
android:text="stop"
android:onClick="stopClick"
android:layout_height="wrap_content"/>
<View
android:layout_width="match_parent"
android:layout_height="1dp"
android:background="#959393"
android:layout_marginBottom="20dp"
android:layout_marginTop="20dp"/>
<TextView
android:layout_width="match_parent"
android:layout_height="wrap_content"
android:text="00:00:00"
android:gravity="center"
android:id="@+id/text"/>
<Button
android:layout_width="match_parent"
android:layout_height="wrap_content"
android:text="开始"
android:onClick="startClick"/>
<Button
android:layout_width="match_parent"
android:layout_height="wrap_content"
android:text="停止"
android:onClick="stopClick1"/>
</LinearLayout>
简单运行下方用timer实现的效果:
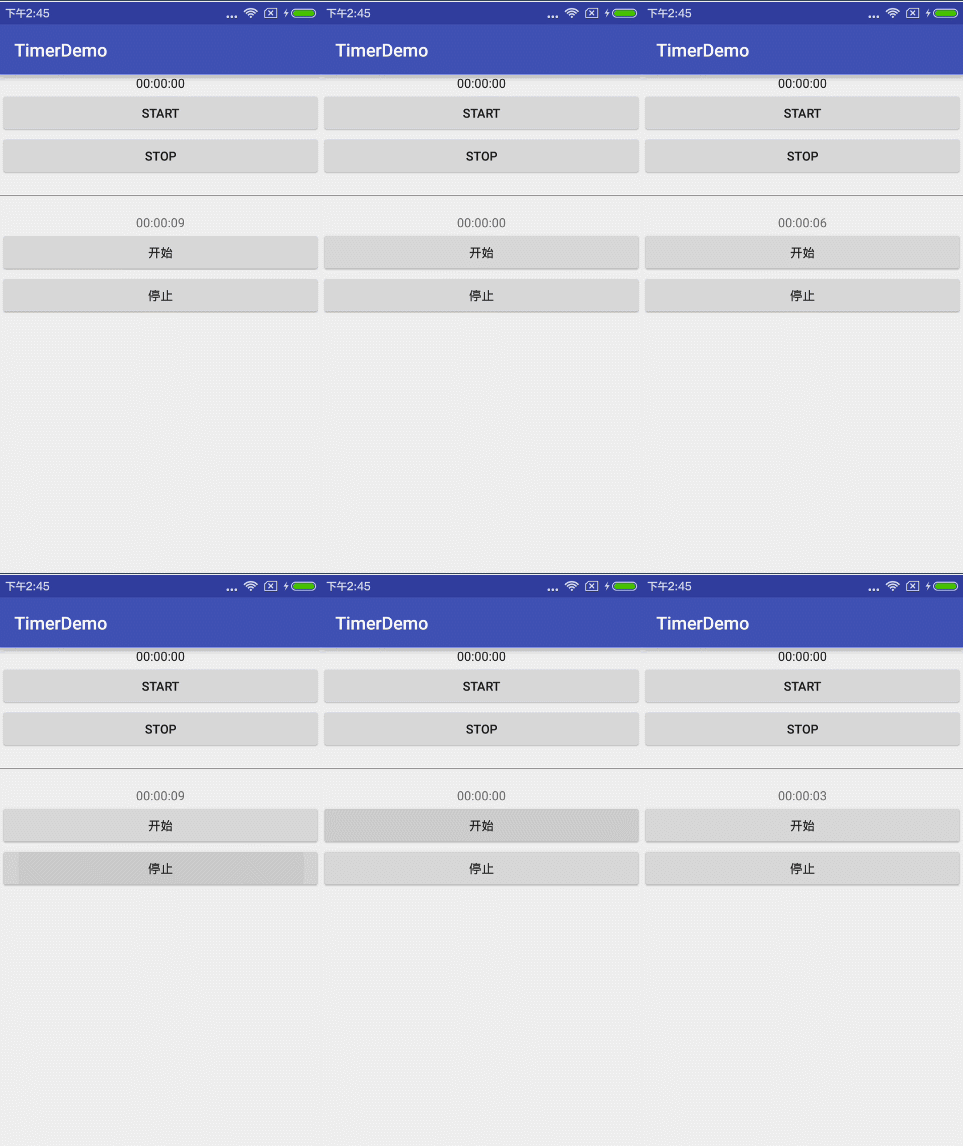
想必大家到这样都会有了自己的理解,android 官方的Chronometer方式只是为了做一个计时器,而我们采用自己用Timer和TimerTask方式可以更加自主,因为你可以想从什么时间开始计时就从什么时间开始计时,计时方式想顺计时倒计时都不是难事儿,甚至各种浮夸的隔两秒,隔三秒,隔n秒都是可以的,具体使用就看你选择咯~~
以上所述是小编给大家介绍的Android时分秒计时器的两种实现方法,希望对大家有所帮助,如果大家有任何疑问请给我留言,小编会及时回复大家的。在此也非常感谢大家对脚本之家网站的支持!


